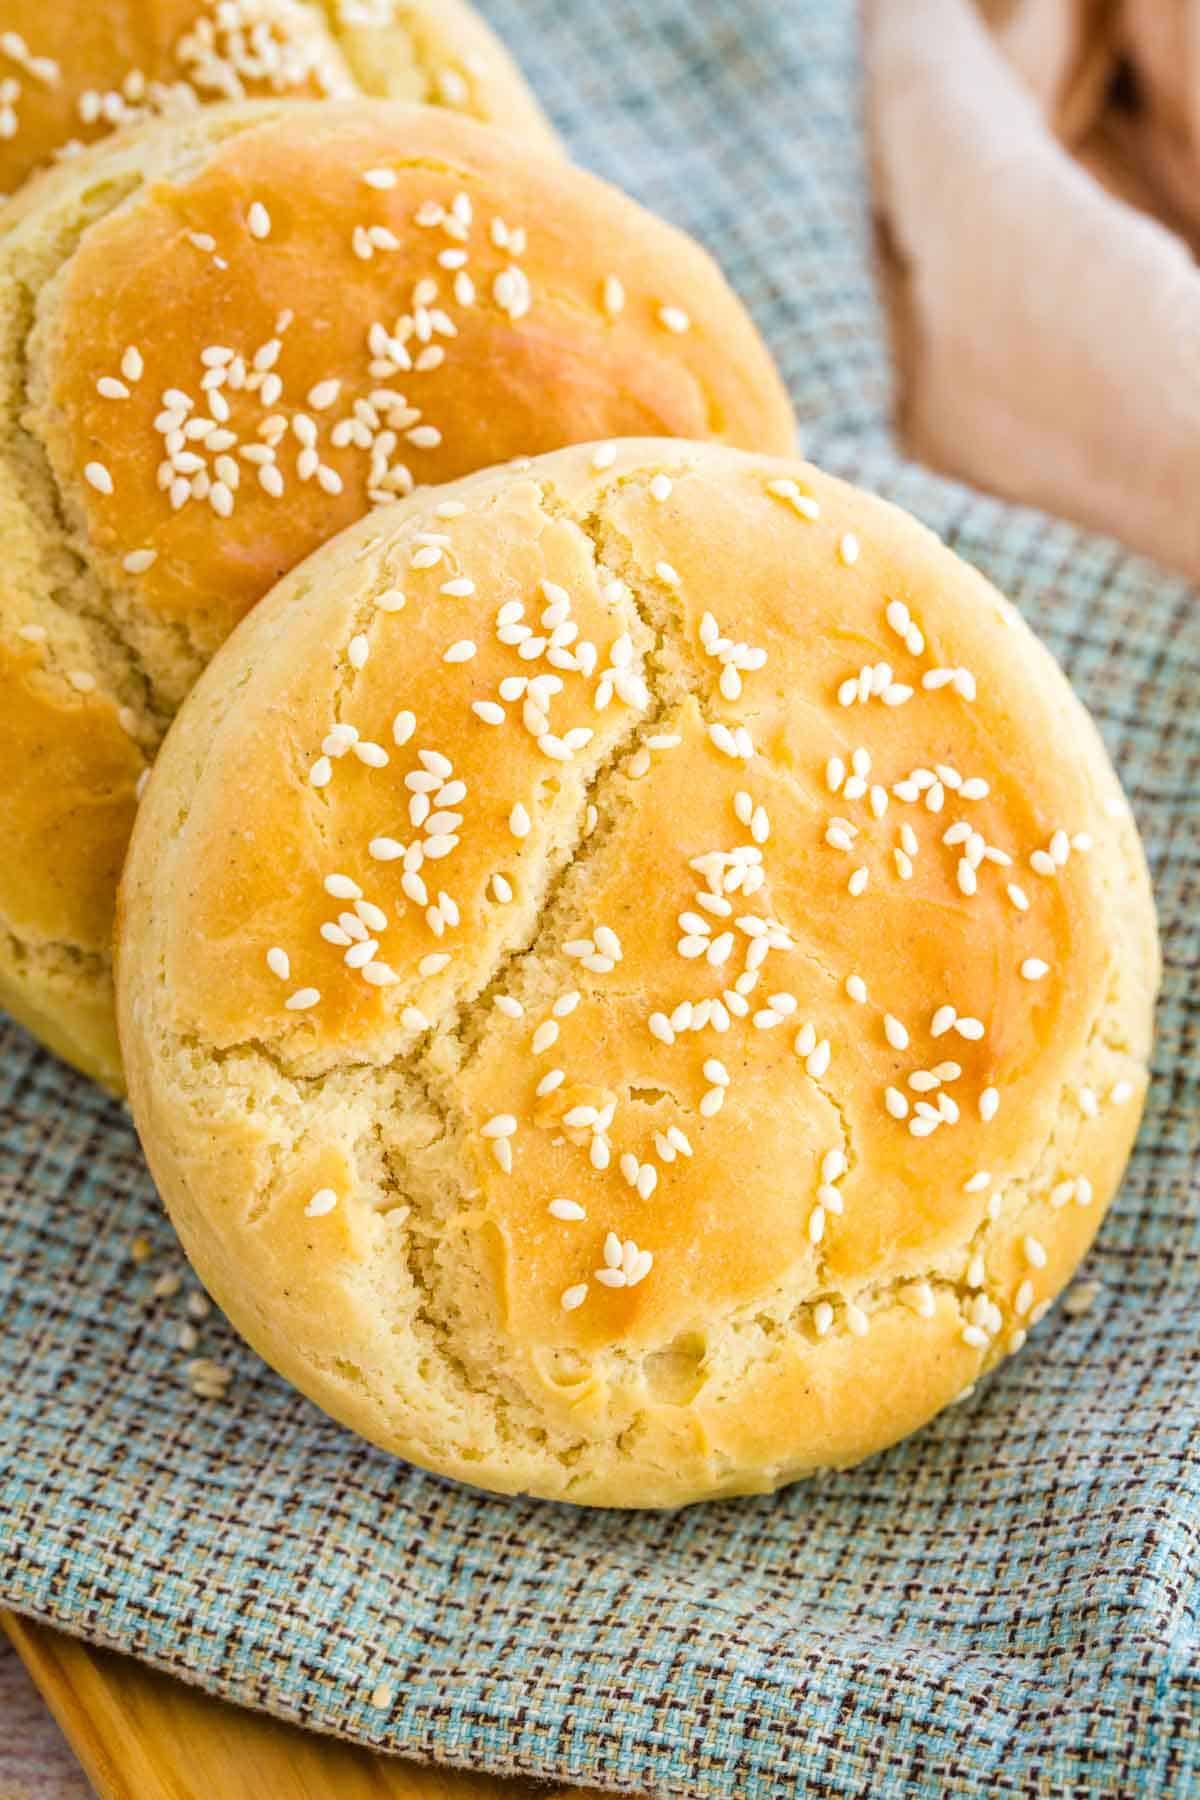
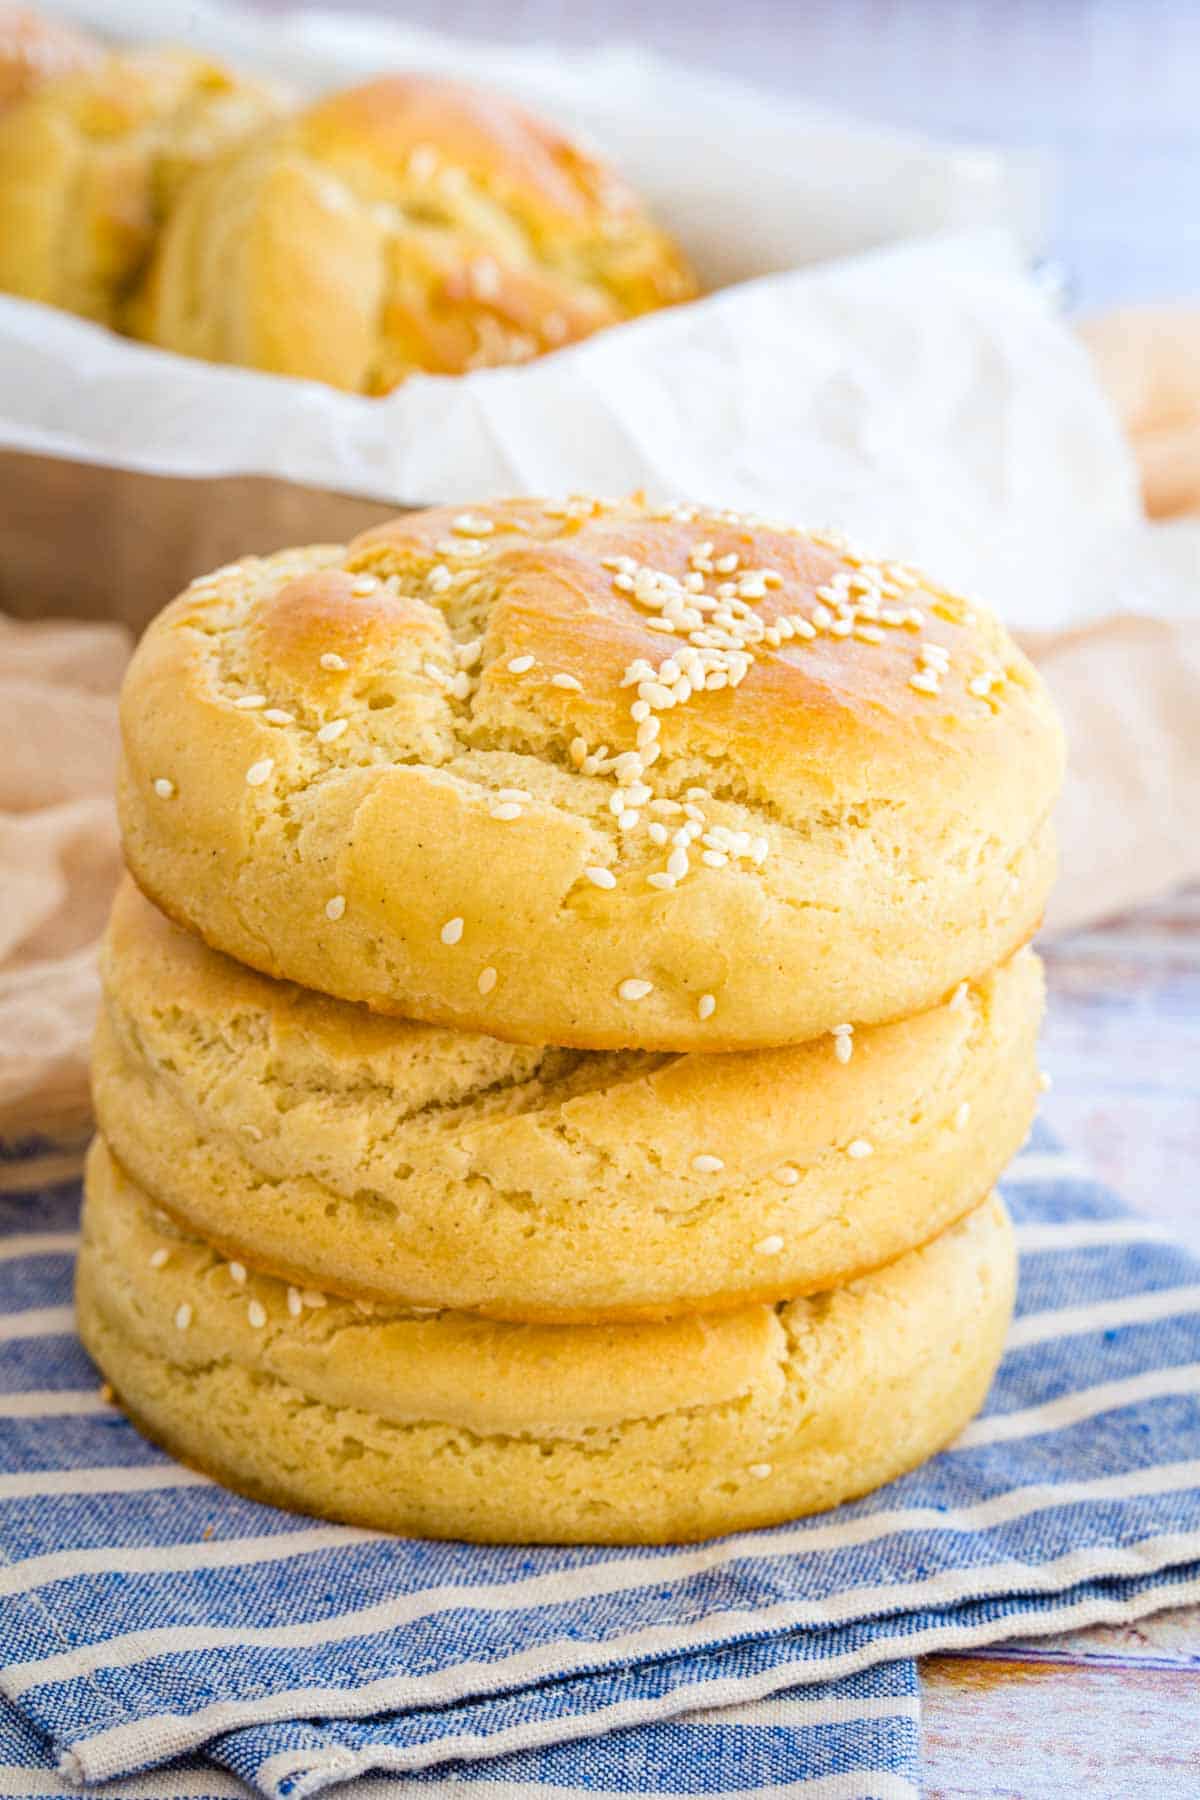
Make soft, puffy Gluten Free Hamburger Buns completely from scratch with this easy recipe. These homemade hamburger buns bake up to golden perfection, ready to be filled with all your favorite burger ideas!
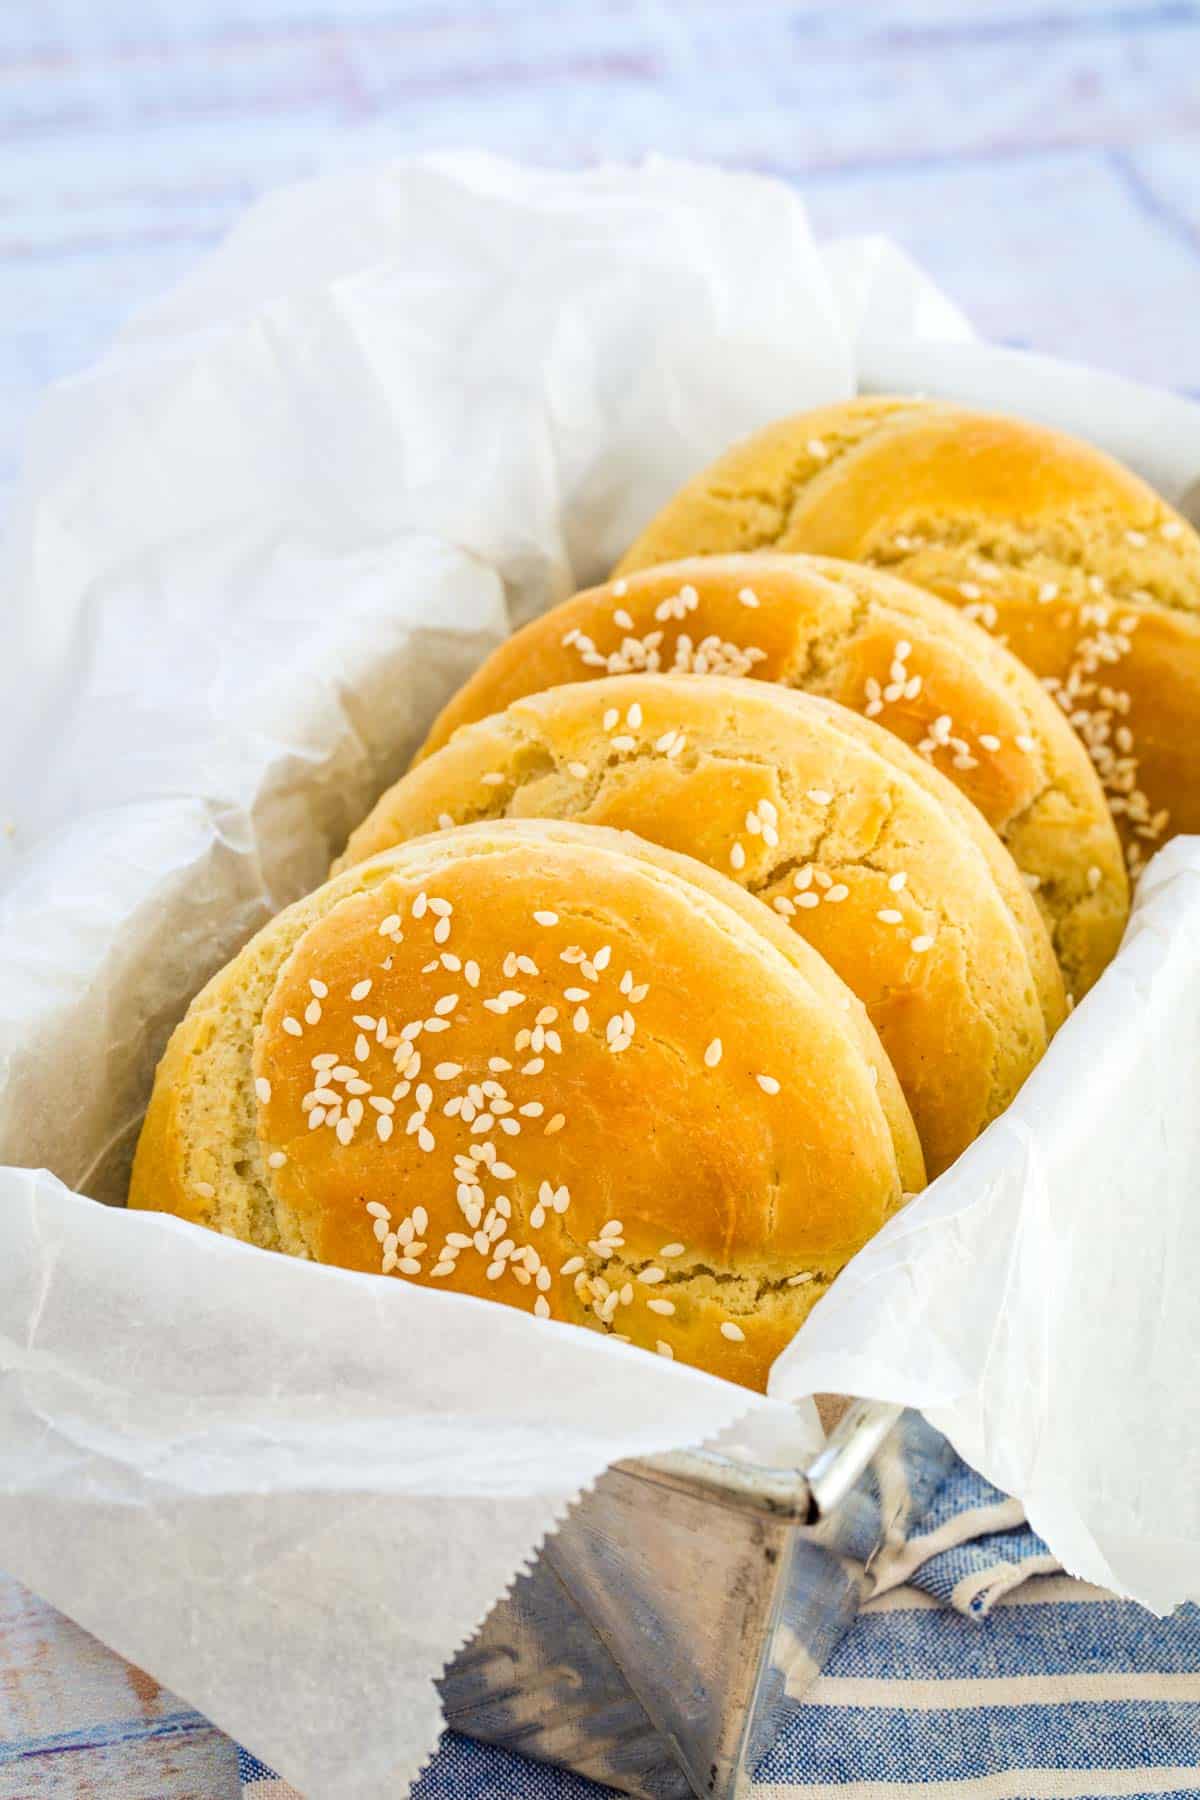
Homemade Gluten Free Hamburger Buns
With warmer days on the horizon, I start dreaming of summer meals and burgers on the grill. Getting a headstart on burger season, I set out to make hamburger buns that were not only gluten free, but so close to the original that you can (literally) taste it! This recipe makes the most, soft, puffed-up, gloriously golden hamburger buns completely from scratch.
Just ten minutes of prep, a half hour in the oven, and a bit of resting time in between is all it takes to make your own perfect gluten-free burger buns!
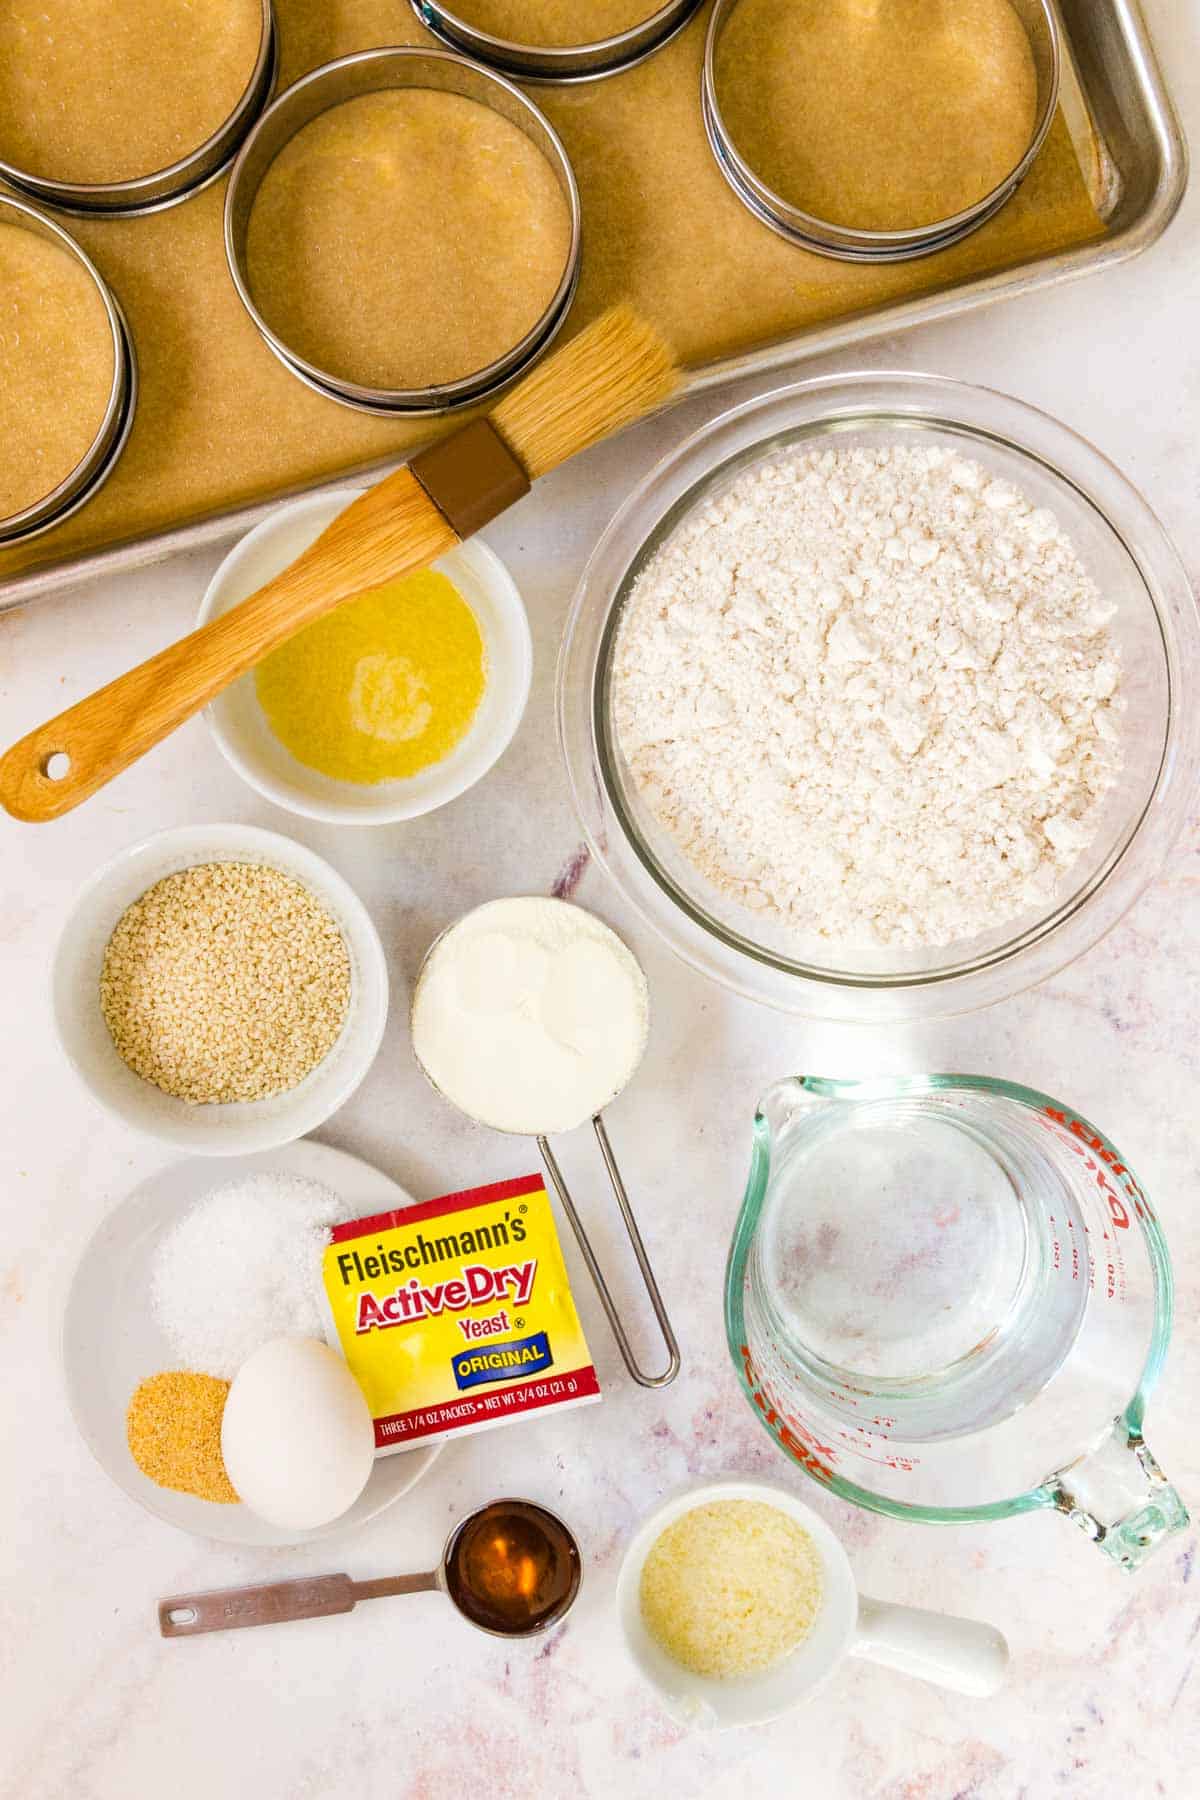
What You’ll Need
- Water: You’ll need water that’s warm, but not hot, to help activate the yeast. Aim for a water temperature that’s around 100-110°F.
- Honey: Alternatively granulated sugar, to help feed the yeast. It also brings a hint of sweetness to the hamburger buns.
- Active Dry Yeast: This is what makes your hamburger buns nice and puffy. Always check the expiration date on the yeast sachets!
- Gluten-Free Flour: Your preferred brand of gluten-free all-purpose flour. I use Bob’s Red Mill 1-to-1.
- Nonfat Dry Milk: Also known as instant or powdered dry milk. Including dry milk in this recipe makes the hamburger buns softer, enhances the flavor, and helps them brown quicker.
- Garlic Powder: Optional.
- Egg: Eggs bring moisture to the buns while helping to puff them up. Don’t forget to take your eggs out of the fridge about 30 minutes before you start, to let them come to room temperature.
- Butter: Melted and cooled, divided.
- White Sesame Seeds: Optional, for sprinkling on top for that classic hamburger bun look!
- Kosher Salt
How to Make Gluten Free Burger Buns
These homemade gluten-free buns are way better than anything I’ve been able to find in a store. Plus, they’re so easy to make in just a few steps:
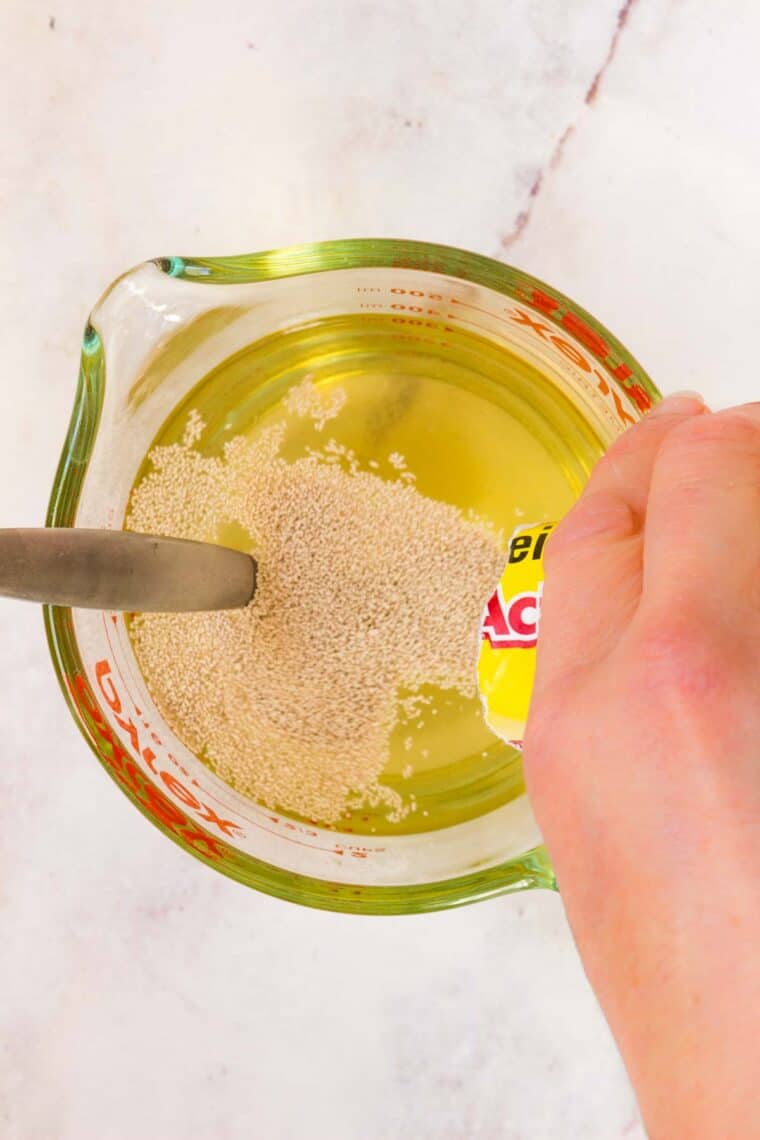
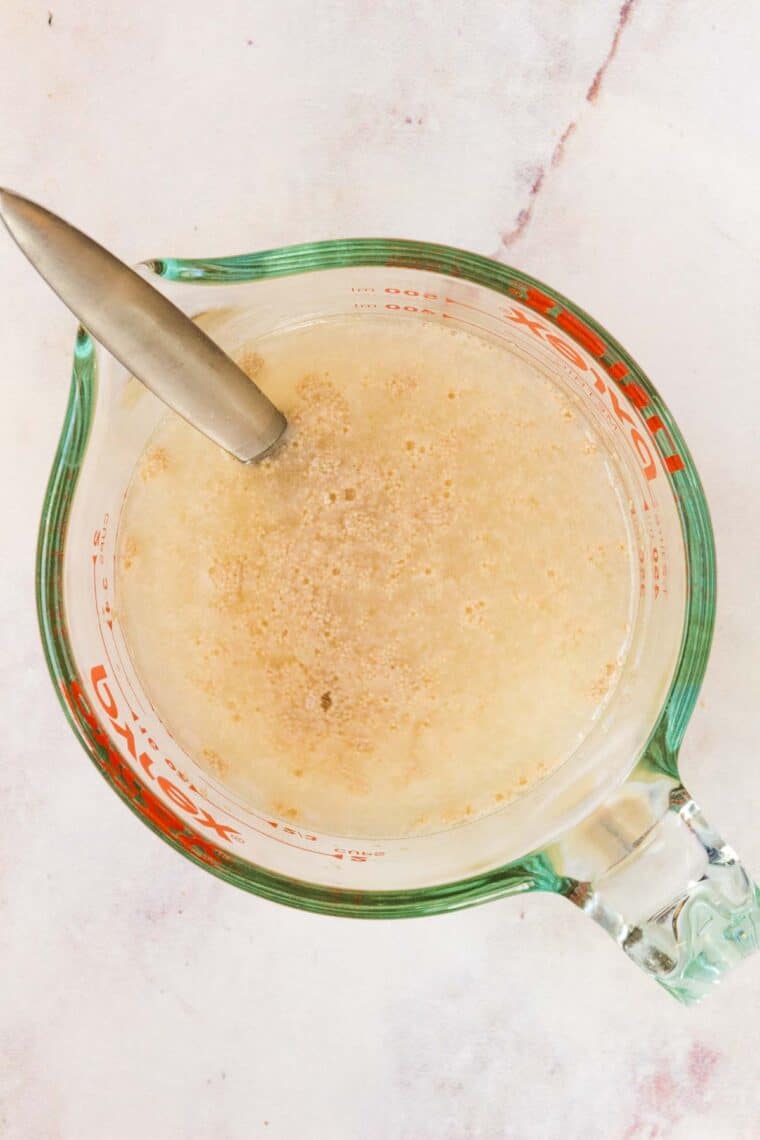
Activate the Yeast: Dissolve the honey (or sugar) in warm water, then sprinkle in the yeast and leave it to sit until it becomes frothy.
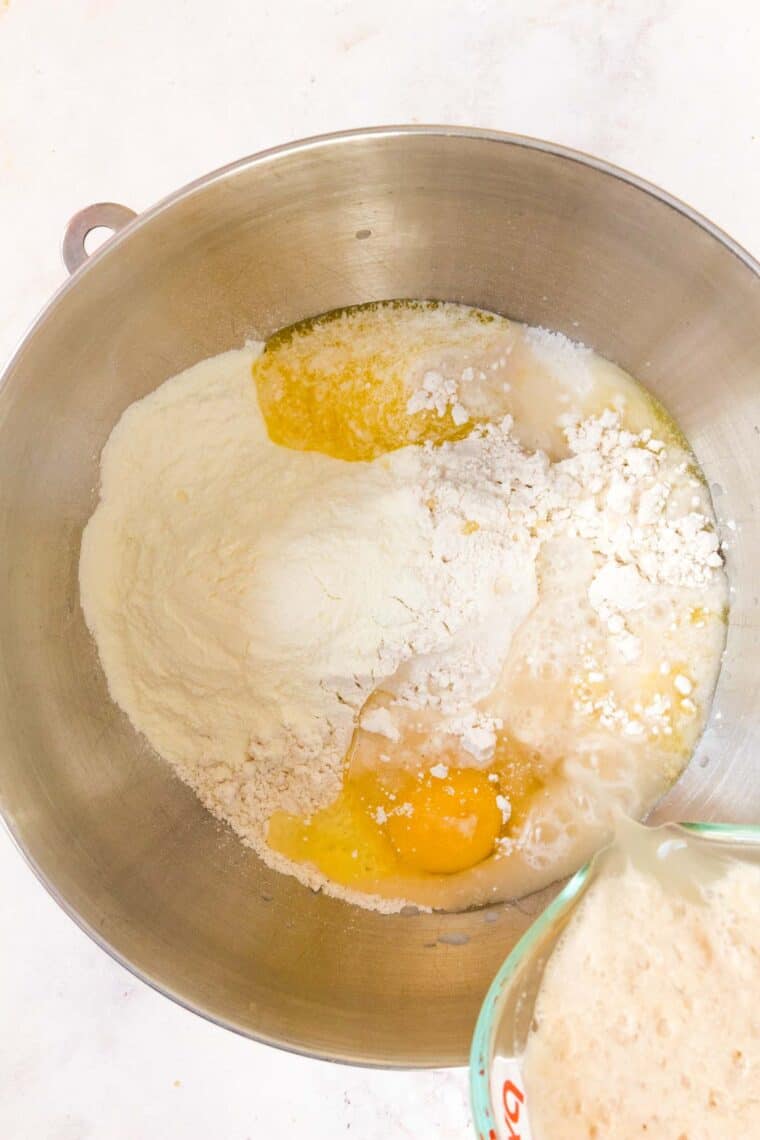
Combine the Ingredients: Combine the flour and dough ingredients with the yeast mixture, mixing until they’re just combined. The dough for these gluten-free hamburger buns will be sticky. However, if you feel it’s too wet, feel free to add more flour a little at a time to get the right consistency.
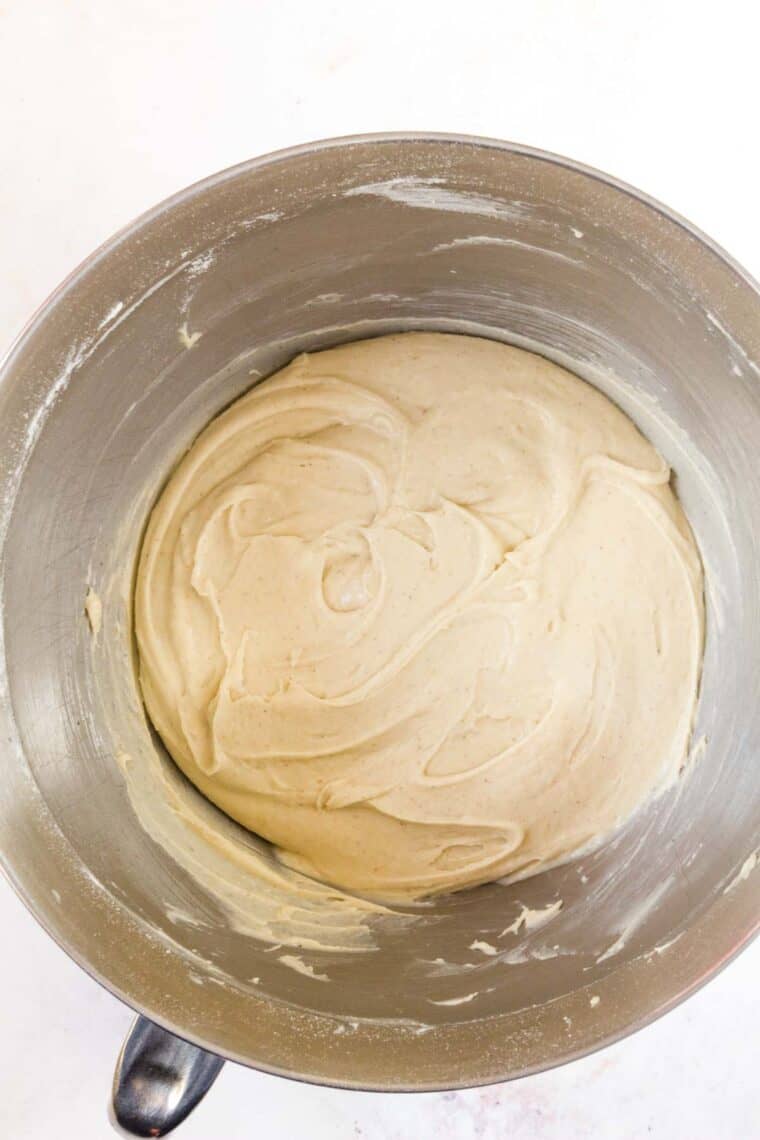
Prepare the Buns: Use a spoon to scoop the dough into eight equal-sized patties. You can use dough rings if you have them. Place the dough patties onto a prepared baking sheet and then move it somewhere warm to rise.
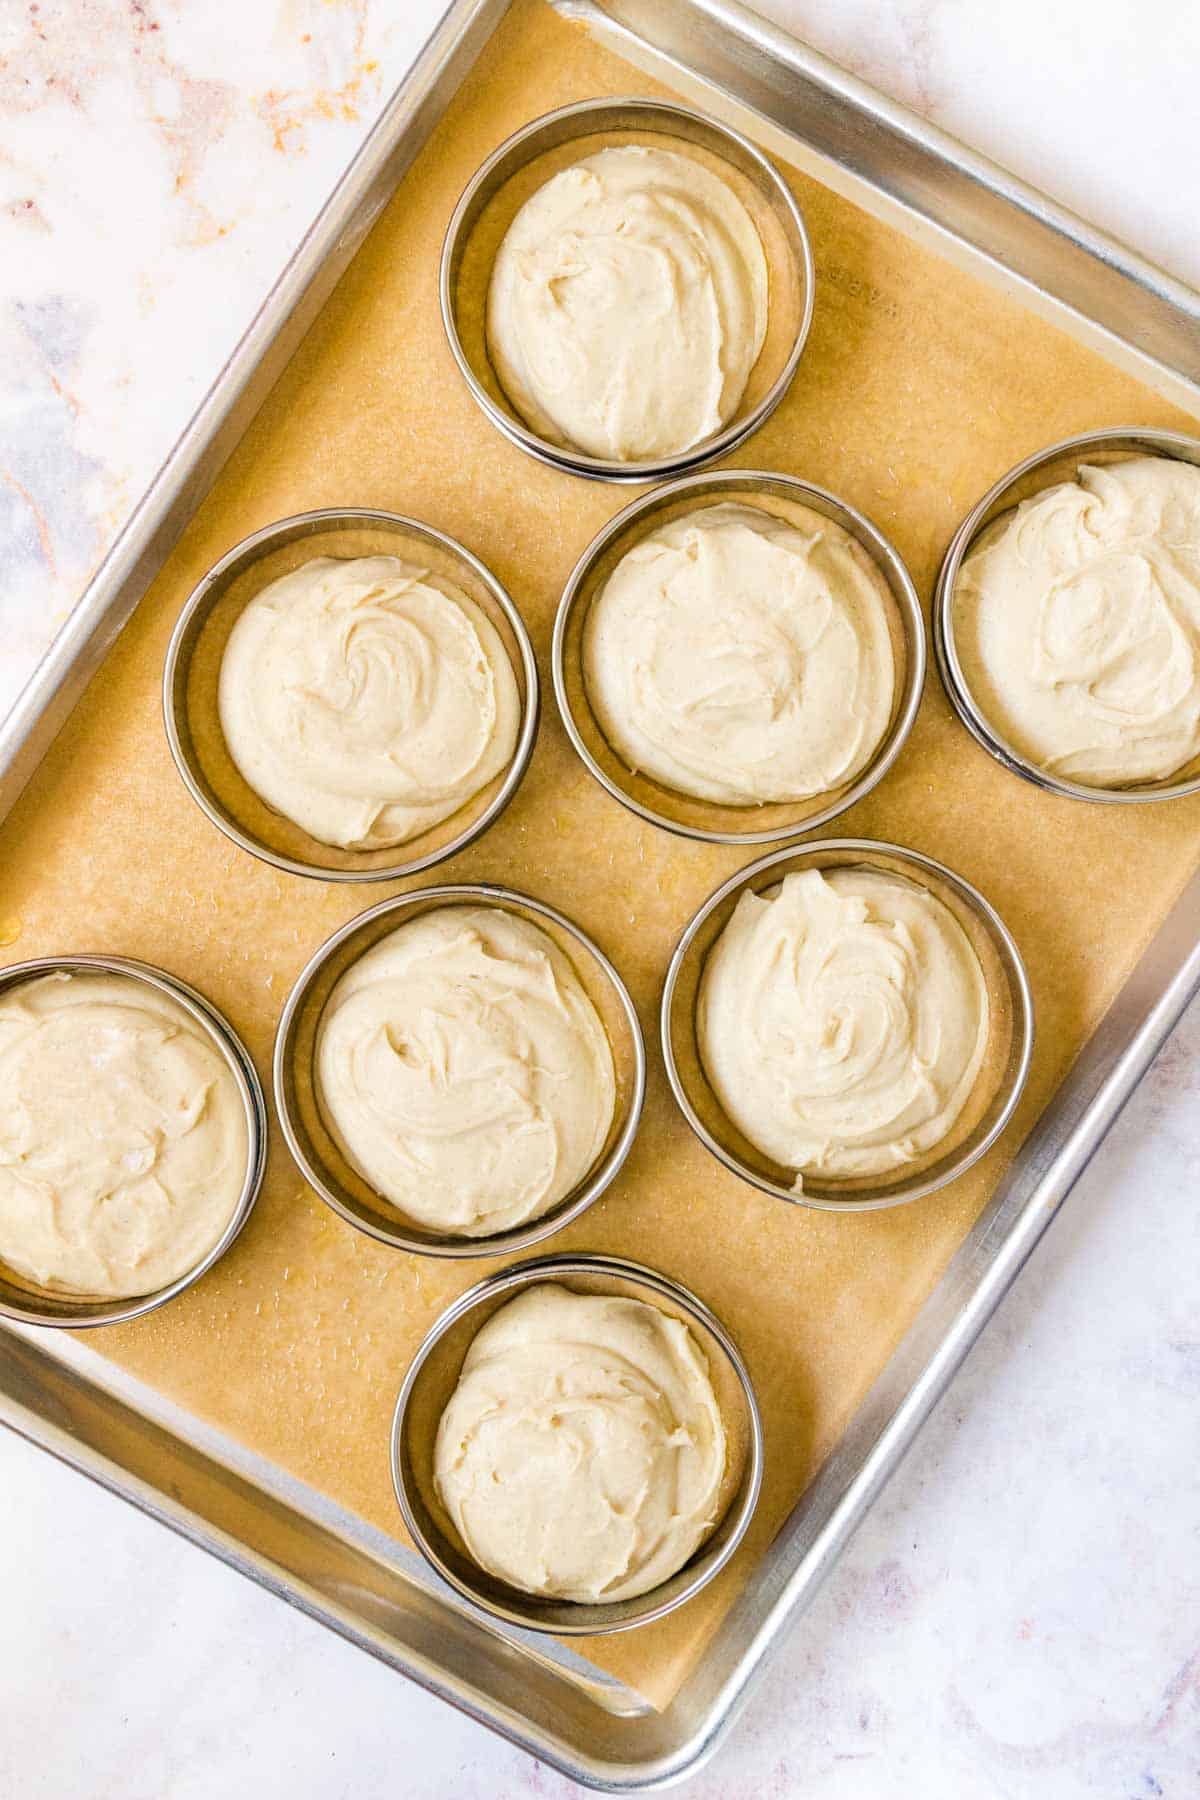
Brush with Butter: Once the patties are puffed up and risen, brush the tops of your gluten-free buns with melted butter. If you’re using sesame seeds, give each top a generous sprinkle.
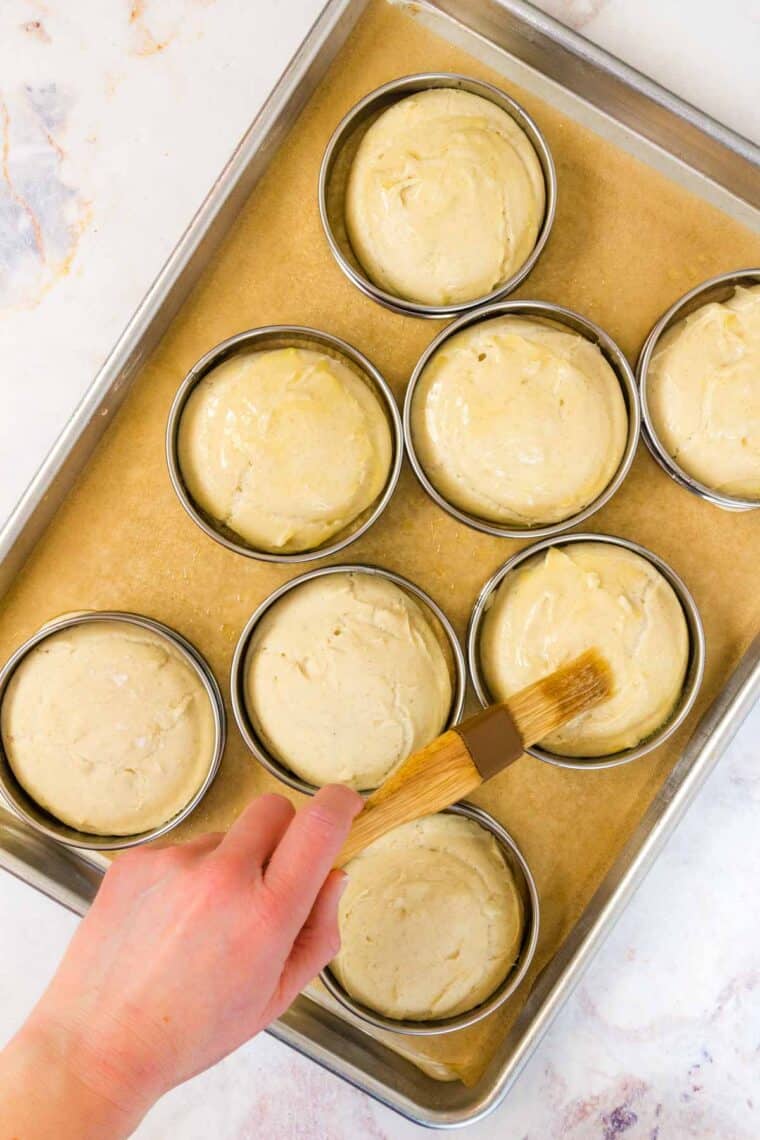
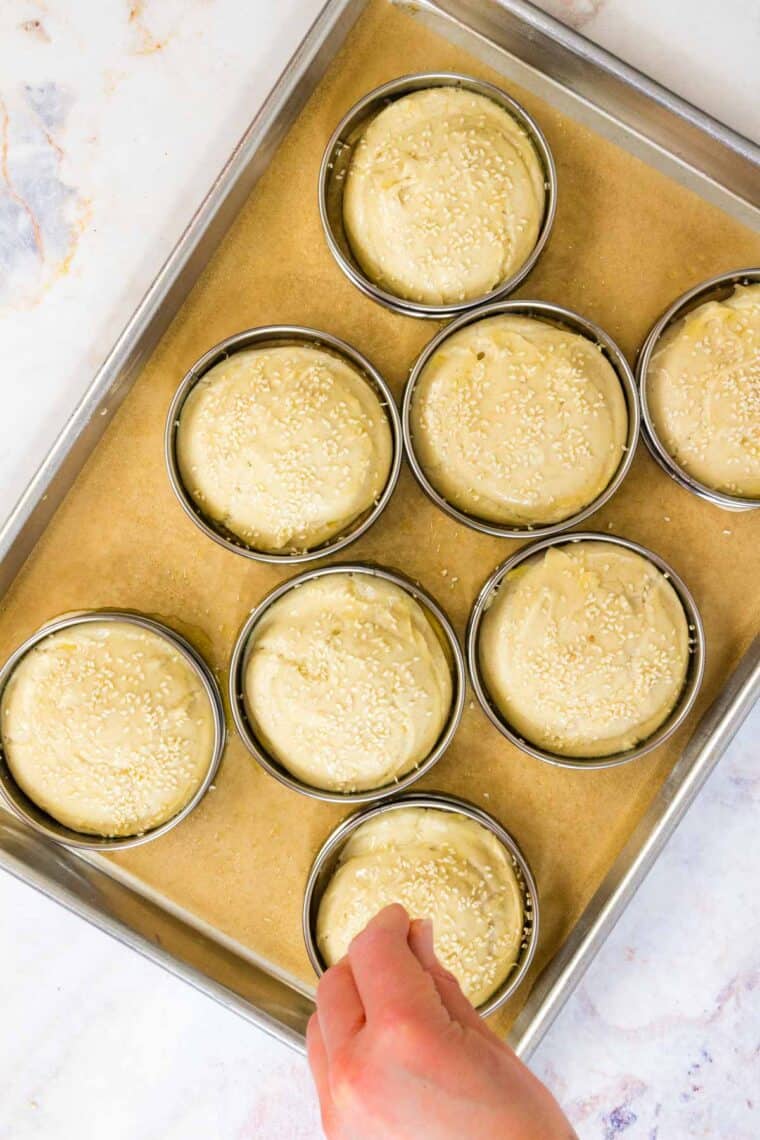
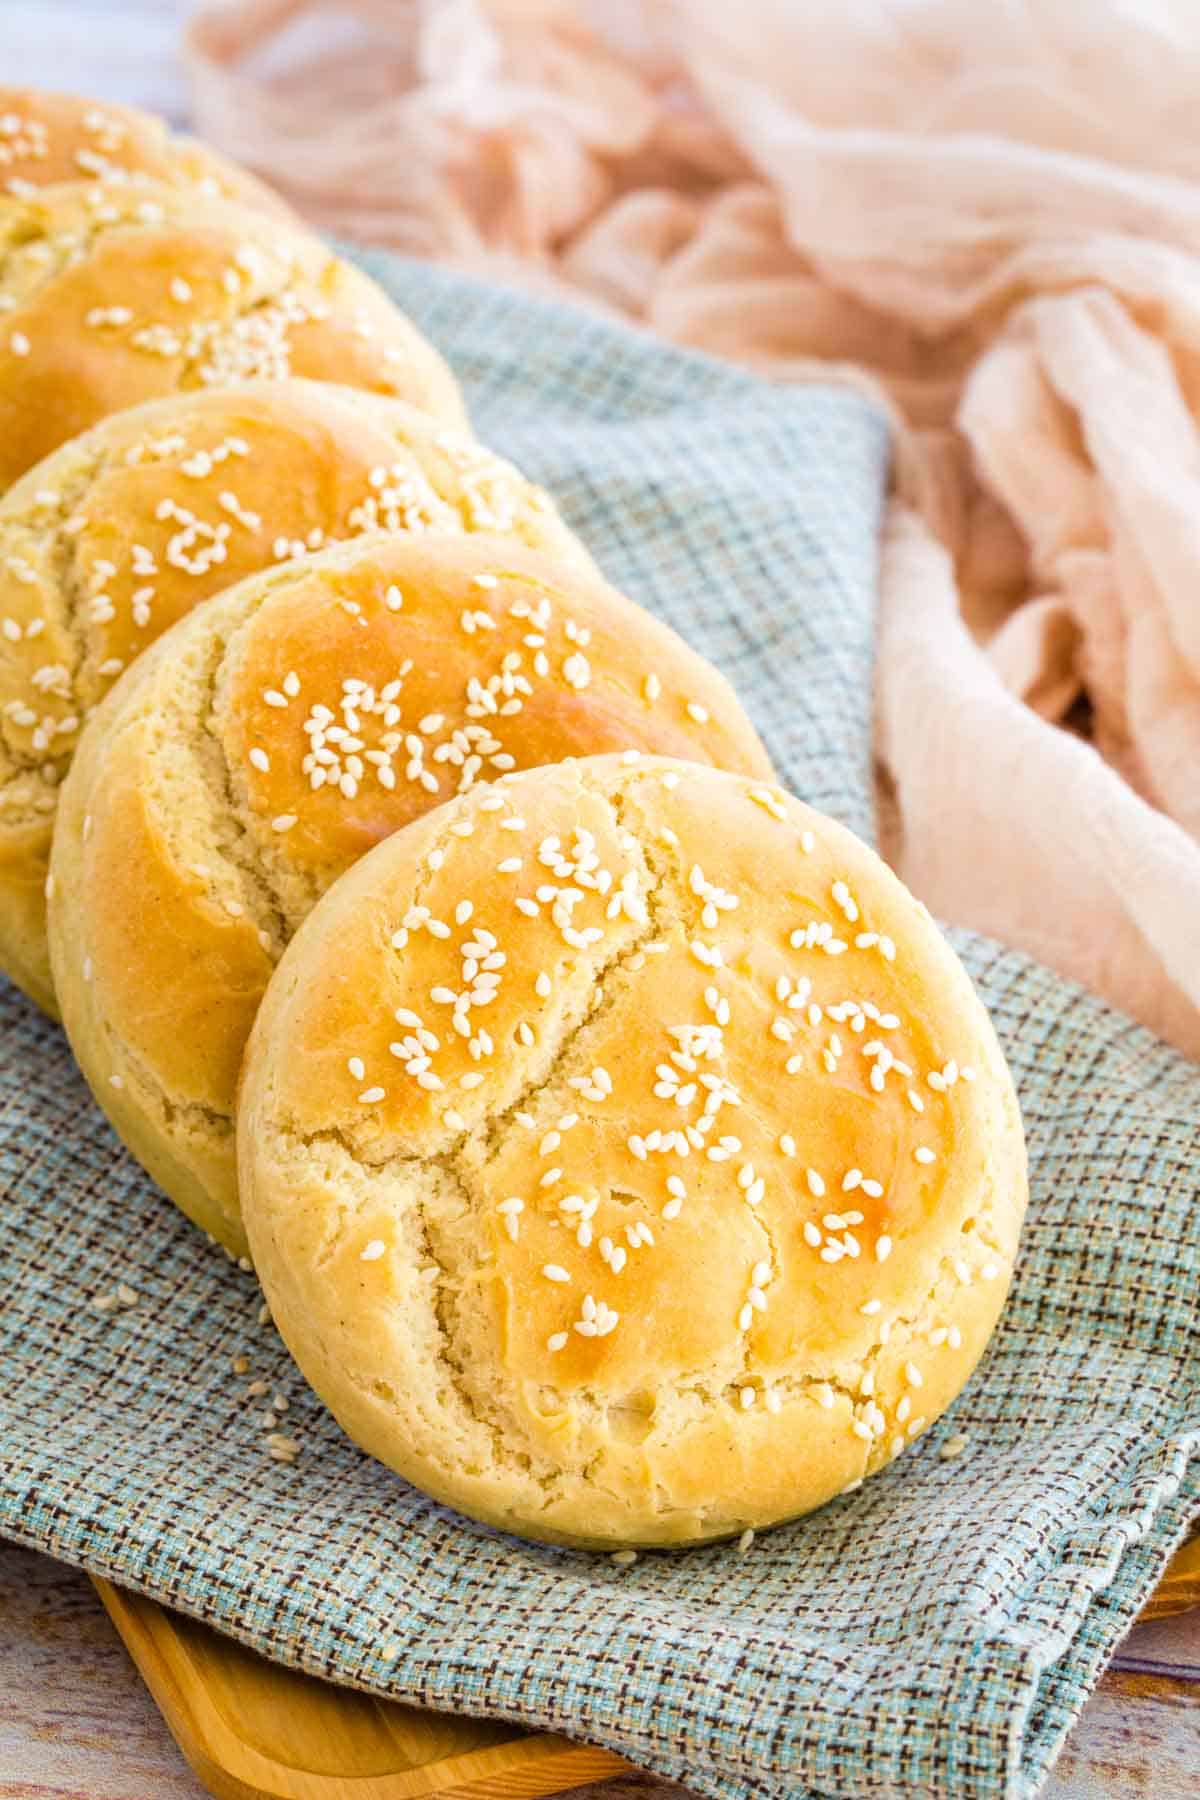
Bake: Bake the buns in a preheated oven, until they’re firm in the center and the outsides are golden brown. Leave the buns to cool completely before slicing.
Tips for Success
- If Your Yeast Won’t Activate: After it’s mixed with the water and sugar, the yeast should take about 10 minutes to activate and become frothy. If you notice that the yeast mixture hasn’t frothed up after this time, it could be that the water is too hot, or the yeast has expired. In this case, you’ll need to discard the mixture and start again.
- Place the Dough Somewhere Warm to Rise: Yeast and warmth are the best of friends, so it’s important to find a warm (but not too hot) spot to let your burger buns rise. If you live in a warm, humid environment, your countertop may be enough. Otherwise a sunlit window sill or under a lamp are both good options.
- What If I Don’t Have Dough Rings?: I tested this hamburger bun recipe with and without the dough rings. Using the rings resulted in buns that were more uniform and classic in look and shape. However, without rings, these buns still come out fine and taste great!
- Change Up the Toppings: These homemade burger buns are classic with a topping of sesame seeds, but you can also try poppy seeds, or even Everything Bagel seasoning.
GET YOUR E-COOKBOOK
How to Store
These light and fluffy burger buns are best on the day they’re baked, however, you can store them airtight at room temperature for up to 3 days. If you do plan to make them ahead, I recommend freezing them.
Can I Freeze These?
Yes! You can store these buns frozen for up to 2 months. Just remove them from the freezer about 30 minutes before you need them, and let them thaw on the counter.
Shop the Recipe
RecommendsSHEET PANS: These from Nordicware are the ones I use in my kitchen.
PARCHMENT PAPER: Essential to ensure your buns don’t stick.
RING MOLDS: While you can make the buns without them, these rings are helpful to end up with the perfect shape.
SCOOP: I like to use a scoop to portion out the dough because it it hard to handle from being sticky.
SHEET PANS: These from Nordicware are the ones I use in my kitchen.
PARCHMENT PAPER: Essential to ensure your buns don’t stick.
RING MOLDS: While you can make the buns without them, these rings are helpful to end up with the perfect shape.
SCOOP: I like to use a scoop to portion out the dough because it it hard to handle from being sticky.
%20(2).png)
.png)
0 Comments