This gluten free brioche recipe is an absolutely incredible yeast bread to make. If you are looking for a light, fluffy gluten free brioche loaf, this is the bread recipe you need to make next!
When was the last time you were able to enjoy brioche? I will never forget it. That first bite was buttery and fluffy and absolutely delicious. This gluten free version is the best thing I have found to compare.
GET YOUR E-COOKBOOK
Why I love this fluffy gluten-free brioche recipe:
- It is fluffy and soft and tastes so good!
- This gluten free brioche recipe is pretty easy to make, with just a few simple ingredients.
- You can vary the flavors in some fun ways!
- It makes incredible French toast!!
- This recipe also makes great gluten free brioche rolls or hamburger buns.
Allergen Information:
This homemade brioche bread is gluten-free, nut-free, oat-free, and soy-free.
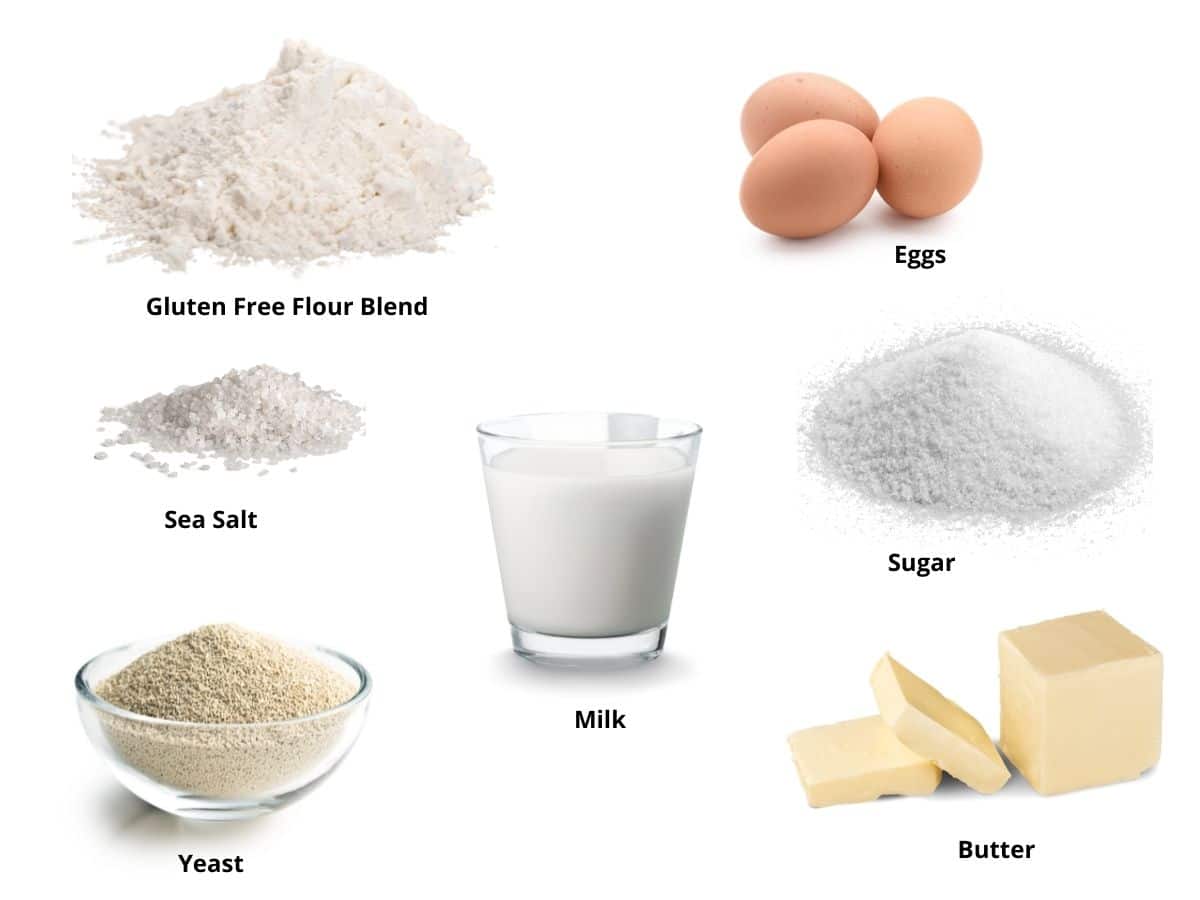
Ingredient Notes:
For the full list of ingredients and amounts, please go to the recipe card below.
There are not a lot of ingredients in my homemade brioche recipe, but I will say I do not recommend substitutions if you want your bread to be exactly as mine turned out. Flour blend matters!!
- Gluten Free Flour Mix – I used Authentic Foods Steve’s GF Bread Blend for this recipe. This flour is light years ahead of other gluten free flour blends because you can work this dough with your hands, and it bakes up beautifully. If you try another gluten-free flour blend, be sure the one you use has xanthan gum or guar gum, or you add a teaspoon separately.
- Milk – I tested this recipe with regular milk; I assume dairy-free milk will work, but I haven’t tested it. I assume dairy-free milk, like almond milk, will work, but I haven’t tested it.
- Yeast – I used regular, active, dry yeast, not rapid-rise yeast. Double-check that the brand you use is gluten free. Red Star Platinum is NOT gluten free!
- Eggs – Use whole eggs size large.
- Butter—Use room-temperature unsalted butter. I have not tested vegan butter in this recipe. If your butter isn’t very soft, heat it in the microwave for 20-25 seconds.
Step-By-Step Photos and Directions:
This gluten free brioche bread doesn’t have many crazy steps and is pretty straightforward.
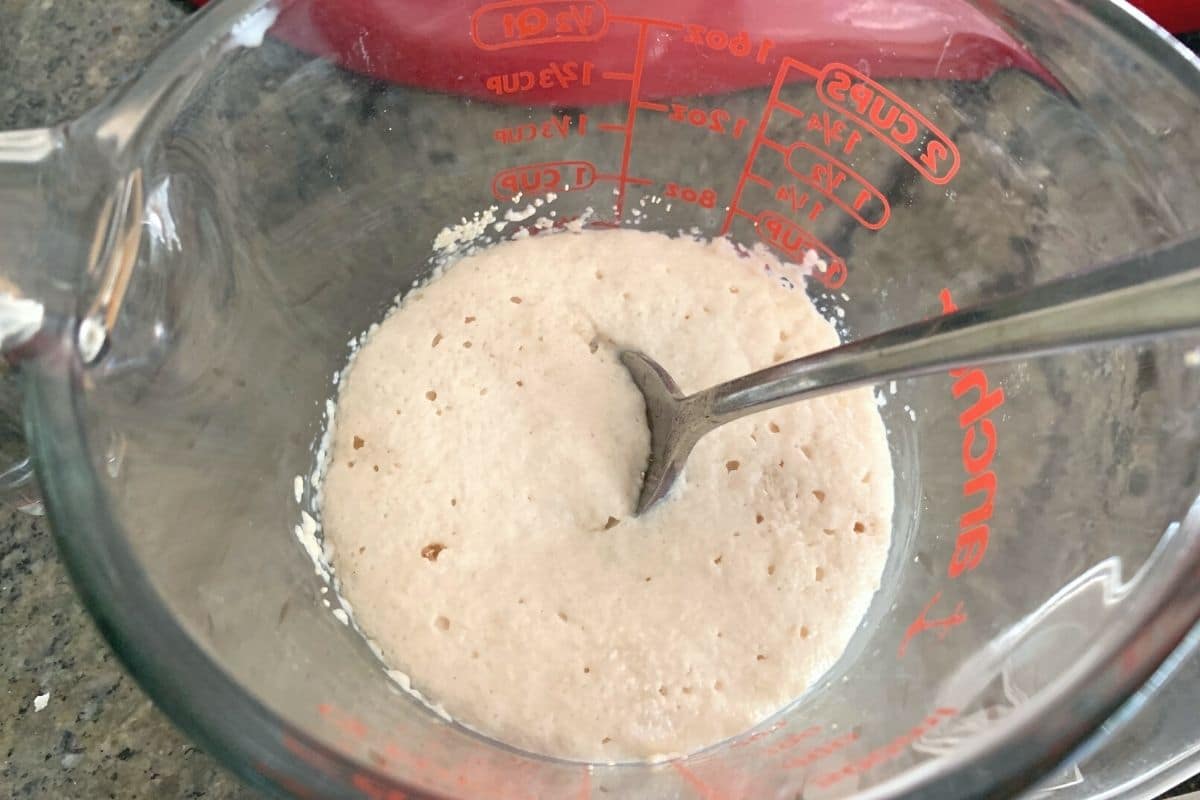
Step 1: In a small bowl, heat the milk to 110º F. This is about 25-30 seconds in your microwave oven. Add in the sugar and yeast and mix them in the warm milk. Let the mixture sit for 5-10 minutes until it is frothy.
HINT: It is important that your milk is not too hot, or the yeast will die.
👀 Sandi Says: If you use rapid yeast, add it to the dry ingredients and skip adding it to warm water.
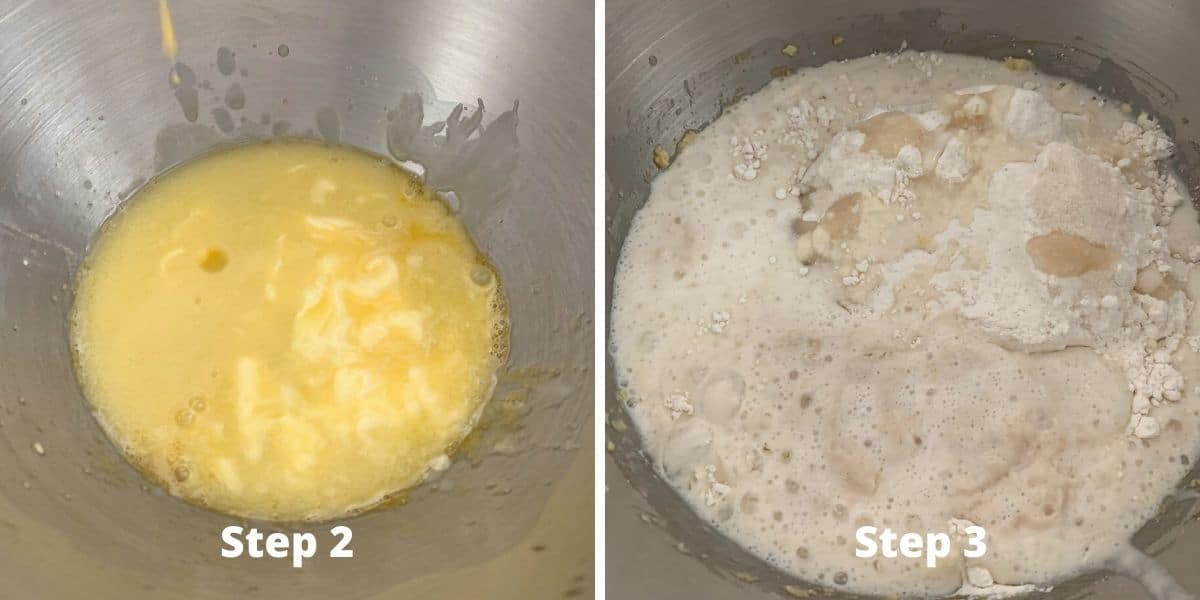
Step 2: Put the paddle attachment onto your standing mixer. Add the eggs and melted butter and beat on low for 30 seconds. Add the gluten free flour, sea salt, and sugar to the bowl of the standing mixer. Pour on the foamy yeast mixture.
Step 3: Mix at low speed, gradually increasing as the flour is incorporated into the mixture. Turn off the mixer when the dough has formed. Do not overmix your dough.
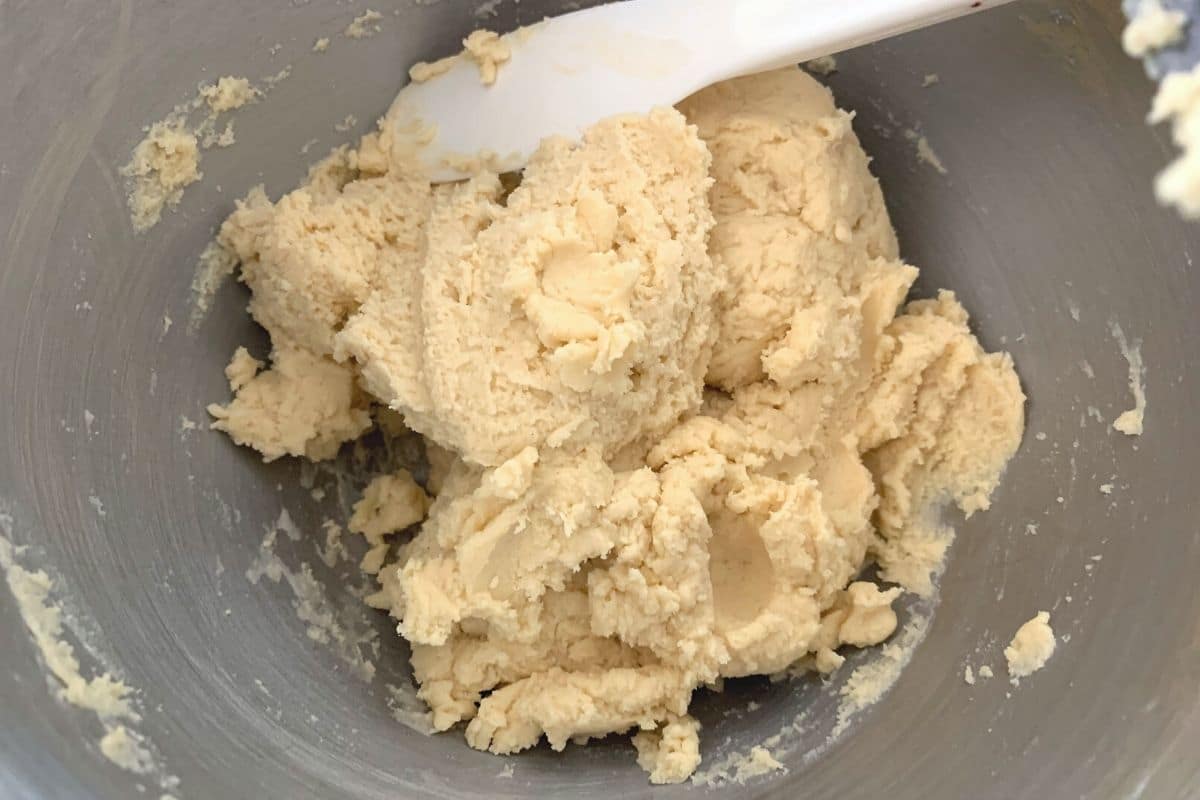
This is what your dough should look like. Note that if you used a different flour blend, your batter may need to be wetter.
🔑 Sandi says: With gluten free, you must form your bread before the first rise. Gluten free dough really only gets one good rise. Work the dough and then let it rise.
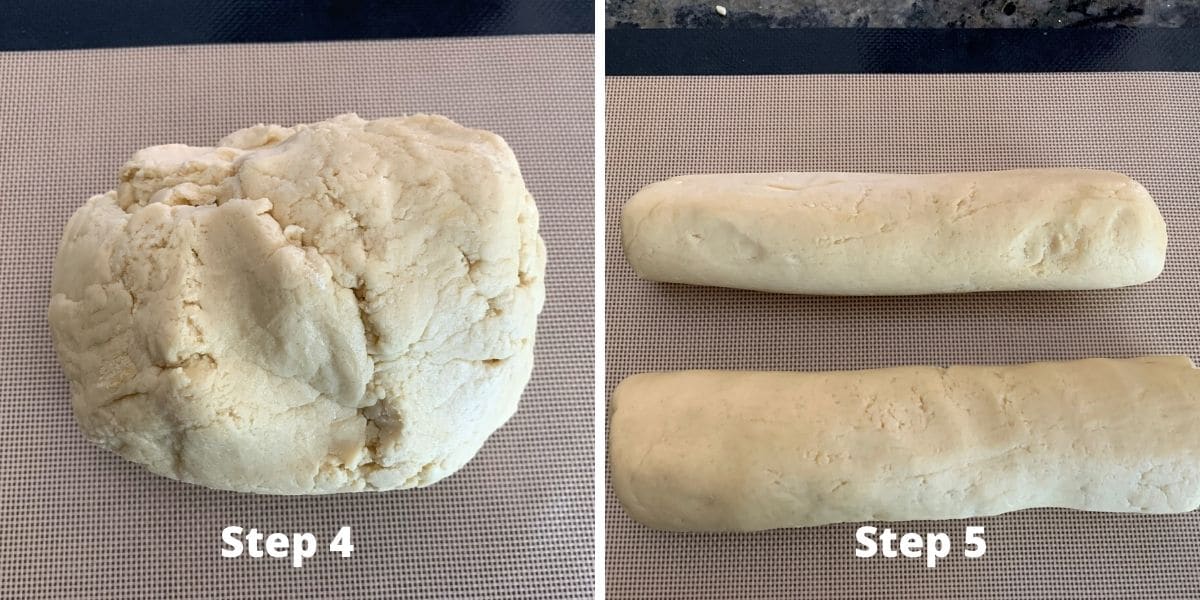
Step 4: Place the brioche dough onto a silicone mat or on a clean work surface. Gently press the dough into a ball. You should not need any extra flour for this part if you use the same gluten free flour blend as I did.
Step 5: Split the dough into two pieces. Gently roll the dough into two ropes. Keep the length the same as the bread loaf pan. You can also do a three-plat braid if you prefer.
Grease the loaf pan and preheat your oven to 200º F. Move the oven rack to the bottom setting. Once the oven reaches that temperature, please turn it off the oven.
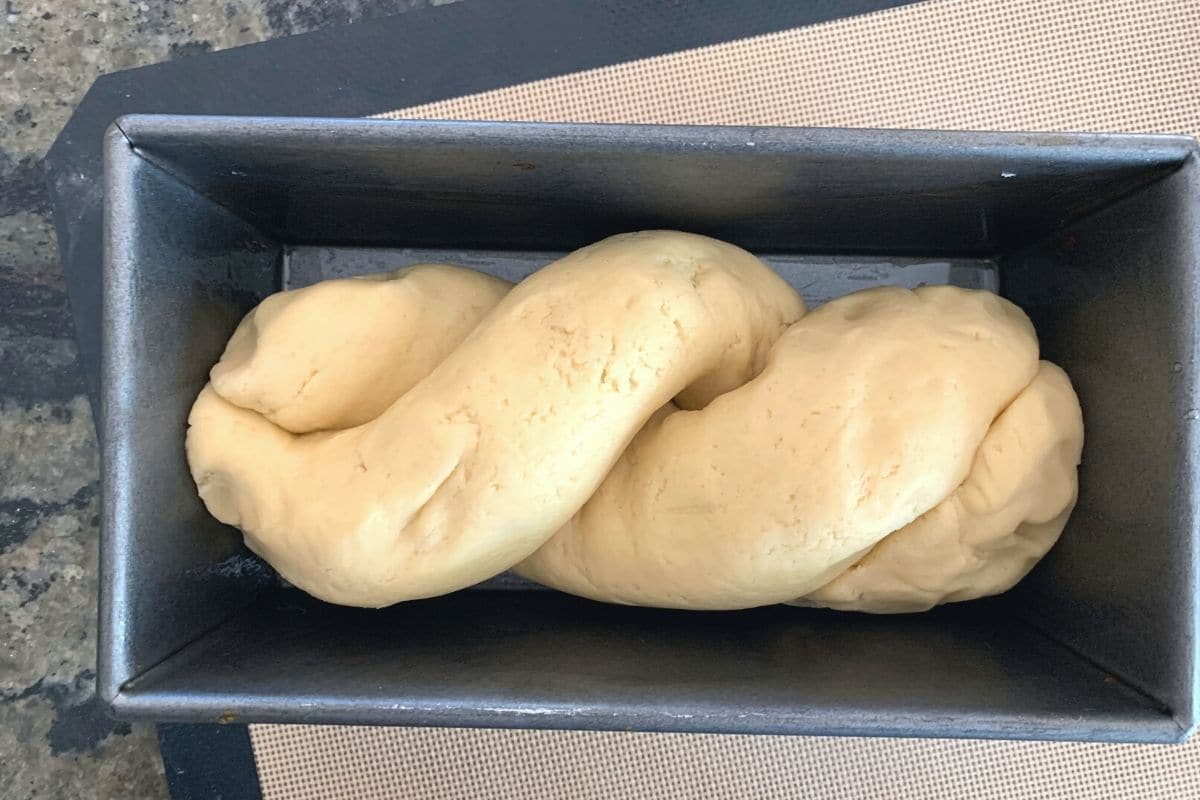
Step 6: Twist the two gluten free bread ropes into one and place it in the baking tin. Cover with plastic wrap and place it in a warm spot to rise.
Bread Rising Tip:
Rising gluten free dough is tough. The best way I have found is to preheat your oven to 200º F, then turn the oven off.
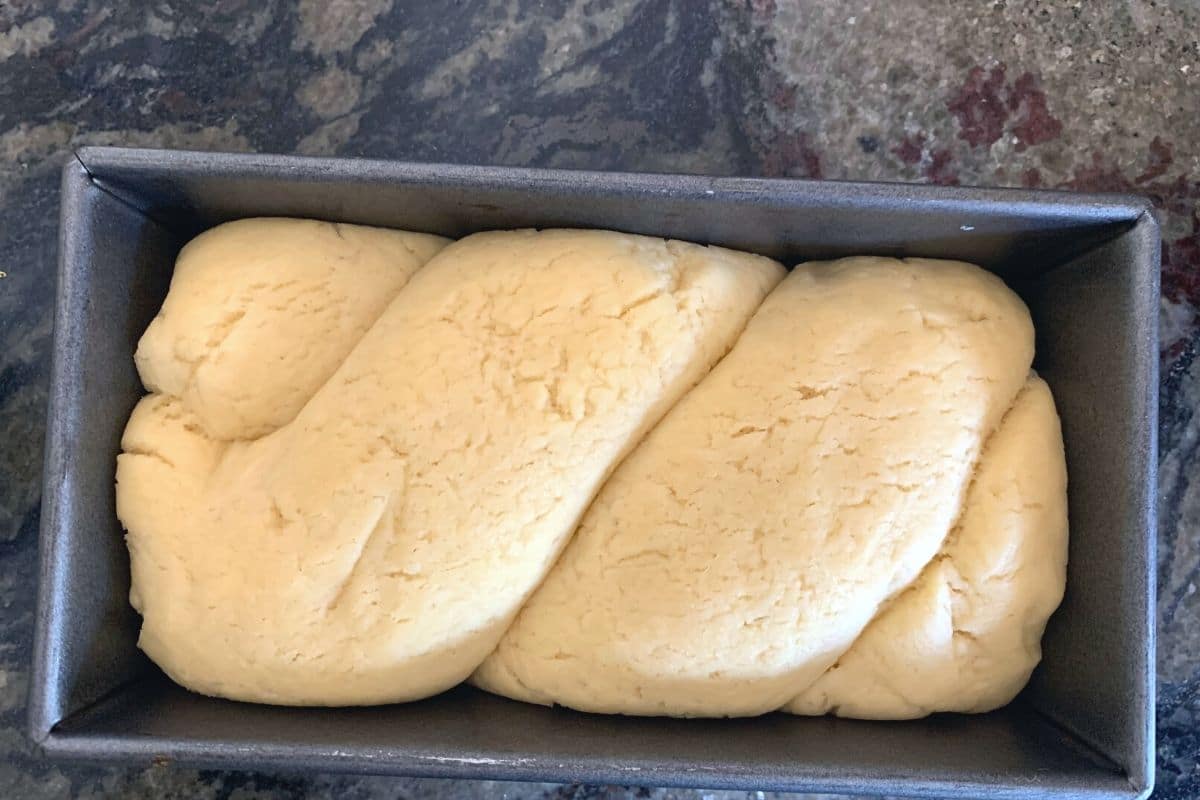
Step 6: For best results, place the bread loaf pan in the oven and let the bread rise for 1 1/2-2 hours. If you have one in your kitchen, you can also rise your bread in a warm place. Remove the bread from the oven. Preheat the oven to 360º F.
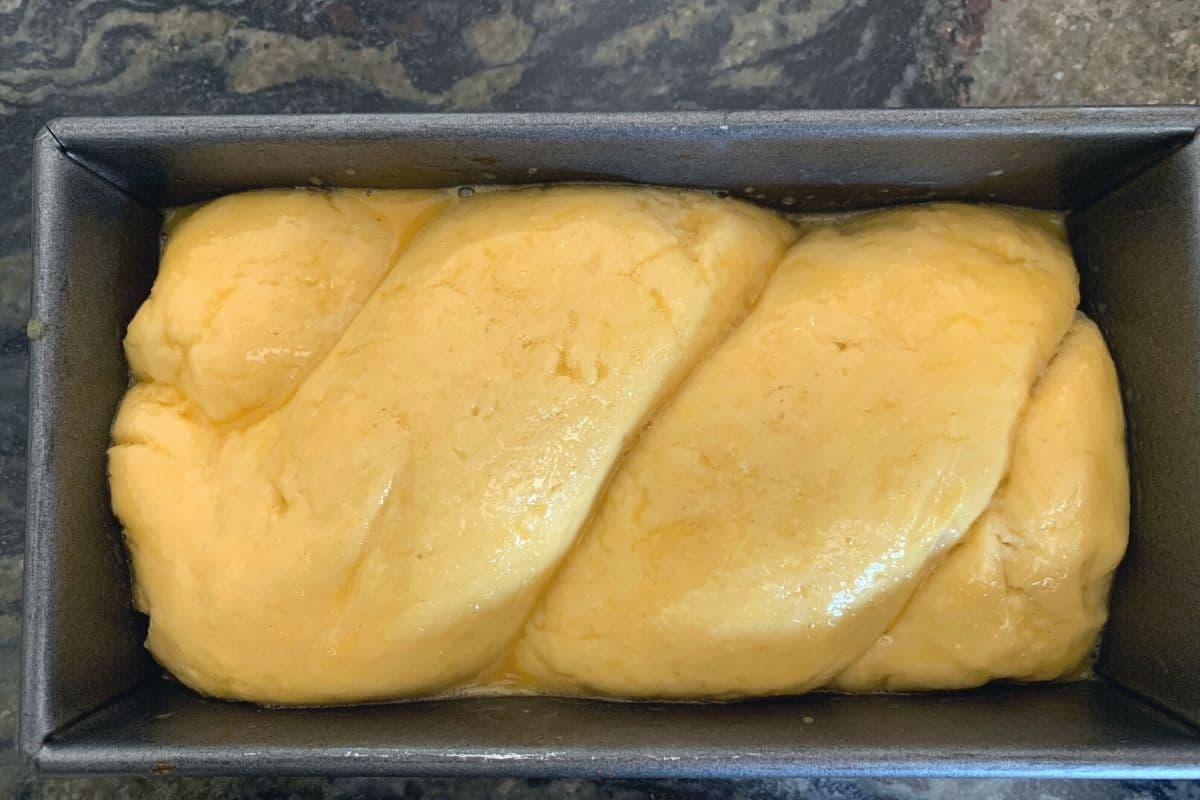
Step 7: Scramble an egg in a small bowl and use a pastry brush to brush the egg over the top of the loaf. I did a double coating so my brioche loaf would get a deep golden color.
Step 8: Bake the brioche for 30-40 minutes until the top is golden brown and it has an internal temperature of 190º F. To measure the temperature, insert a digital thermometer down to the bottom of the loaf.
Step 9: Remove the loaf from the oven and let it sit in the pan for 5 minutes. Gently remove the gluten free brioche and put it on a wire rack to cool. Try not to cut into the bread for 2 hours. It will give the bread the time to finish cooking and set.
Bread Troubleshooting
Why is my gluten-free bread sticky or gummy?
If you notice your gluten-free bread dough is too sticky, it usually means you have too much liquid in the dough or didn’t bake it long enough. The best way to fix sticky dough is to add more gluten-free flour or bake it for longer. Some gluten free flour blends are very starchy, and you need to use more flour with these blends than other blends.
Why didn’t my gluten-free bread rise?
There are many potential reasons why your gluten-free bread didn’t rise. Here are the three most common issues I have found in my experience with making gluten-free bread:
- Was the yeast expired? Did you use the right type of yeast that the recipe called for? (Active dry yeast or Rapid-rise yeast.)
- What temperature was the water in which you proofed the yeast? It should be no hotter than 110º F.
- Did you use purified water? Chlorine and other chemicals in tap water can kill yeast.
GET YOUR E-COOKBOOK
Equipment
- Digital Thermometer
- Standing mixer
Ingredients
Yeast Proofing
- ⅔ cup milk * see note
- 1 tablespoon dry active yeast *or one packet
- 1 tablespoon white cane sugar
For the Brioche
- 2 ¾ cups gluten free flour blend
- ¼ cup white cane sugar
- 1 teaspoon sea salt
- 3 eggs size large
- ½ cup butter melted
Instructions
- In a small bowl, heat the milk to 110º F. This is about 25-30 seconds in your microwave oven. Add in the sugar and yeast and stir to mix them together in the warm milk. Let the mixture sit for 5-10 minutes until it is frothy.
- HINT: It is important that your milk is not too hot or the yeast will die.
- Put the paddle attachment onto your standing mixer. Add the eggs and melted butter and beat on low for 30 seconds. Add the gluten free flour, sea salt, and sugar to the bowl of the standing mixer. Pour on the foamy yeast mixture.
- Mix at low speed, gradually increasing the speed as the flour incorporates into the mixture. Turn off the mixer when the dough has formed. Do not overmix your dough.
- NOTE: Gluten free dough really only gets one good rise. Work the dough and then let it rise.
- Place the brioche dough onto a silicone mat or on a clean work surface. Gently press the dough into a ball. You should not need any extra flour for this part if you use the same gluten free flour blend as I did.
- Split the dough into two pieces. Gently roll the dough into two ropes. Keep the length the same as the bread loaf pan. You can also do a three plait braid if you prefer.
- Grease the loaf pan and preheat your oven to 200º F. Move the oven rack to the bottom setting. Once the oven reaches that temperature, turn off the oven.
- Twist the two gluten free bread ropes into one and place it in the baking tin. Cover with plastic wrap and place it in a warm spot to rise.
- For best results, place the bread loaf pan in the oven and let the bread rise for 1 1/2-2 hours. You can also rise your bread in a warm place if you have one in your kitchen. Remove the bread from the oven. Preheat the oven to 360 degrees F.
- Scramble an egg in a small bowl and use a pastry brush to brush the egg over the top of the loaf. I did a double coating so my brioche loaf would get with a deep golden color.
- Bake the brioche for 30-40 minutes until the top is golden brown and it has an internal temperature of 190º F. To measure the temperature, insert a digital thermometer down to the bottom of the loaf.
- Remove the loaf from the oven and let it sit in the pan for 5 minutes. Gently remove the gluten free brioche and put it on a wire rack to cool. Try not to cut into the bread for 2 hours. It will give the bread the time to finish cooking and set.
Notes
- I used Authentic Foods Steve’s GF Bread Blend for this recipe. This flour is light years ahead of other gluten free flour blends because you can work this dough with your hands, and it bakes up beautifully. If you try another gluten-free flour blend, be sure the one you use has xanthan gum or guar gum, or you add a teaspoon separately.
- I am saying it again….the flour blend you use matters! If your bread turns out dense, didn’t rise, etc., the chances are you used a gluten free flour blend that doesn’t work with yeast or your yeast is expired.
- Yeast – double-check the brand you use is gluten free. Red Star Platinum is NOT gluten free!
- This bread keep fresh for up to 3 days in an airtight container in the refrigerator or up to 4 months in the freezer. To soften it up, microwave the slice of brioche for 20-25 seconds.
SPECIAL NOTE
Please know that every gluten free flour blend has a different starch to grain ratio. If you use a blend I didn’t test, you may need to adjust your moisture levels in your baked goods.

%20(2).png)
.png)

0 Comments