
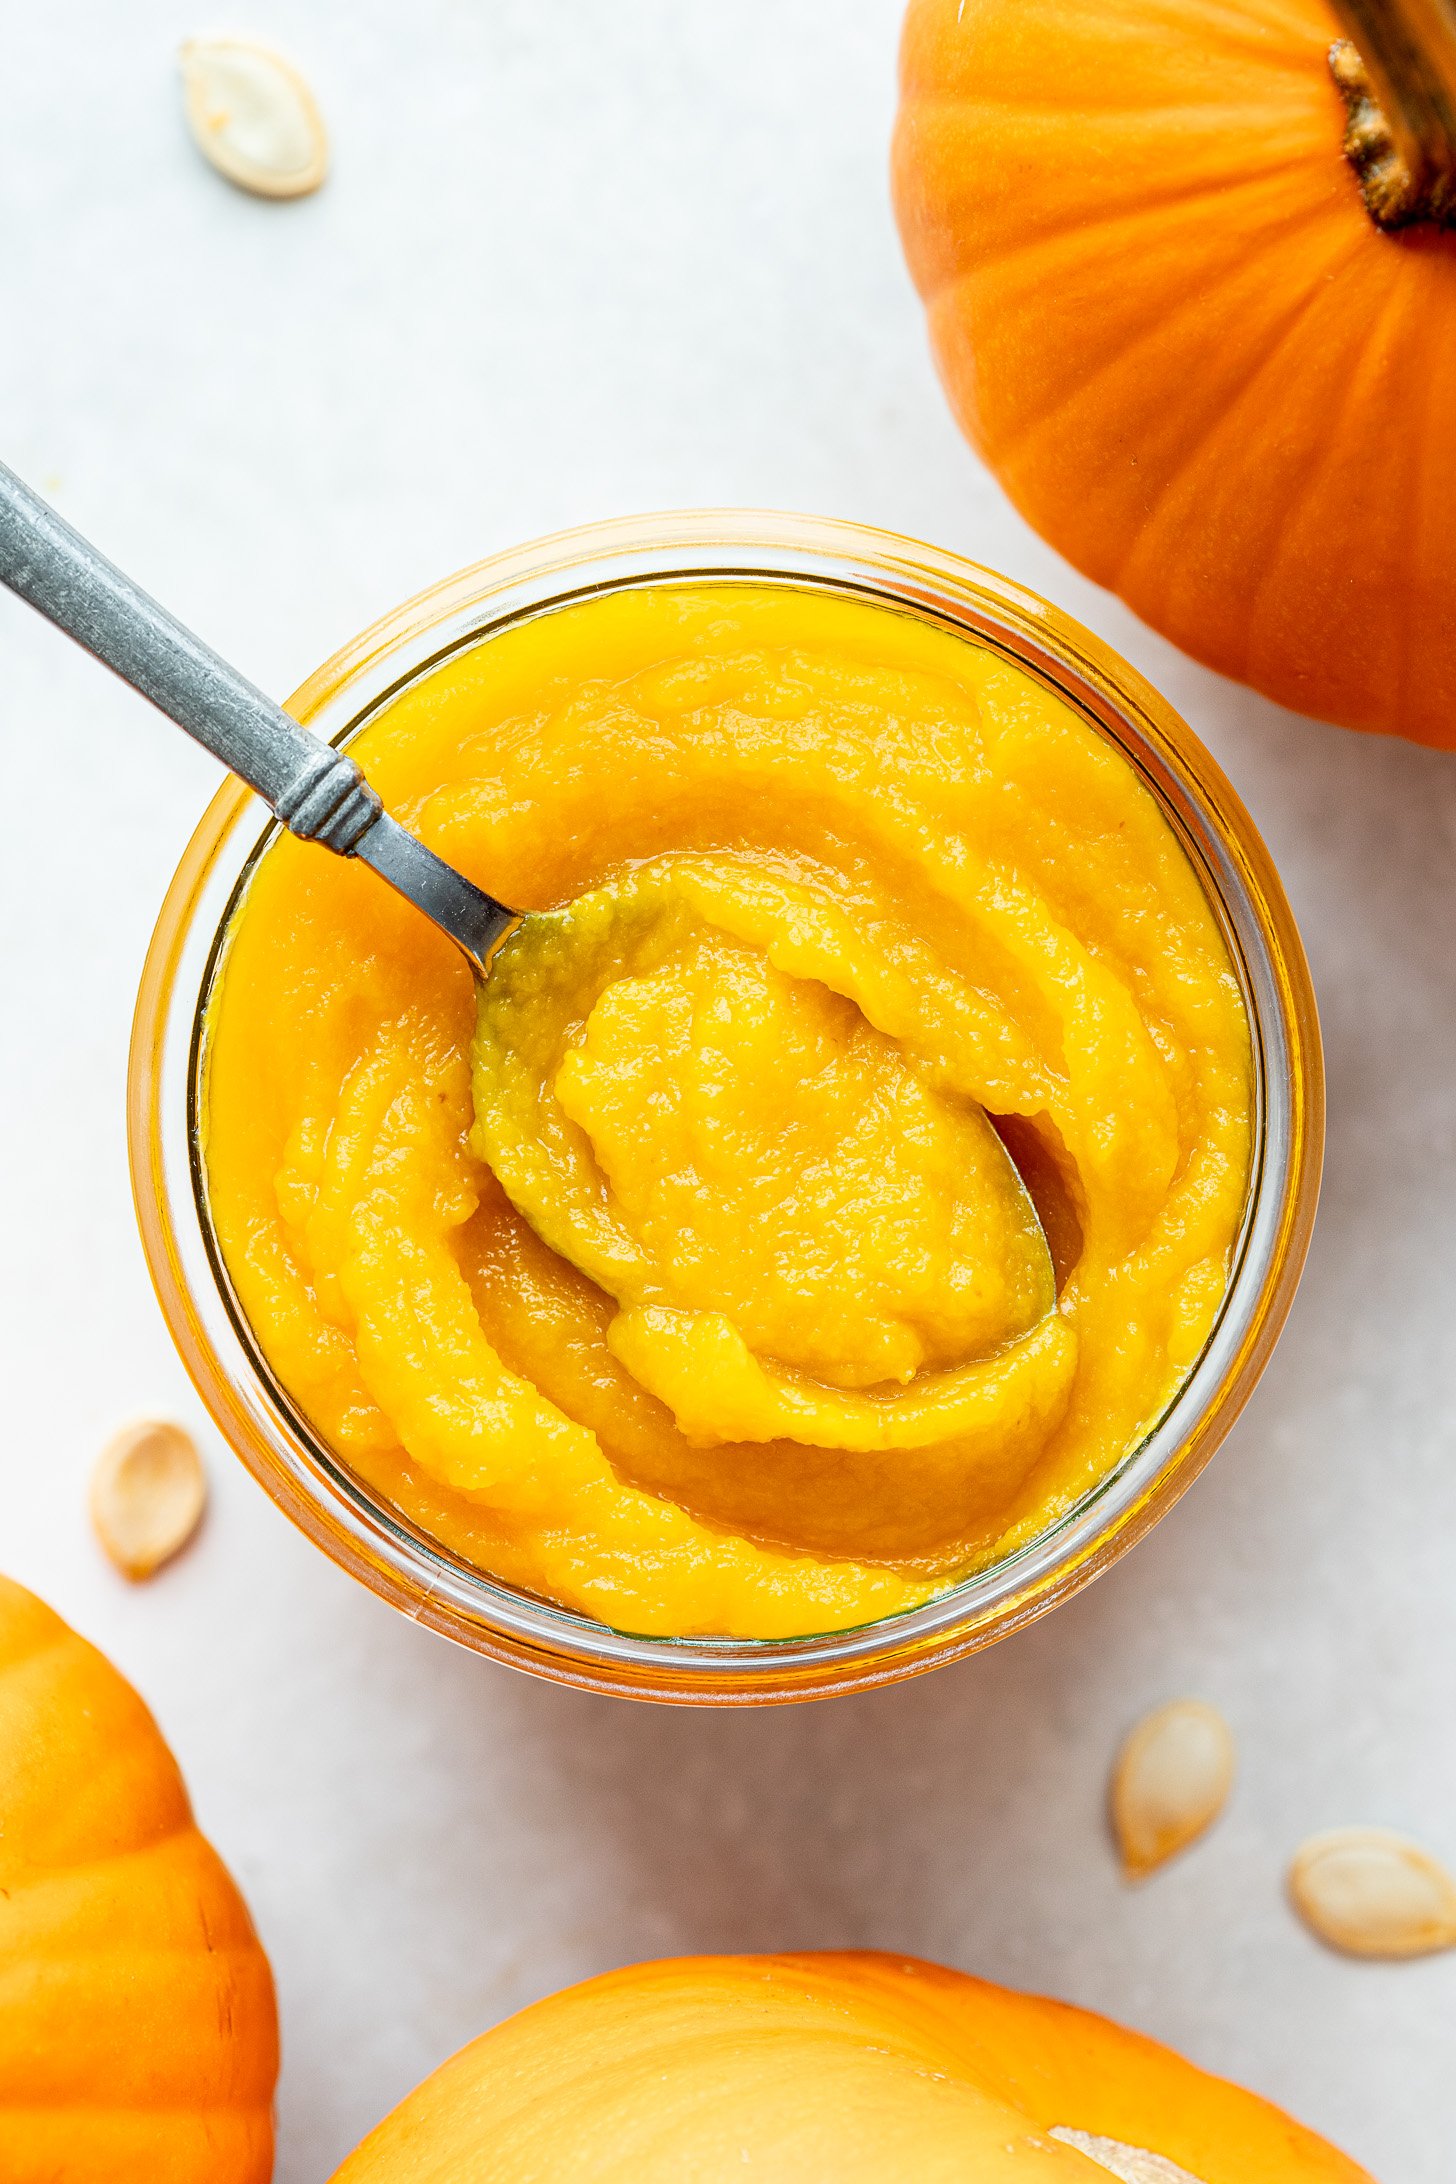
If you have a pie pumpkin on hand that you want to turn into something delicious or simply love making fall goodness from scratch, let me show you the truly simple process of how to make Homemade Pumpkin Puree! Here is my tried-and-true method for how to cut, roast, and process fresh pumpkin puree — as well as how to store it in both your fridge and freezer!
While “pumpkin season” can happily last all year round thanks to store-bought canned pumpkin, I sometimes enjoy making Homemade Pumpkin Puree during the fall when pumpkins are at their peak.
And…it’s easier than you think! Yes, slicing through a large squash like this takes a bit of skill but my tried-and-true method outlined below will have you on your way to pumpkin bliss in no time.
Now let’s address the elephant in the room when it comes to store-bought vs homemade. The internet can be an interesting place. Make something from scratch? “What’s wrong with premade?” Use store-bought or use a shortcut? “Why don’t you make your own?”
The thing is, there is NOTHING wrong with canned pumpkin puree from the store. It is my go-to when it comes to pumpkin recipes! However, sometimes I will find myself with an amazing seasonal pie pumpkin that I don’t want to let go to waste. Or, I know some of you live outside the United States (where I live) and can’t find canned pumpkin where you are…and have to make your own to get your pumpkin fix in the fall.
The moral of the story: We can all do what works for the US. Sometimes shortcuts or pre-prepped ingredients let us get more home-cooked meals on the table. And sometimes we prefer to make it from scratch. And sometimes we don’t have a choice. No better, no worse!
Can I use any old pumpkin to make Homemade Pumpkin Puree? While it may be tempting to just pick up a typical carving pumpkin (especially when Jack-o-lantern pumpkins abound this time of year!), they are far too fibrous and not ideal for puree. Instead, stick with the smaller sugar pumpkin or pie pumpkin for the best result!

The best way to cut pumpkin for cooking
The most intimidating part of making pumpkin puree can be cutting the pumpkin itself! But, it’s really not as hard as it sounds! Below, I have outlined step-by-step, the safest way I have found to cut a whole pumpkin. Then, it’s on to roasting, pureeing, and storing!


How to Make Homemade Pumpkin Puree: Visual step-by-step guide.
What is the best method or equipment for cooking pumpkins? While cooking a pumpkin in a slow cooker or Instant Pot is possible, I find it’s not always ideal. Why? Because it can be hard to find a pumpkin-sized “just right” to be steamed safely in either the slow cooker or the Instant Pot. And I feel like roasting is the gold standard for getting the best flavor out of veggies…so the oven is my go-to piece of equipment for cooking pumpkin and for homemade puree.


How to store your Homemade Pumpkin Puree (fridge + freezer)
Whether you’re making Homemade Pumpkin Puree to use right away (in one of my MANY pumpkin-rich recipes linked below!) OR you have an abundance of these orange gems from your garden or the farmer’s market and want to make use of your freezer to have pumpkin puree ready to go whenever the mood strikes, here are my go-to methods for storing your DIY puree!
Can you make pumpkin puree? I wish I was an authority on this! Sadly, as I have not tried canning this recipe, I cannot properly advise on how one can go about this.


- GET YOUR COOKBOOK
.png)
.png)
Ingredients
- 3-4 pound cooking or sugar pie pumpkin, not carving pumpkins, too fibrous
- water, for thinning puree if needed
Instructions
- Preheat the oven to 375 degrees F. Line a large baking sheet with parchment paper to make cleanup easier.
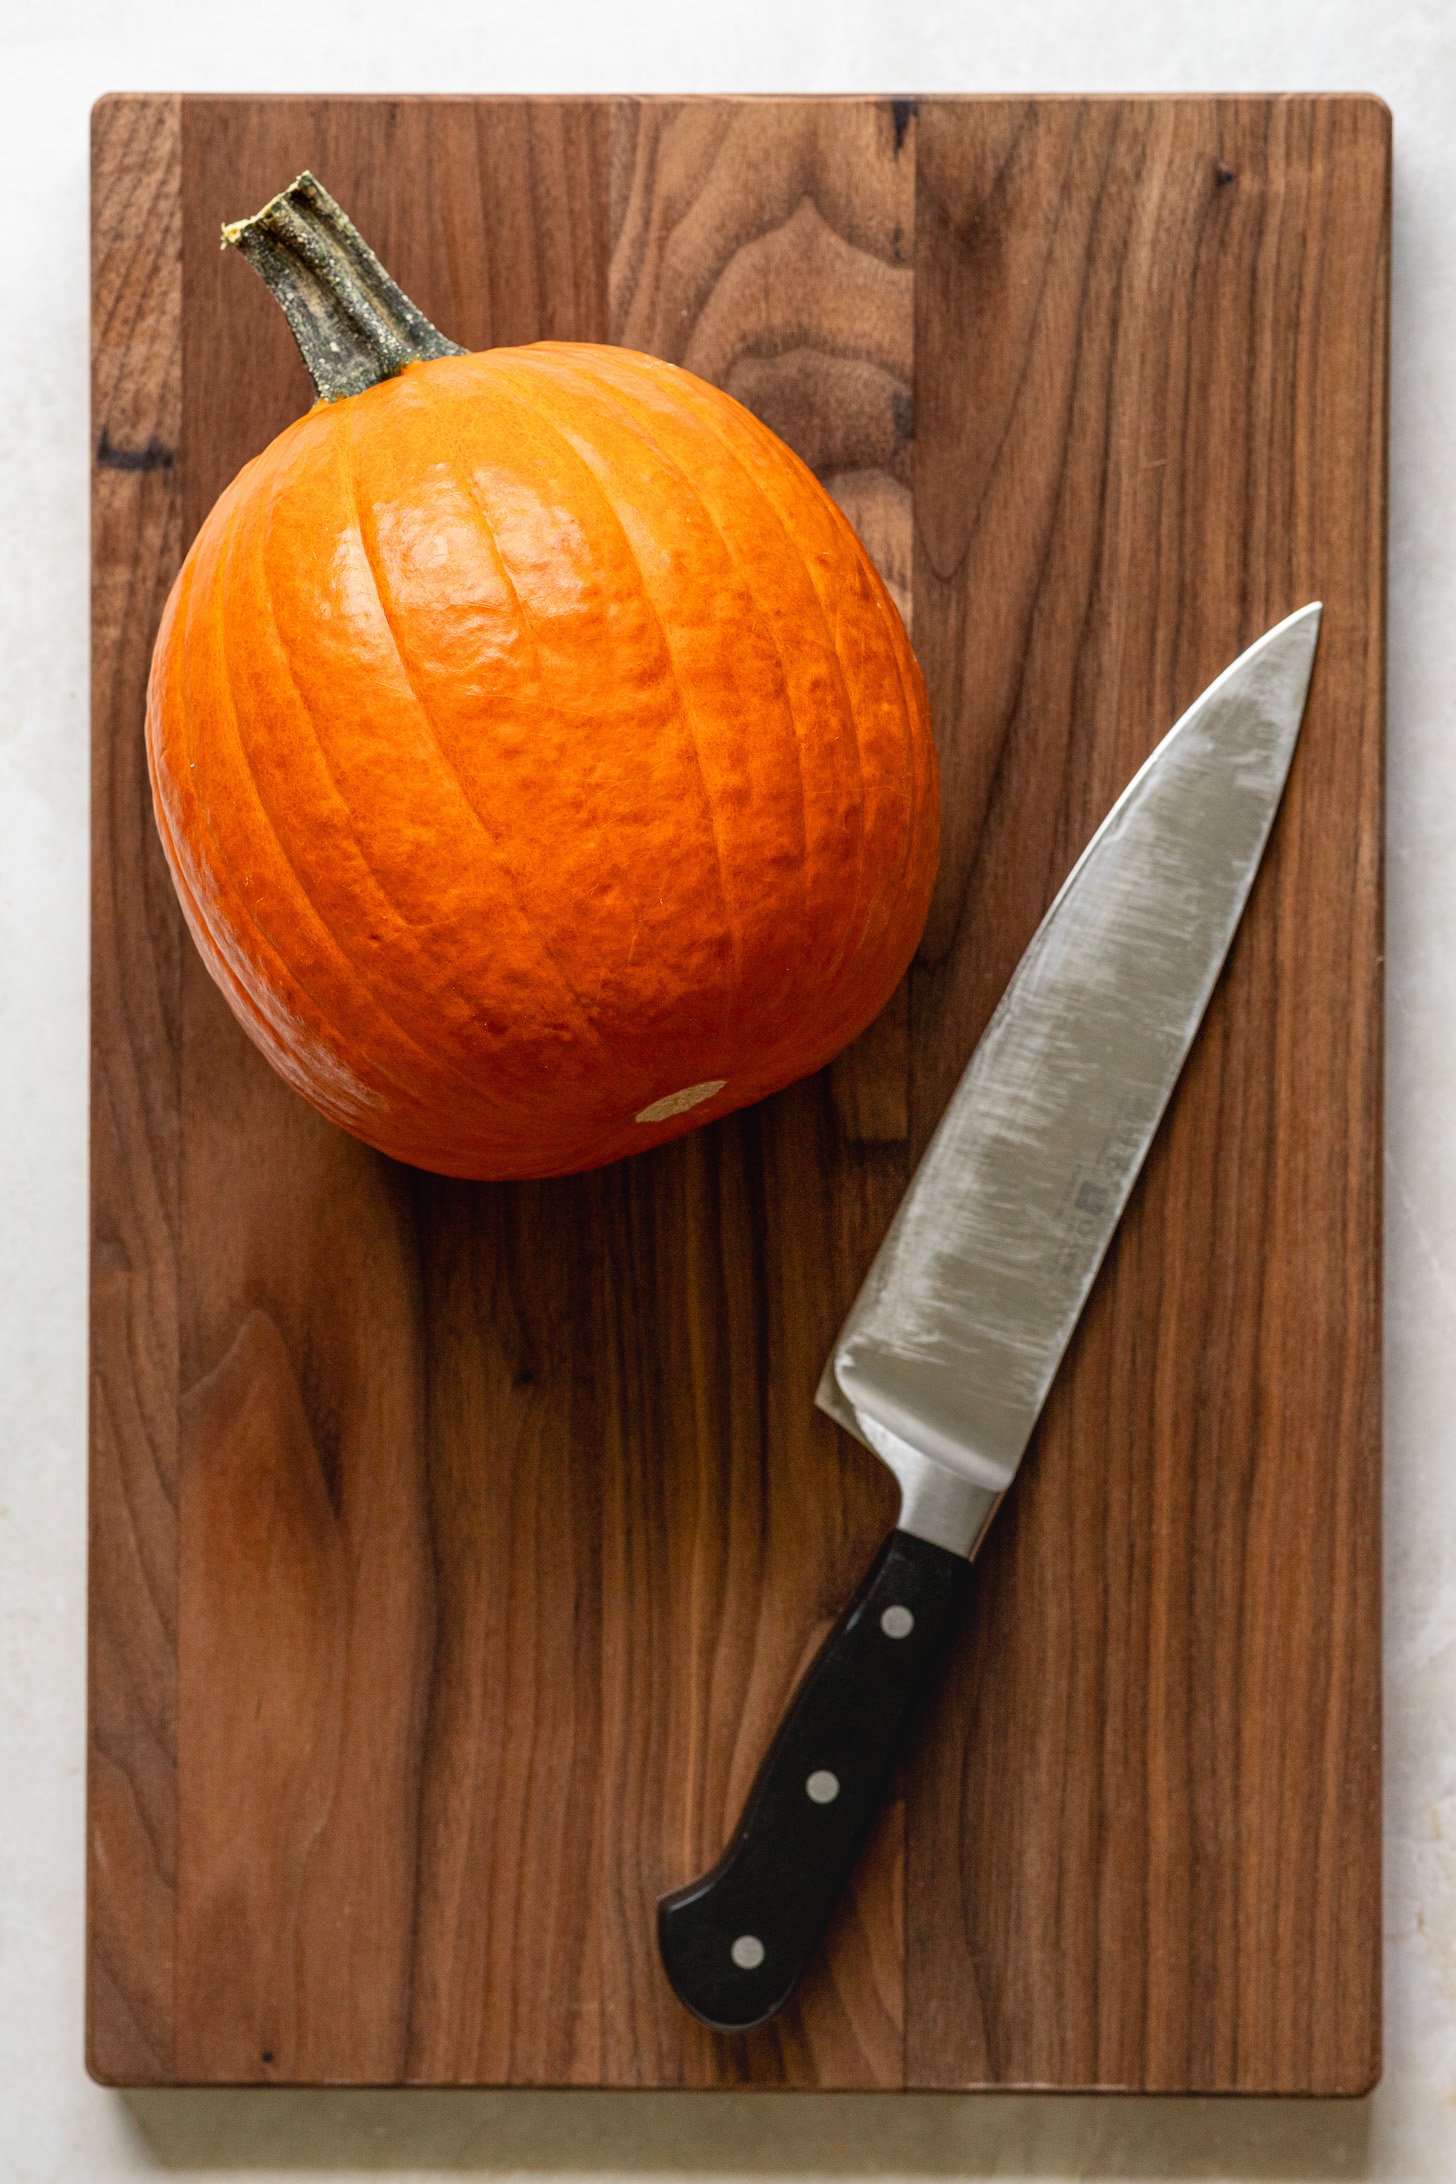
- Wash and dry your pumpkin to be sure it is free of all dirt.
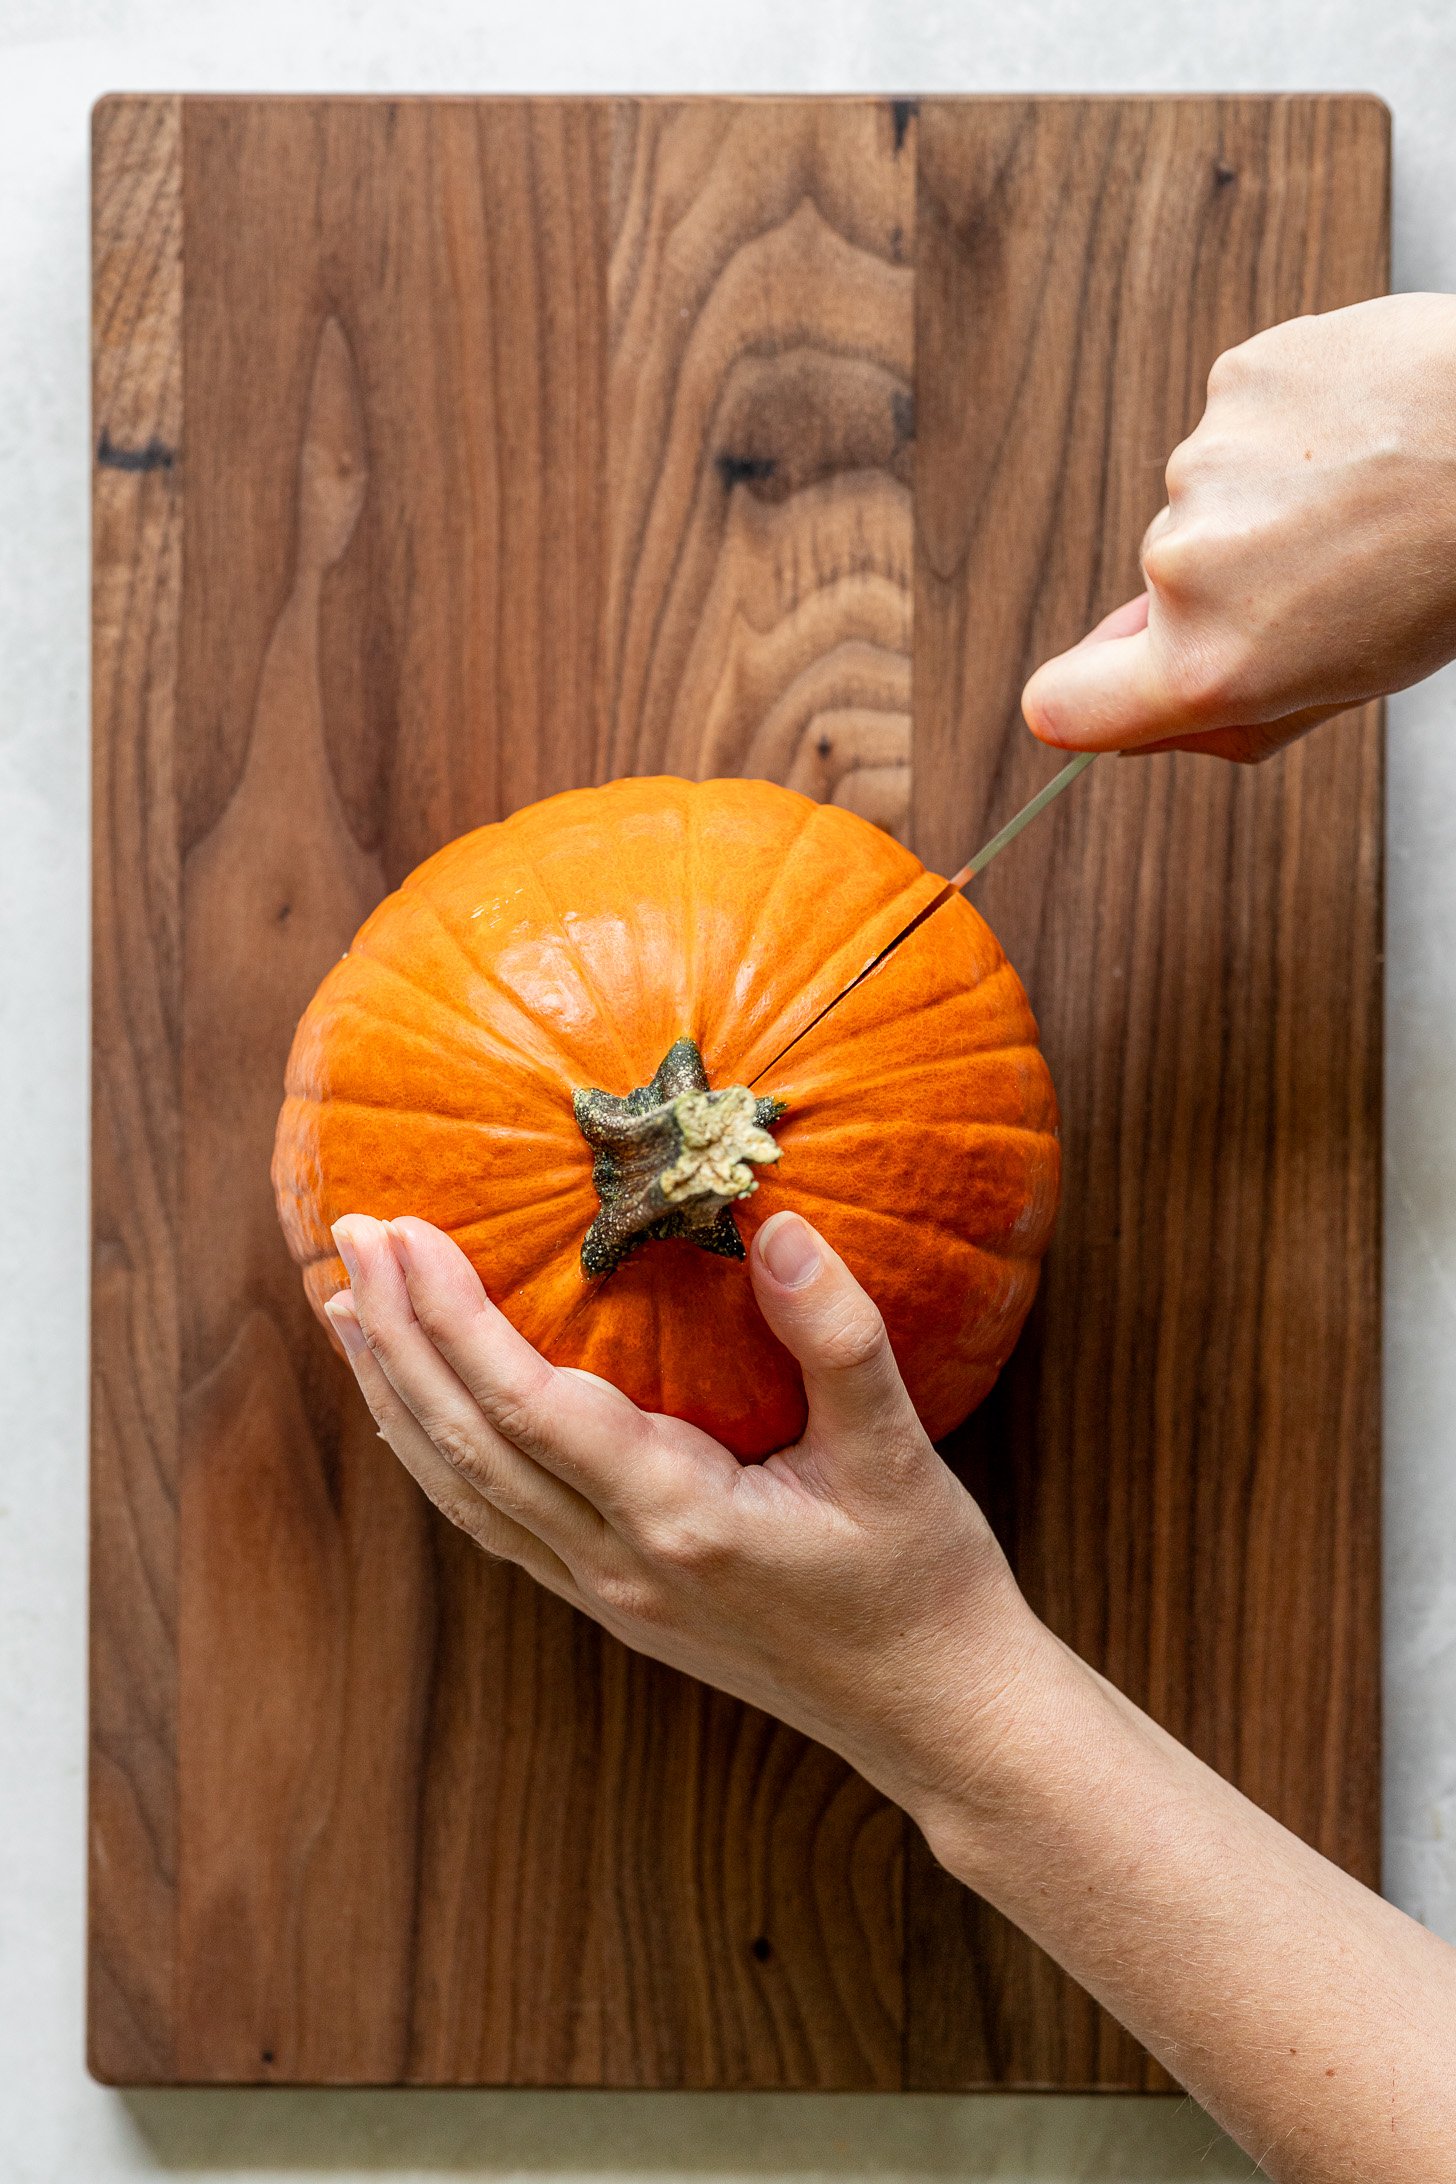
- Place your pumpkin on a stable cutting surface with the stem facing up. Taking a large sharp knife, insert the tip straight into the pumpkin to one side of the stem (not through the stem. The stem is far too hard and fibrous to cut directly through). Holding the opposite side of your pumpkin with your other hand to keep it stable, carefully push the knife down into the pumpkin next to the stem and then push the knife towards the cutting surface.Once your knife is through that side of the pumpkin, carefully remove the knife and turn your pumpkin around so the spot you just cut is opposite you. Insert your knife where the original cut started, and carefully pull your knife down towards the cutting surface until your pumpkin breaks into two halves.
- Use a large metal spoon, to scoop out the stringy pulp and seeds from both halves of the pumpkin. Be sure to remove as much of the stringy pump as possible.
- Place the cleaned-out pumpkin halves cut side down on your prepared baking sheet. Place in your preheated oven and roast for 45-55 minutes. How long it takes to cook will depend on the size of your pumpkin. You will know your pumpkin is done when you can easily slide a knife or fork into the flesh.
- Remove from oven and let cool enough for you to easily handle it.
- Once cool enough to handle, peel the skin off of the pumpkin flesh (I find that it almost falls off) or use a large spoon to scoop the flesh off of the skin of the pumpkin.
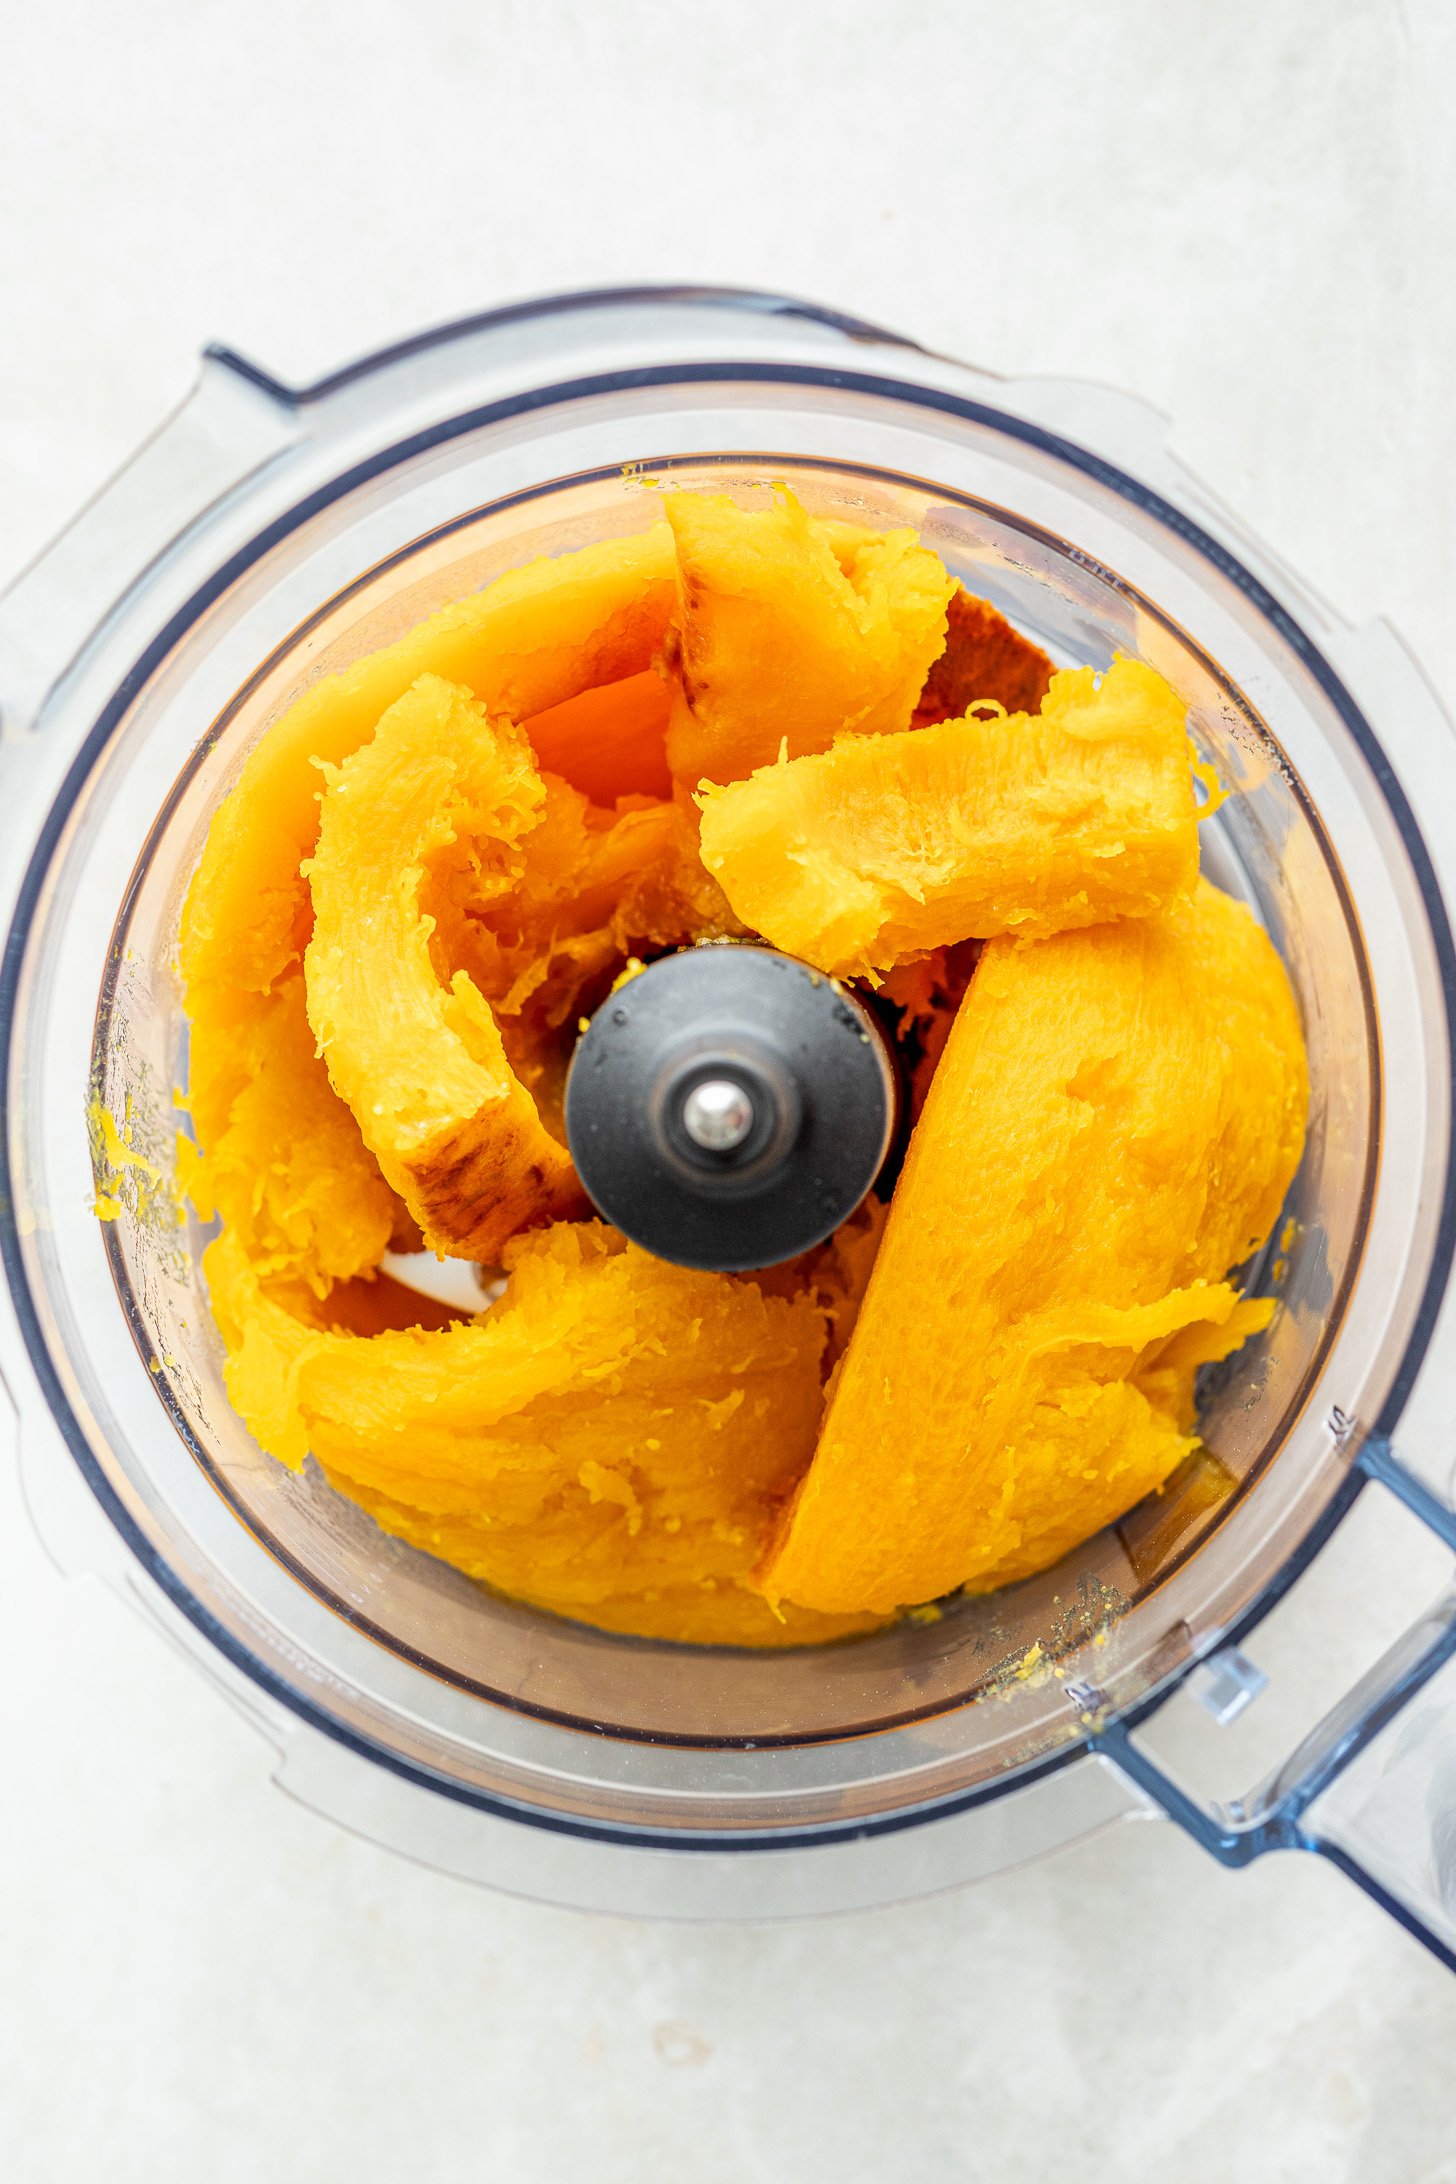
- Place the pumpkin flesh in a food processor or high-speed blender.
- Puree the pumpkin flesh until smooth, stopping to scrape down the sides of your blender/food processor a few times. If you find your pumpkin is too thick or dry, add 2 Tablespoons of water at a time and reblend until your desired consistency is reached. This should make about 3-4 cups of pumpkin puree, depending on the size of your pumpkin. I find that 1 pound of pumpkin yields about 1 cup of puree.
- To store:Fridge: Scoop your pumpkin puree into air-tight containers and store in your fridge for up to 5 daysFreezer: Portion out into silicone ice cube trays or lined muffin tin to freeze. I find this makes it easier to store and portion out for future use. Once frozen, transfer pumpkin cubes to an air-tight freezer-safe container and store in your freezer for up to 2 months.


0 Comments