Gluten-Free Bliss Balls: The Snack That Saved My Sanity (and My Sugar Cravings!)
Hey everyone! If you're anything like me, you're always on the hunt for that perfect snack. You know, the one that satisfies your sweet tooth, keeps you feeling energized, and doesn't kick your gluten-free diet to the curb. Well, friends, I think I've finally found it. And I'm bursting to share it with you!
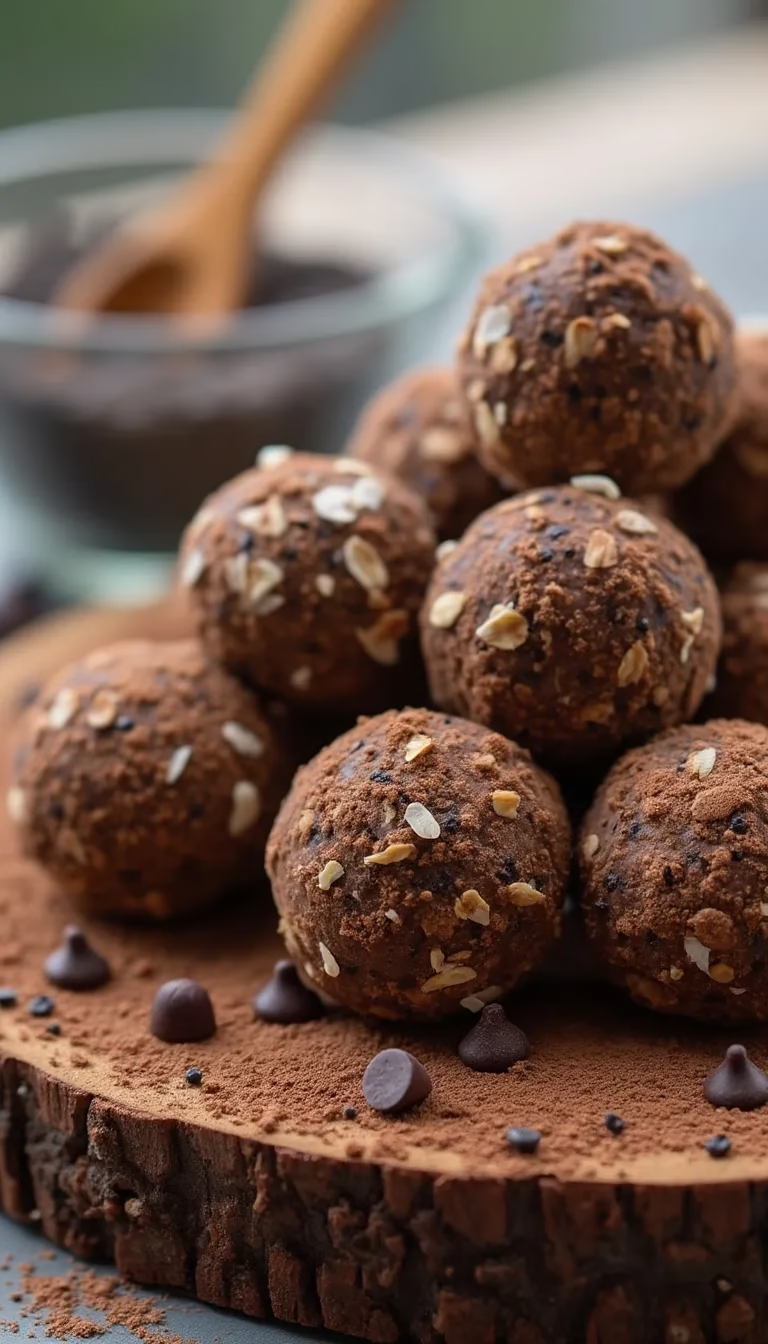
These Gluten-Free Bliss Balls are seriously addictive. They're packed with healthy fats, natural sweetness, and a satisfying chewiness that will keep you coming back for more. I first created this recipe when I was in the throes of a major sugar craving, but didn’t want to derail all the progress I had made. I raided my pantry, threw a bunch of goodies into the food processor, and voila! Instant bliss. Now, they're a staple in my snack rotation, perfect for a pre-workout boost, an afternoon pick-me-up, or even a slightly-healthier dessert.
The best part? They're incredibly easy to make. Seriously, you can whip up a batch in under 15 minutes. Plus, they’re highly customizable! Feel free to tweak the ingredients to your liking. More chocolate? Go for it! A hint of spice? Absolutely! Let's get started!
Ingredients:
- 1 cup gluten-free rolled oats (certified gluten-free!)
- 1/2 cup almond butter (or any nut butter of your choice)
- 1/4 cup unsweetened shredded coconut
- 1/4 cup chia seeds
- 1/4 cup honey or maple syrup (for a vegan option)
- 2 tablespoons unsweetened cocoa powder
- 1 teaspoon vanilla extract
- Pinch of sea salt
- Optional: 1/4 cup dark chocolate chips (dairy-free if needed), chopped nuts, dried cranberries
Instructions:
-
Combine the Dry Ingredients: In a large bowl, combine the gluten-free rolled oats, shredded coconut, chia seeds, cocoa powder, and sea salt. Give it all a good stir to make sure everything is evenly distributed.
-
Add the Wet Ingredients: Add the almond butter, honey (or maple syrup), and vanilla extract to the bowl with the dry ingredients. Now, get ready to get your hands a little dirty (or use a sturdy spatula!).
-
Mix it Up: Mix everything together until it's well combined. This might take a minute or two, and you might need to use some muscle! The mixture should be slightly sticky and hold together when pressed. If it’s too dry, add a teaspoon of water at a time until the desired consistency is reached. Pro Tip: If your almond butter is particularly stiff, you can microwave it for 15-20 seconds to make it easier to mix.
-
Incorporate Optional Add-Ins: Now's the time to get creative! If you're using dark chocolate chips, chopped nuts, or dried cranberries, fold them into the mixture.
-
Roll 'em Up!: Using a tablespoon or a small cookie scoop, portion out the mixture and roll it into small balls (about 1 inch in diameter).
-
Chill Out (Optional): While you can totally devour these balls right away, I find they taste even better after they've had a chance to chill in the refrigerator for at least 30 minutes. This allows the flavors to meld and makes them even more firm.
- Store and Enjoy!: Store your Gluten-Free Bliss Balls in an airtight container in the refrigerator for up to a week (if they last that long!).
Tips & Tricks for Blissful Bites:
- Nut Butter Swap: Don't have almond butter? No problem! Peanut butter, cashew butter, or even sunflower seed butter (for a nut-free option) will work just as well.
- Sweetness Adjustment: If you prefer a less sweet treat, reduce the amount of honey or maple syrup. You could even try using a date paste for a more natural sweetness.
- Flavor Explosion: Get creative with your add-ins! Try adding protein powder, dried apricots, shredded carrots, or even a sprinkle of chili powder for a kick!
- On-the-Go Fuel: Pack a few bliss balls in a reusable container for a healthy and convenient snack on the go.
- For a Nut-Free Version: Substitute the almond butter with sunflower seed butter or tahini. You can also replace the shredded coconut with additional gluten-free rolled oats. Make sure all flours, if used, are also gluten-free oat, almond, chestnut.
Recipe Card
Gluten-Free Bliss Balls
Yields: 12-15 Bliss Balls
Prep time: 5 minutes
Chill time: 30 minutes (optional)
Ingredients:
- 1 cup gluten-free rolled oats
- 1/2 cup almond butter
- 1/4 cup unsweetened shredded coconut
- 1/4 cup chia seeds
- 1/4 cup honey or maple syrup
- 2 tablespoons unsweetened cocoa powder
- 1 teaspoon vanilla extract
- Pinch of sea salt
- Optional: 1/4 cup dark chocolate chips, chopped nuts, dried cranberries
Instructions:
- Combine dry ingredients in a bowl.
- Add wet ingredients and mix well.
- Stir in optional add-ins.
- Roll into 1-inch balls.
- Chill for 30 minutes (optional).
- Store in the refrigerator and enjoy!
Product Recommendations:
To grind your own oats for guaranteed freshness and gluten-free peace of mind, I highly recommend using this [High-Speed Flour Mill](Amazon Link – Flour Mill). It's a game changer for gluten-free baking! And if you are looking for a clean, single-ingredient almond butter, [this almond butter](Amazon Link – Almond Butter Choice) is my favorite.
So there you have it! My go-to Gluten-Free Bliss Ball recipe. I hope you enjoy them as much as I do! And as always, please feel free to share your variations and creations in the comments below. Happy snacking!