
“`html
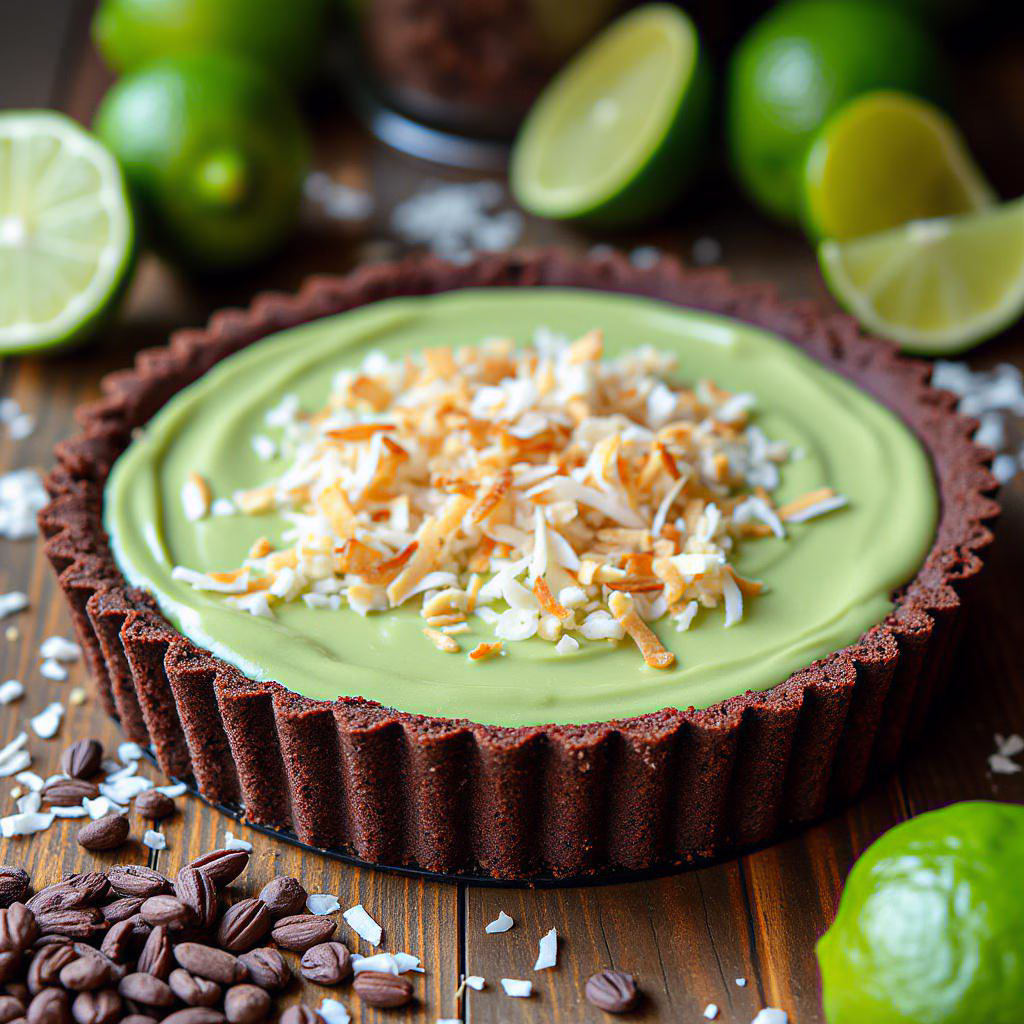
Cocoa-Nutty Lime Tart: A Gluten-Free Delight
Looking for a stunning and delicious gluten-free dessert? This Cocoa-Nutty Lime Tart is your answer! It’s surprisingly simple to make and requires just a handful of ingredients, making it perfect for any occasion. If you’re new to gluten-free baking, don’t worry, this recipe is incredibly easy to follow. And if you love citrusy treats, make sure to check out our recipe for Zesty Gluten-Free Lemon Bars!
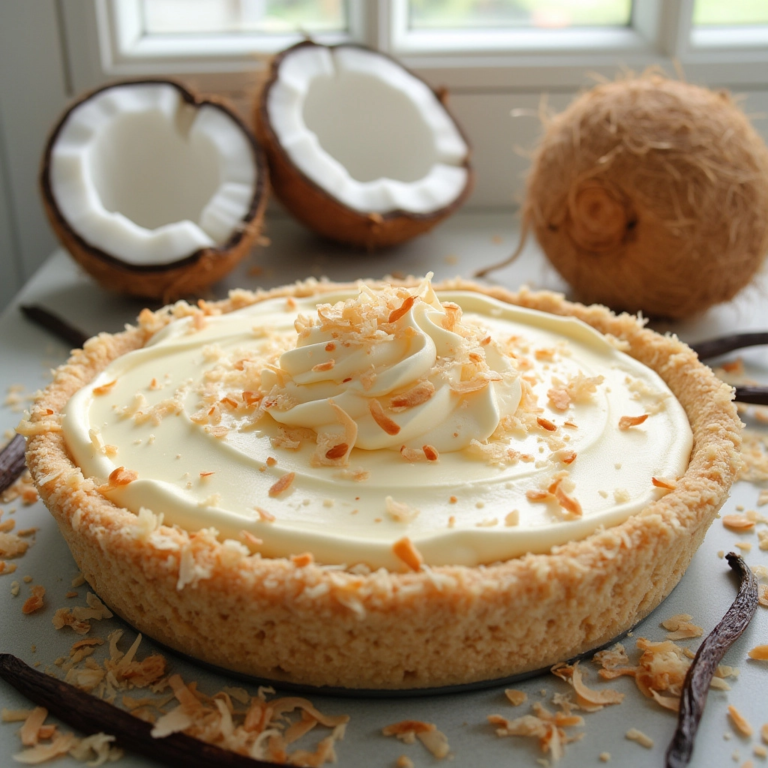
This tart features a unique cocoa-coconut crust that’s both flavorful and naturally gluten-free. The creamy lime filling provides a perfect balance of sweetness and tanginess. It’s a guaranteed crowd-pleaser, and a great way to showcase how delicious gluten-free desserts can be. For another delightful dessert option, consider our Gluten-Free Coconut Cream Pie!
This recipe is perfect for spring brunches, summer gatherings, or any time you crave a refreshing treat. The combination of cocoa, coconut, and lime creates a unique flavor profile that’s sure to impress. And just like our Gluten-Free Key Lime Pie, this tart offers a refreshing citrus experience. Enjoy!
“`
“`html
Making Your Gluten-Free Cocoa-Nutty Lime Tart
Ready to dive in? This tart is surprisingly simple to make. Here’s how we bring this gluten-free dream to life:
Step-by-Step Instructions:
- Get Started: Preheat your oven to 325°F (160°C). Lightly grease a 9-inch tart pan that has a removable bottom. This will help in easy removal after baking.
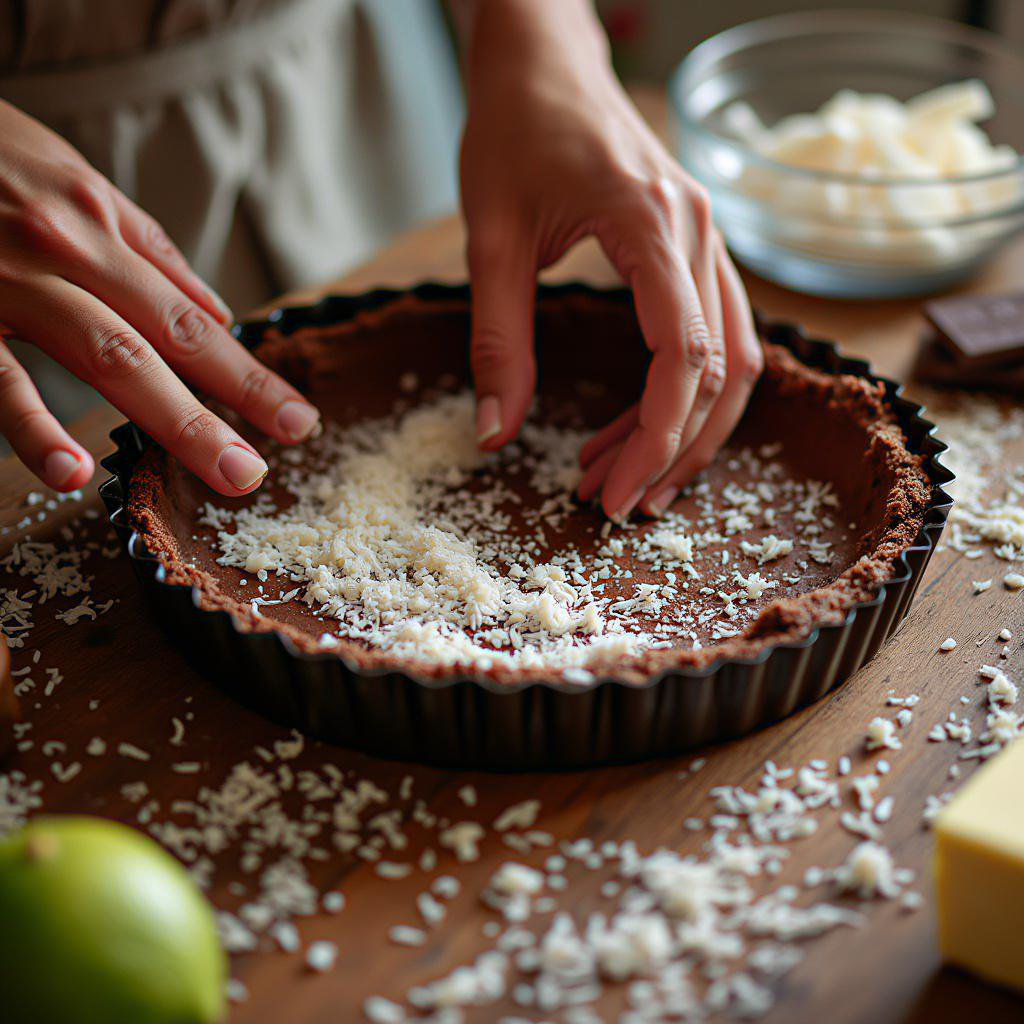
- Prepare the Crust: In a large microwave-safe bowl, combine 3 tablespoons of butter and 3 ounces of semisweet chocolate. Heat in the microwave in 30-second intervals, stirring in between, until the mixture is just melted and smooth. Stir in 3 cups of sweetened coconut until evenly coated.
- Form the Crust: Using your hands, firmly press the coconut mixture into the bottom and up the sides of the prepared tart pan. Ensure you create an even layer for a sturdy crust. Place the tart pan on a cookie sheet for easier handling.
- Bake the Crust: Bake in the preheated oven for 20 minutes, or until the crust feels firm to the touch. Once baked, remove from the oven and allow it to cool completely. This is crucial for the filling to set properly.
- Make the Filling: In a large mixing bowl, beat 8 ounces of softened cream cheese with an electric mixer on high speed until smooth and creamy.
- Add Lime Zest and Juice: Zest one of the limes until you have one teaspoon of zest. Squeeze the limes until you have ½ cup of lime juice (usually 3-5 limes, depending on size). Add the lime zest and juice to the cream cheese, along with one 14-ounce can of sweetened condensed milk. Beat until everything is well blended.
- Assemble and Chill: Pour the cream cheese mixture into the cooled coconut crust, spreading evenly. Cover the tart and chill in the refrigerator for at least 2 hours, or until the filling is firm to the touch. For best results, you can chill it overnight.
- Garnish and Serve: Before serving, garnish your Cocoa-Nutty Lime Tart with slices of lime and additional lime zest for a pop of color and extra flavor.
Enjoy your delicious, gluten-free Cocoa-Nutty Lime Tart! It’s a perfect treat for any occasion.
“`
“`html
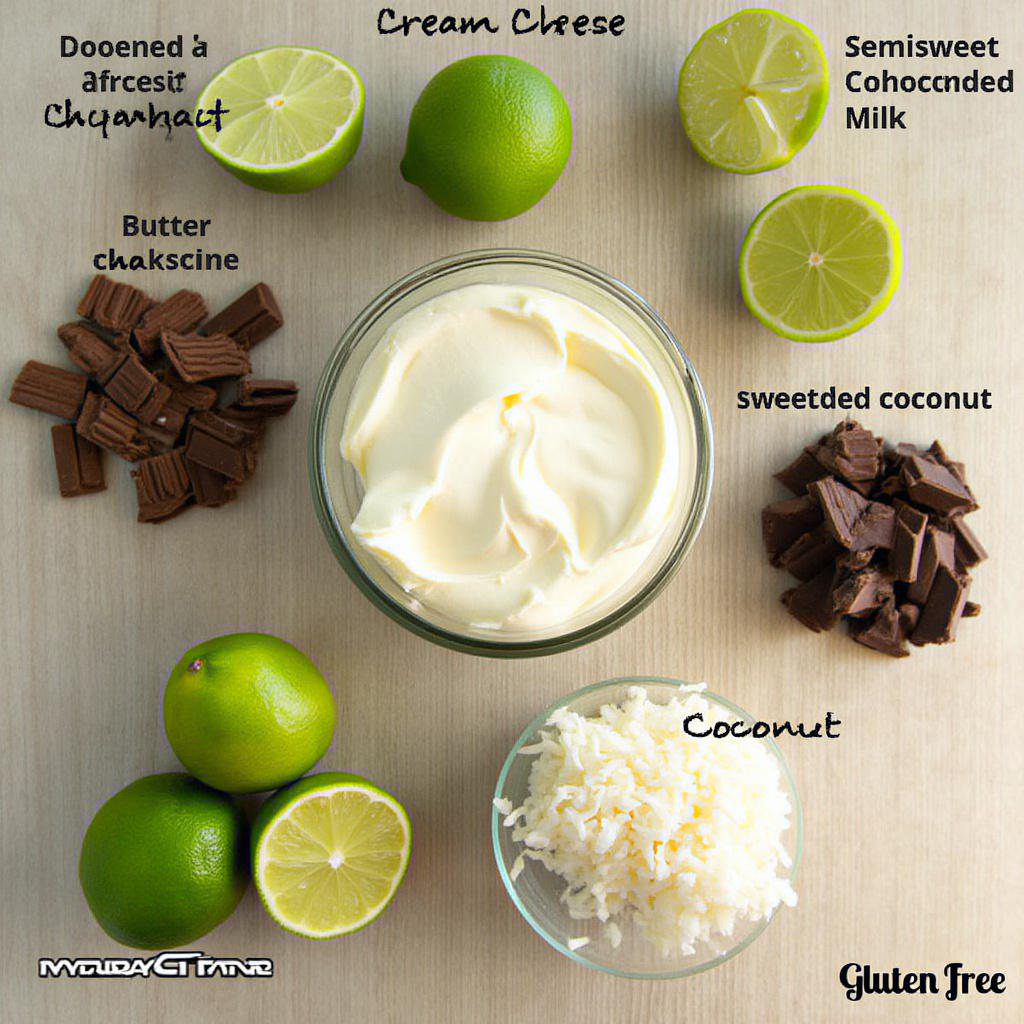
Ingredients
- 3 tablespoons butter
- 3 ounces semisweet chocolate
- 3 cups sweetened coconut
- 1 brick (8 ounces) cream cheese, softened
- 3 limes, plus more for garnish
- 1 can (14 ounces) sweetened condensed milk
Nutritional Information
This Cocoa-Nutty Lime Tart offers a delightful gluten-free dessert option. Here’s a breakdown of the nutritional benefits, per serving:
- Calories: Approximately 355
- Protein: 5 grams
- Carbohydrates: 35 grams
- Fat: 23 grams (16 grams saturated)
- Fiber: 2 grams
- Sodium: 185 milligrams
Gluten-Free Benefits
This tart is naturally gluten-free, making it a perfect choice for those with celiac disease or gluten sensitivity. The crust uses coconut instead of traditional wheat flour, providing a delicious and safe alternative.
Important Nutritional Considerations
While this tart is a delicious treat, it’s important to be mindful of the sugar and fat content, particularly saturated fat. Enjoy it in moderation as part of a balanced diet.
Tips and Variations
Here are some tips and variations to make this Cocoa-Nutty Lime Tart your own, catering to different dietary needs and preferences:
Dietary Variations
- Dairy-Free Option: Substitute the cream cheese with a dairy-free cream cheese alternative made from nuts or soy. Ensure the sweetened condensed milk is also dairy-free; there are coconut-based options available.
- Vegan Option: In addition to dairy-free substitutions, use a vegan butter alternative.
- Lower Sugar: Use a sugar-free or reduced-sugar sweetened condensed milk to lower the overall sugar content. You can also use unsweetened coconut and add a sugar-free sweetener to the crust mixture to taste.
Ingredient Substitutions
- Chocolate: For a richer flavor, use dark chocolate with a higher cocoa content. If you prefer a sweeter taste, milk chocolate can also be used.
- Coconut: Unsweetened coconut can be used to reduce the sugar content. Add a touch of honey or maple syrup to the crust mixture for sweetness if desired.
- Limes: While lime is the star, you can experiment with other citrus fruits like lemons or grapefruits for a different flavor profile.
Tips for Success
- Perfecting the Crust: Ensure the coconut mixture is firmly pressed into the tart pan for a sturdy crust. Pre-baking the crust until it’s firm helps prevent it from becoming soggy.
- Achieving the Perfect Filling: Make sure the cream cheese is fully softened to avoid lumps in the filling. Zesting the limes before juicing them makes it easier to collect the zest.
- Garnishing: Get creative with your garnishes! Besides lime slices and zest, consider adding toasted coconut flakes, chocolate shavings, or a dusting of cocoa powder for an extra touch.
Storage Tips
- Store the tart in the refrigerator for up to 3 days. This helps maintain its texture and flavor.
- For longer storage, the tart can be frozen. Wrap it tightly in plastic wrap and then in foil. Thaw in the refrigerator before serving.
“`
“`html
Essential Equipment for This Recipe
To prepare this delicious recipe, you’ll need the following kitchen tools:
- Mixing Bowls – A variety of sizes will be helpful for prepping different components.
Find Mixing Bowls on Amazon - Measuring Cups and Spoons – Accurate measurements are crucial for baking success.
Find Measuring Cups and Spoons on Amazon - Baking Sheets – For evenly baked goods and roasted vegetables.
Find Baking Sheets on Amazon - Whisks – Perfect for incorporating air into batters and sauces.
Find Whisks on Amazon - Spatulas – Essential for scraping bowls and spreading batter evenly.
Find Spatulas on Amazon - Food Processors – Great for quick chopping, blending, and pureeing.
Find Food Processors on Amazon - Saucepans – Needed for making sauces or heating liquids.
Find Saucepans on Amazon - Chef’s Knives – A good knife makes prepping ingredients faster and easier.
Find Chef’s Knives on Amazon - Cutting Boards – Protect your countertops while you chop.
Find Cutting Boards on Amazon
“`