
Effortless Keto Ice Cream: A Dairy-Free, Gluten-Free Delight!
Indulge in a wonderfully creamy, homemade keto ice cream that’s surprisingly easy to make and perfect for everyone – whether you’re following a keto lifestyle, need gluten-free treats, or simply crave a delicious, sugar-free dessert. This recipe proves that you don’t need dairy or sugar to enjoy a luxurious ice cream experience. Enjoy it on its own, in gluten-free cones, or as a decadent topping for The Best Gluten-Free Cheesecake for an extra special treat.
One of the best things about this homemade ice cream is its simplicity. With just four core ingredients, it’s a fantastic option for those managing a gluten-free diet and other dietary restrictions, offering endless possibilities for customization. You can whip up different flavors to satisfy any craving, all while enjoying the rich texture you’d expect from traditional ice cream.
Craft Your Perfect Flavor: Vanilla, Chocolate, and Beyond!
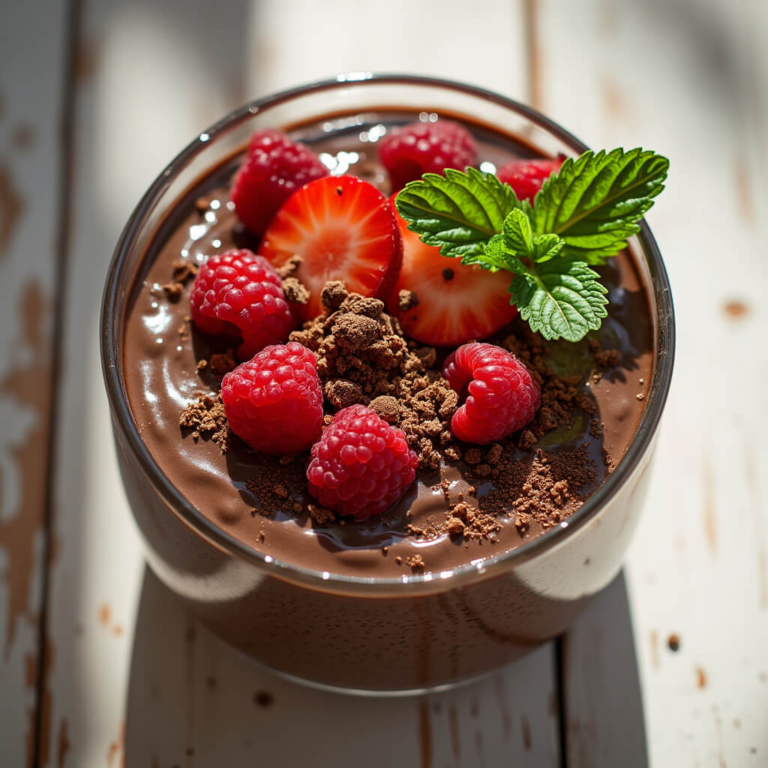
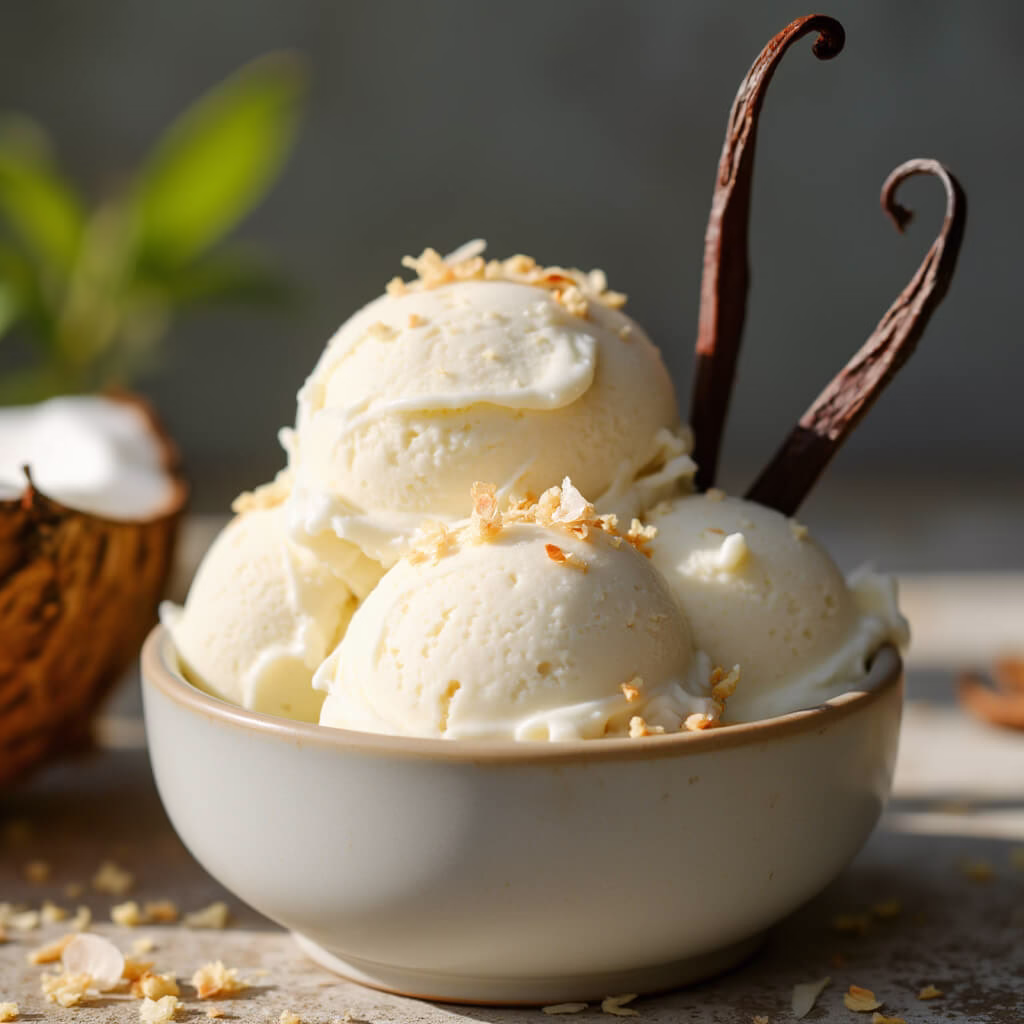
The base recipe creates a luscious vanilla keto ice cream, perfect for those who love a classic taste. You can achieve this using pure vanilla extract, vanilla bean paste, or the seeds scraped from a whole vanilla bean. For chocolate aficionados, transforming this into a rich chocolate keto ice cream is as simple as stirring in a quarter cup of unsweetened cocoa powder along with the other ingredients. It’s that easy to create a satisfying gluten-free chocolate dessert!
But why stop there? This versatile recipe is your canvas to create an array of delightful flavors at home. Consider stirring in diced fresh strawberries for a refreshing strawberry ice cream, or chopped pecans and a touch of butter extract (ensure it’s gluten-free) for a butter pecan version. A small amount of instant coffee can create a mocha delight, while a handful of shredded coconut offers a tropical twist. For a cool and invigorating mint chocolate chip, simply add pure peppermint extract and chopped gluten-free dark chocolate.
Understanding the Simple, Sugar-Free Ingredients
The magic of this gluten-free ice cream lies in its minimal, thoughtfully chosen ingredients. You’ll primarily need:
- Full-Fat Canned Coconut Milk: This is key for achieving a creamy, rich texture without dairy. Be sure to use full-fat canned coconut milk, not the lite version or coconut milk beverages sold in cartons, as these will not provide the same results.
- Sweetener of Choice: To keep this ice cream keto-friendly and sugar-free, granulated erythritol or xylitol are excellent options. Xylitol is a natural, low-glycemic sweetener. (It’s important to remember that xylitol is harmful to dogs, so please ensure any treats made with it are kept safely away from pets).
- Pure Vanilla Extract: For that essential, aromatic vanilla flavor that forms the base of many delicious ice creams.
- A Pinch of Salt: This small addition works wonders to enhance all the other flavors in the ice cream.
If you’re not specifically following a keto or low-carb diet but still require a gluten-free option, you can adapt this recipe using your preferred all-purpose sweetener, such as regular sugar, honey, or pure maple syrup, adjusting to taste. We haven’t specifically tested allulose or stevia in this recipe, so if you experiment, we’d love to hear about your results!
This recipe embraces the joy of simple, allergen-conscious desserts, similar to our popular Vegan Chocolate Banana Ice Cream, which also offers a delightful dairy-free experience.
This versatile homemade ice cream ticks many boxes: it’s naturally vegan, paleo-friendly, egg-free, dairy-free, low-carb, sugar-free, soy-free, and proudly gluten-free. For those seeking alternative frozen dessert options that are also gluten-free, you might enjoy our refreshing Zesty Lemon Sorbet for a light and tangy treat.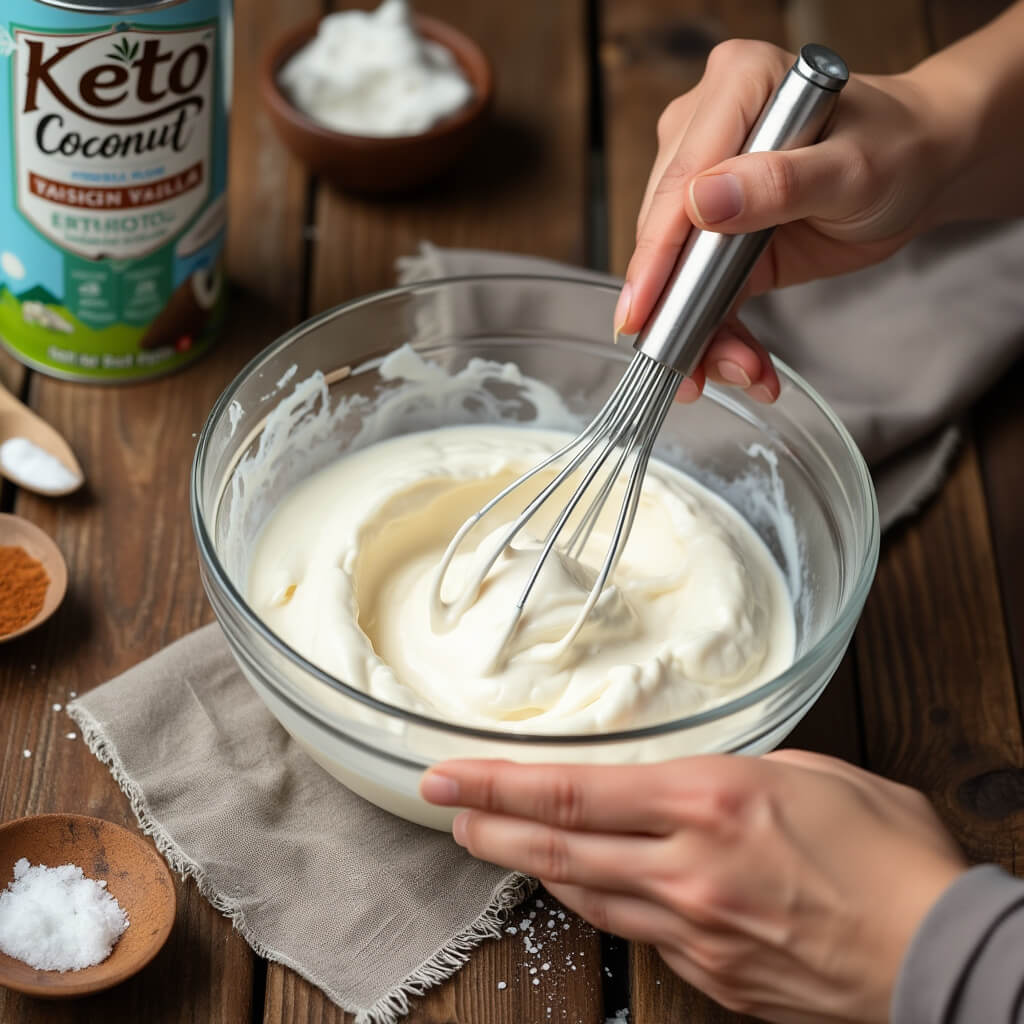
Crafting Your Delicious Gluten-Free Keto Ice Cream: A Step-by-Step Guide
Ready to whip up a batch of this creamy, dreamy, and entirely gluten-free keto ice cream? Follow these simple steps for a perfect frozen dessert every time!
Step 1: Prepare the Ice Cream Base
- In a mixing bowl, combine the full-fat canned coconut milk, your selected sweetener (such as erythritol or xylitol), salt, and pure vanilla extract (or vanilla bean paste/seeds if you prefer).
- Whisk these ingredients together thoroughly until the mixture is smooth and the sweetener has fully dissolved.
- For a Rich Chocolate Flavor: If you’re aiming to create chocolate ice cream, now is the perfect moment to add the unsweetened cocoa powder to your mixture. Whisk vigorously until the cocoa powder is completely incorporated and the base is uniformly smooth, with no lumps remaining.
Step 2: Choose Your Freezing Method
You have two excellent options for transforming your liquid base into delectable, creamy gluten-free ice cream:
Option A: Using an Ice Cream Maker (Churn Method)
- Ready Your Machine: Before starting, ensure your ice cream maker is fully prepared according to its specific user manual. Many models require the churning bowl to be pre-frozen for several hours or overnight, so it’s crucial to check this requirement in advance.
- Churn to Perfection: Pour your prepared gluten-free ice cream base into the pre-chilled bowl of your ice cream maker. Activate the machine and churn following the manufacturer’s instructions. This process generally takes about 15-25 minutes, or until the ice cream has thickened to a luscious, soft-serve consistency.
Option B: No Ice Cream Maker Required (No-Churn Method)
- Freeze in Trays: Carefully pour the prepared ice cream mixture, ensuring it’s distributed evenly, into standard ice cube trays.
- Solidify Completely: Place the filled ice cube trays into your freezer. Allow the mixture to freeze until completely solid. This typically takes a minimum of 4-6 hours, though freezing overnight often yields the best results.
- Blend Until Smooth: Once the ice cream cubes are thoroughly frozen, transfer them to a high-speed blender. Blend the cubes, pausing to scrape down the sides of the blender as needed, until the mixture becomes exceptionally smooth and creamy, closely resembling the texture of soft-serve ice cream.
- Tip for Standard Blenders or Food Processors: If you do not have a high-speed blender, a regular blender or a food processor can still be used. To make blending easier with these appliances, allow the frozen cubes to sit at room temperature for approximately 10-15 minutes to soften slightly before processing.
Step 3: Serving and Storing Your Homemade Gluten-Free Treat
- Enjoy Immediately: Your freshly made gluten-free keto ice cream is ready to be savored right away for a wonderfully soft-serve experience. Using an ice cream scoop can help create that classic, appealing presentation.
- For a Firmer Consistency: If you prefer a harder, more traditional scoopable ice cream, transfer the freshly churned or blended ice cream into a freezer-safe container that has an airtight lid. Place it in the freezer for at least 1-2 hours, or until it achieves your desired level of firmness.
- Storing Leftovers: As this homemade recipe contains no artificial preservatives or stabilizers, your gluten-free keto ice cream will be at its creamiest and most flavorful on the day it is made. However, any leftovers can be effectively stored in an airtight container in the freezer for up to one month. When you’re ready to enjoy frozen leftovers, allow the container to sit at room temperature for about 5-10 minutes. This will soften the ice cream slightly, making it easier to scoop and serve.
Our Gluten-Free 4-Ingredient Ice Cream: What You’ll Need
Crafting this delightful gluten-free ice cream is incredibly simple! Here are the core components for your frozen treat:
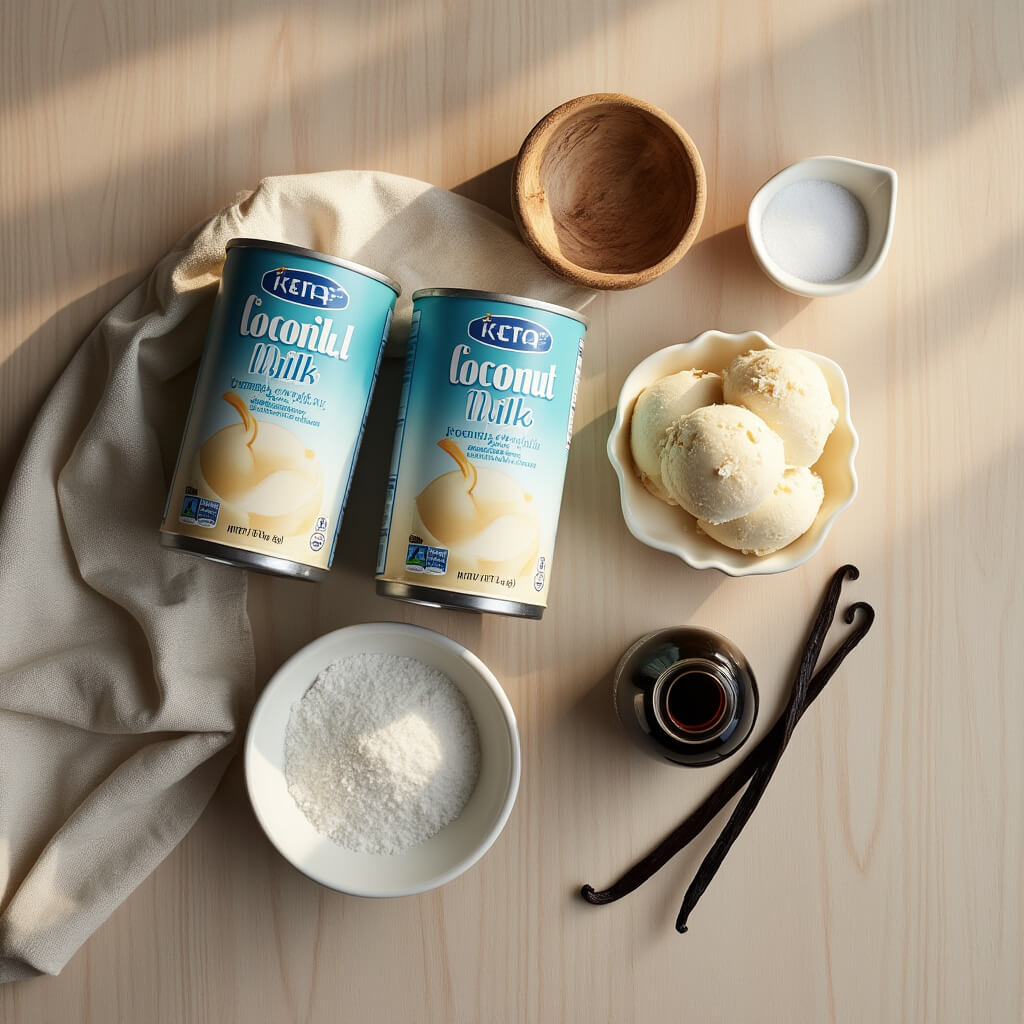
- 2 cups canned coconut milk
- 1/3 cup erythritol, xylitol, or sweetener of choice
- 1/8 tsp salt
- 1 1/2 tsp pure vanilla extract or vanilla bean paste
- Optional ingredients for desired flavor (see our tips below!)
Important Note on Ingredients: For the best creamy texture, be sure to use full-fat canned coconut milk. Avoid lite coconut milk or coconut milk beverage sold in cartons. If you’re a vanilla enthusiast, you can use the seeds scraped from one vanilla bean instead of vanilla extract for an even richer flavor.
Nutritional Highlights: A Guilt-Free Gluten-Free Indulgence
At Be Gluten Free, we believe treats can be both delicious and aligned with your dietary needs. This homemade ice cream is a fantastic example!
- Naturally Gluten-Free: The core ingredients in this recipe are naturally free from gluten, making it a safe and delightful option for those with celiac disease or gluten sensitivity. Always ensure your chosen vanilla extract and any add-ins are certified gluten-free if you require strict avoidance.
- Dairy-Free Delight: By using full-fat coconut milk as its base, this ice cream is completely dairy-free and vegan, perfect for those with lactose intolerance or following a plant-based lifestyle. Coconut milk also provides beneficial medium-chain triglycerides (MCTs) and a wonderful, rich creaminess.
- Keto-Friendly & Low Carb: When made with keto-approved sweeteners like erythritol or xylitol, this ice cream is exceptionally low in carbohydrates, fitting perfectly into a ketogenic diet.
- Sugar-Free Options: You have full control over the sweetness! Using sugar alcohols like erythritol or xylitol keeps this recipe sugar-free, which can be beneficial for blood sugar management. These sweeteners typically have a lower glycemic index than regular sugar.
- Allergen-Friendly: Beyond being gluten-free and dairy-free, this recipe is also egg-free and soy-free, catering to a wide range of dietary restrictions.
- Simple & Pure: With just four main ingredients, you know exactly what’s going into your dessert. No artificial preservatives, colors, or stabilizers found in many store-bought options.
This ice cream isn’t just a treat; it’s a versatile dessert that supports various healthy lifestyles, including paleo, vegan, and of course, gluten-free living!
Tips, Substitutions, and Flavor Adventures
Unlock the full potential of your gluten-free ice cream with these handy tips and creative variations!
Choosing Your Sweetener:
- For Keto/Low-Carb: Granulated erythritol or xylitol are excellent choices. They are natural, low-glycemic, and won’t spike blood sugar levels like traditional sugar. (Important safety note: Xylitol is highly toxic to dogs, so please be careful if you have furry friends.)
- Not Strictly Keto? If you’re not watching carbs or sugar intake as closely, feel free to use your preferred all-purpose sweetener like granulated sugar, honey, or pure maple syrup. Adjust amounts to your taste.
- Other Sweeteners: We haven’t personally tested allulose or pure stevia extract in this specific recipe, so we can’t guarantee the results. If you experiment, we’d love to hear how it turns out in the comments!
Endless Flavor Variations (All Gluten-Free!):
The basic vanilla recipe is just the beginning! Get creative and customize your ice cream:
- Classic Chocolate: Stir in 1/4 cup of unsweetened cocoa powder (ensure it’s gluten-free) along with the other ingredients before churning or freezing.
- Strawberry Swirl: Gently fold in 1/2 cup of diced fresh or frozen (and thawed) strawberries after churning or blending.
- Butter Pecan Bliss: Add 1/2 cup of toasted chopped pecans and 1/2 teaspoon of gluten-free butter extract (or a touch more vanilla and a pinch of extra salt for a simpler version).
- Coffee Kick: Mix in 1/2 to 1 teaspoon of instant coffee granules (dissolved in a tiny bit of hot water if needed) for a mocha-like flavor.
- Tropical Coconut: Enhance the coconut flavor by adding 1/4 cup of unsweetened shredded coconut. Toast it lightly for extra depth!
- Mint Chocolate Chip: Add 1/2 teaspoon of pure peppermint extract and a handful of chopped gluten-free dark chocolate or cacao nibs after churning/blending.
Preparation & Texture Tips:
- Coconut Milk is Key: Re-emphasizing this – use full-fat canned coconut milk for the creamiest result. Do not use lite versions or refrigerated coconut milk beverages.
- Achieving the Perfect Scoop:
- Ice Cream Maker: If you have one, follow your manufacturer’s instructions. It usually takes about 15-20 minutes.
- No-Churn Method: Freeze the mixture in standard ice cube trays. Once solid, blend the frozen cubes in a high-speed blender (like a Vitamix) until smooth. You may need to let them thaw for a few minutes to make blending easier in a regular blender or food processor.
- Serving and Storage:
- This gluten-free ice cream is at its best and creamiest on the day it’s made, as it contains no artificial stabilizers.
- For a firmer, more scoopable texture, transfer the freshly churned/blended ice cream to a freezer-safe container and freeze for at least 1-2 hours.
- Leftovers can be frozen for up to a month. It will freeze quite hard, so allow it to sit at room temperature for 10-15 minutes to soften before serving.
Enjoy experimenting and creating your perfect scoop of homemade, gluten-free ice cream!
Essential Kitchen Equipment for This Recipe
To ensure your culinary success with this recipe, having the right kitchen tools on hand is key. Here’s a list of essential equipment you’ll need:
- Mixing Bowls – Crucial for combining your ingredients thoroughly. A set of various sizes is always handy.
Find Mixing Bowls on Amazon - Measuring Cups and Spoons – Accuracy is vital in cooking and baking, making these indispensable for precise measurements.
Find Measuring Cups and Spoons on Amazon - Baking Sheets – If your recipe involves baking, a sturdy baking sheet will ensure even cooking and browning.
Find Baking Sheets on Amazon - Whisks – Perfect for aerating ingredients, whipping creams, or creating smooth sauces and batters.
Find Whisks on Amazon - Spatulas – Essential for scraping bowls clean, folding ingredients gently, or spreading mixtures evenly.
Find Spatulas on Amazon - Food Processor – A versatile tool for chopping, grinding, pureeing, or mixing ingredients quickly and efficiently.
Find Food Processors on Amazon - Saucepans – Necessary for heating liquids, making sauces, or cooking various components of your dish on the stovetop.
Find Saucepans on Amazon - Chef’s Knife – A good quality chef’s knife is fundamental for all your chopping, slicing, and dicing needs.
Find Chef’s Knives on Amazon - Cutting Board – Protects your countertops and provides a safe, stable surface for all your cutting tasks.
Find Cutting Boards on Amazon