You know, when you first go gluten-free, baking can feel like navigating a minefield. So many new flours, weird textures, and failed attempts that leave you with something closer to a brick than a brownie. I remember those days, searching for that simple, fudgy indulgence that didn’t require a complex blend or leave me feeling like I was missing out. That’s where the revelation of truly flourless brownies came in. It wasn’t about finding the *right* gluten-free flour; it was about realizing you didn’t need flour at all for certain magical treats. After countless experiments trying to replicate that classic, melt-in-your-mouth texture using various gluten-free blends, I stumbled upon the beautiful simplicity of these naturally flourless brownies. Just pure chocolatey goodness, relying on melted chocolate and cocoa for structure and intense flavor.
No gritty texture, no dry crumbs – just rich, decadent flourless brownies that remind you dessert can, and should, be simple and satisfying. Like my fudgy gluten-free brownies (that *do* use flour!), these flourless brownies deliver on chocolate impact. Or maybe you’re in the mood for something different, like a warm apple crisp or even a flourless chocolate coconut cake? The flourless world is full of possibility! If you’ve ever felt overwhelmed by gluten-free baking, let these easy flourless brownies be your guiding light. They’re proof that sometimes, the simplest path leads to the most delicious destination. Ready for the easiest, most intensely chocolatey flourless brownies you’ll ever make?
Tips for Recipe Success
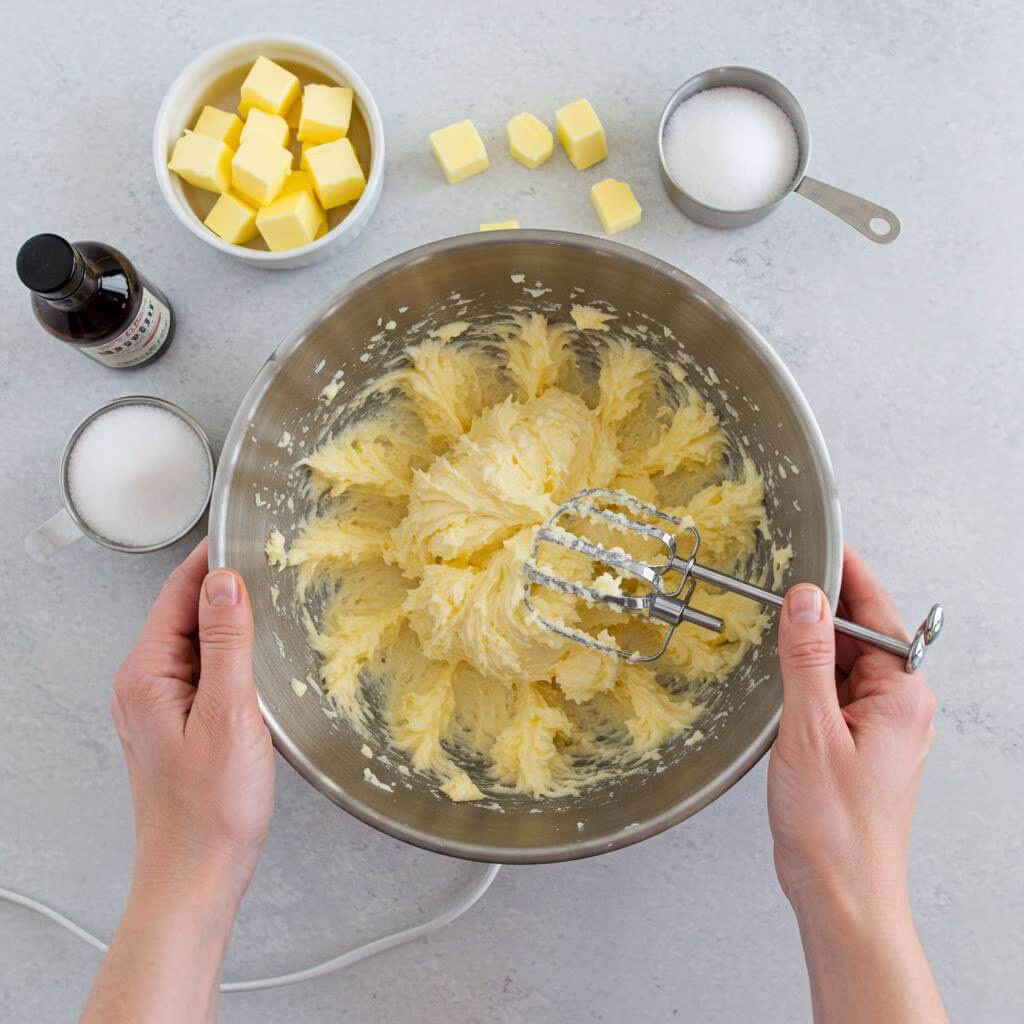
- Whip Air for Lift and Texture: Don’t be shy about beating the butter, sugar, and eggs until light and fluffy. This incorporates crucial air into the batter, which helps give these dense, fudgy brownies lift and creates that signature crinkly top, similar to how whipping air is important in achieving specific textures in other gluten-free baked goods.
- Ensure Ingredients are Room Temperature: For a smooth, glossy batter, make sure your butter and eggs are at room temperature before mixing. Adding cold ingredients to the melted chocolate can cause the chocolate to seize and clump, leading to a less desirable texture.
- Use the Right Cocoa (or Adjust): Dutch-processed cocoa powder is recommended for its deep flavor and neutral pH, which works best in this recipe lacking chemical leaveners. If you only have natural cocoa, adding a scant 1/8 teaspoon of baking soda will neutralize its acidity for better results in these naturally gluten-free treats.
- Know When They’re Done (and Don’t Overbake!): These are meant to be fudgy, not cakey like a gluten-free lemon cake. Bake until the center is just set and doesn’t jiggle loosely; a toothpick inserted in the center may not come out clean but should have moist crumbs attached. Overbaking will make them dry.
- Chill Before Slicing: For the cleanest, most perfect squares, allow the brownies to cool completely in the pan on a wire rack, then refrigerate them for at least an hour before cutting. This firms them up significantly.
Essential Equipment for This Recipe
To prepare this delicious recipe, you’ll need the following kitchen tools:
- Mixing Bowls – A set of various sizes is essential for prepping and combining ingredients.
Find Mixing Bowls on Amazon - Measuring Cups and Spoons – Accuracy is key when following recipes!
Find Measuring Cups and Spoons on Amazon - Baking Sheets – Perfect for baking cookies, roasting vegetables, and more.
Find Baking Sheets on Amazon - Whisks – Essential for beating eggs and combining wet ingredients.
Find Whisks on Amazon - Spatulas – Ideal for scraping bowls and spreading batter evenly.
Find Spatulas on Amazon - Food Processors – Great for chopping vegetables.
Find Food Processors on Amazon - Saucepans – Needed to make sauces and melt ingredients.
Find Saucepans on Amazon - Chef’s Knives – A quality knife is a must-have for any kitchen.
Find Chef’s Knives on Amazon - Cutting Boards – Protect your countertops while prepping ingredients.
Find Cutting Boards on Amazon
Frequently Asked Questions
Why are these called flourless brownies, and how do they get their fudgy texture without any traditional flour?
That’s a great question and touches on what makes these brownies so special! Unlike most brownie recipes that rely on gluten-free flour blends or starches for structure, these are truly flourless brownies. The rich, fudgy texture comes primarily from the melted dark chocolate. When the melted chocolate cools, it solidifies and gives the brownies their dense, chewy, and incredibly fudgy consistency. The eggs also play a crucial role in binding everything together and adding richness. It’s a bit of magic that lets you achieve amazing results with minimal ingredients!
How do I know when my flourless brownies are done baking if the toothpick test isn’t reliable?
You are absolutely right to question the toothpick test here! Because these are so wonderfully fudgy and contain no flour or leavening, a clean toothpick isn’t the indicator of doneness. Instead, look for these signs: the edges should appear set and slightly less shiny, and the center should look slightly puffed but still appear soft. The key test is to gently shake the pan – the center should just *barely* jiggle, like set pudding, but not slosh back and forth loosely like liquid. Overbaking will make them less fudgy, so trust the jiggle test!
My batter seems a bit crumbly or doesn’t look smooth and glossy after adding the melted chocolate. What went wrong?
Don’t worry, this can happen, and there are a few common culprits! The most likely reason is temperature shock. If your melted chocolate was too hot, or if your butter, sugar, or eggs weren’t at proper room temperature, they might not combine smoothly, causing the batter to look separated or crumbly. Also, ensuring you beat the butter and sugar until *truly* light and fluffy and adding eggs one at a time is important for emulsification. Finally, when adding the melted chocolate, be sure it’s cooled slightly, and beat on medium-high speed for the full 2-3 minutes mentioned in the recipe instructions until it comes together into that beautiful, glossy batter. Using room temperature ingredients and gently melting your chocolate are key steps!
The recipe recommends Dutch-processed cocoa powder. Can I use regular unsweetened cocoa powder instead?
Yes, you absolutely can use natural unsweetened cocoa powder! Dutch-processed cocoa powder is treated to be less acidic and offers a deeper, richer chocolate flavor, which is lovely in these flourless brownies. However, if you only have natural cocoa, just add a heaping ⅛ teaspoon of baking soda to the batter along with the natural cocoa powder. This tiny amount of baking soda will neutralize the acidity in the natural cocoa, helping the flavor and texture profile stay closer to the original recipe intention.
Can I make these flourless brownies dairy-free or sugar-free? What about egg substitutions?
Great news on the dairy-free front! These flourless brownies adapt quite well to being dairy-free. Simply swap the unsalted butter for virgin coconut oil (or another solid plant-based shortening) and ensure you use dairy-free dark chocolate and dairy-free chocolate chips. For the ganache, full-fat canned coconut milk makes a fantastic dairy-free alternative, just use slightly less volume (3 fluid ounces) to help it set firmly. For sugar-free, you can also substitute the granulated sugar with a granulated monk fruit sweetener like Lankato, ensuring your chocolate is also sugar-free. Paleo is covered too by swapping sugar for finely ground coconut palm sugar. However, when it comes to eggs, this recipe relies heavily on the three whole eggs for structure since there’s no flour. Replacing them is tricky, and I’m honestly not optimistic about a successful outcome with typical egg substitutes. If you decide to experiment with something like chia eggs, please share how it turns out!
What’s the best way to store these fudgy flourless brownies? Can I freeze them for later?
These fudgy flourless brownies keep beautifully! Once completely cooled, store them in an airtight container in the refrigerator for up to 5 days. Chilling them also helps maintain that dense, fudgy texture. And yes, they freeze exceptionally well! Let them cool completely, then wrap individual slices or the whole slab tightly in plastic wrap, then again in foil, and freeze for up to 3 months. Thaw them on the counter for a few hours before enjoying. The version without the ganache freezes particularly nicely.
How do I get that beautiful crinkly, crackly top on my flourless brownies?
Achieving that classic crinkly top is one of the little joys of brownie making! In this flourless brownie recipe, it comes from whipping air into the butter and sugar mixture and then again after adding the eggs. Using room-temperature ingredients allows the butter to cream properly and the eggs to emulsify smoothly, trapping air bubbles. Beating well at these stages helps create that light, pillowy base for the batter which, when baked, forms that desirable shiny, crackled crust on top. Don’t skimp on the beating time after adding the sugar and eggs!
Fudgy Flourless Brownies
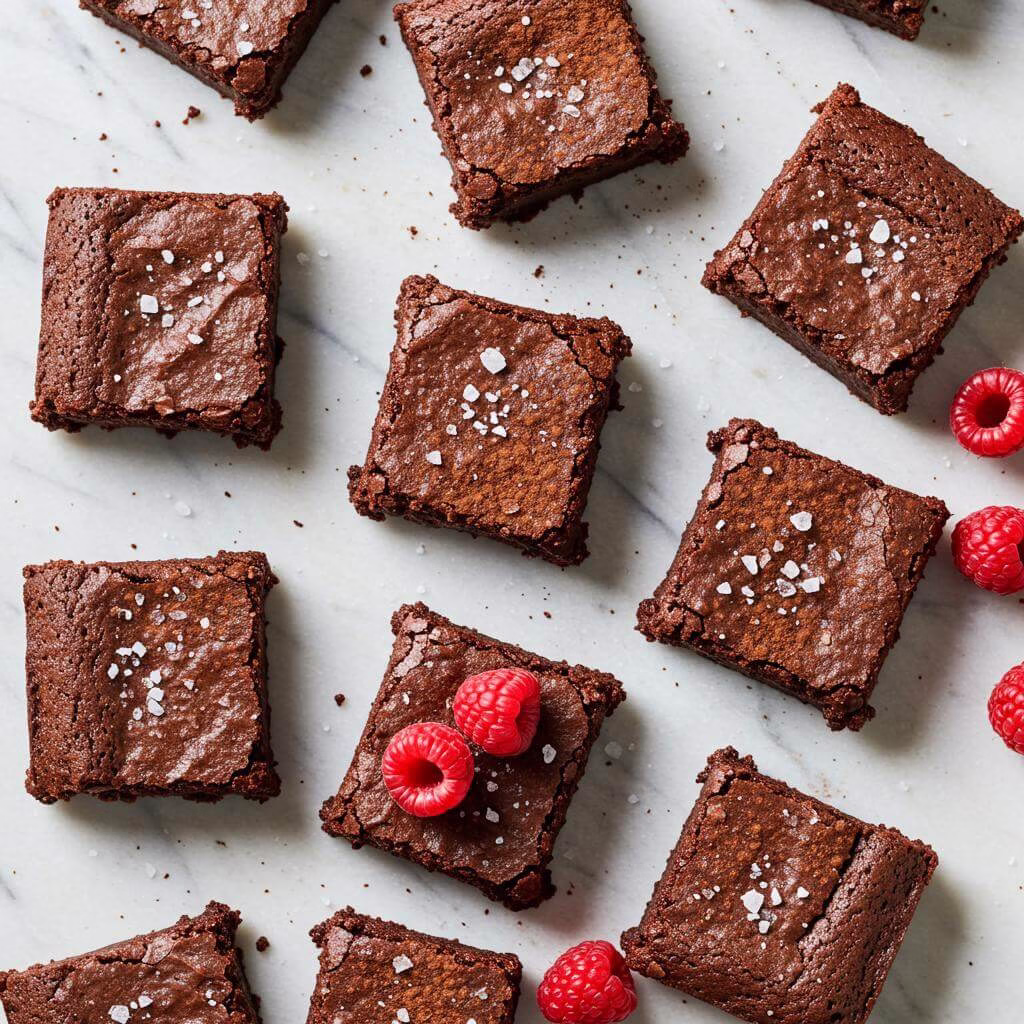
Fudgy Flourless Brownies
The easiest, most intensely chocolatey flourless brownies you’ll ever make. Rich, decadent, and naturally gluten-free.
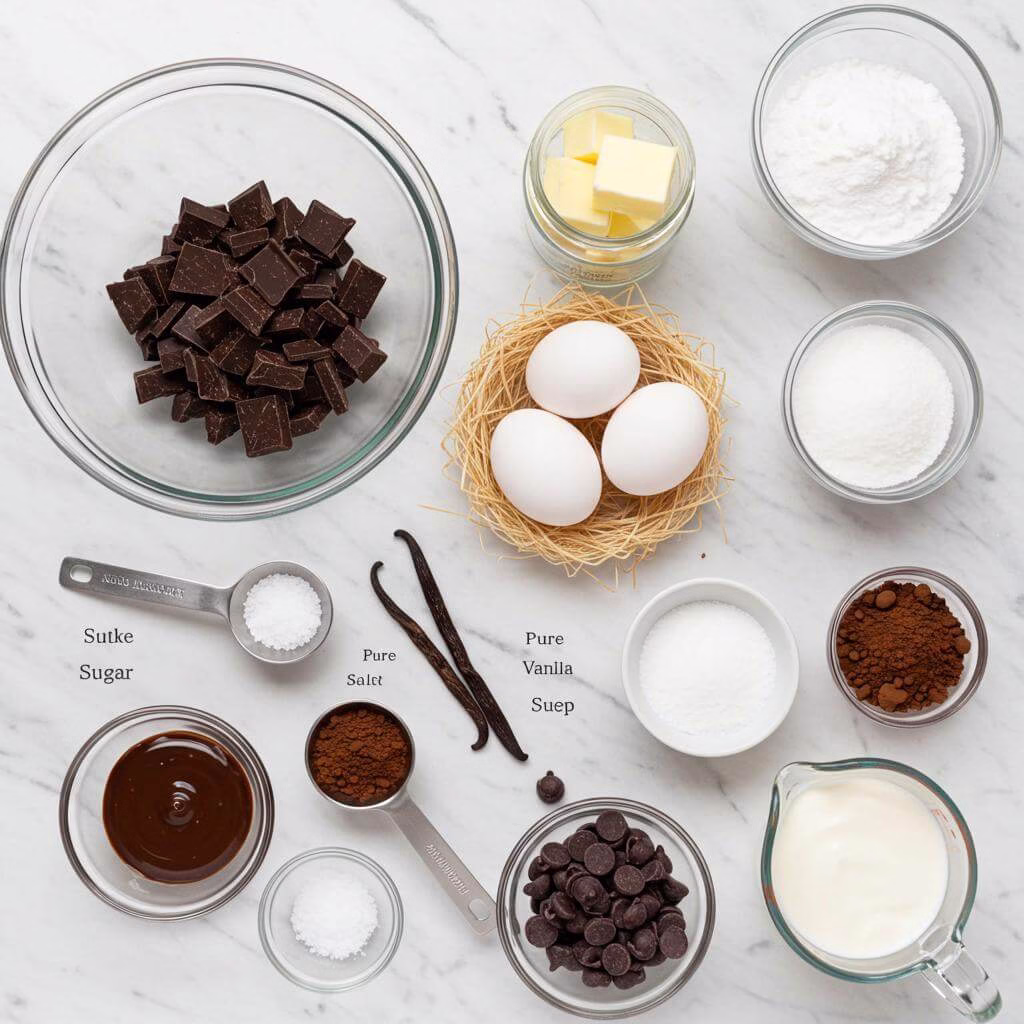
Ingredients
9
- 10 oz dark chocolate, chopped
- 4 tbsp unsalted butter, room temperature
- 3/4 cup granulated sugar
- 3 large eggs, room temperature
- 2 tsp pure vanilla extract
- 1/4 tsp kosher salt
- 1/4 cup unsweetened cocoa powder (Dutch-processed recommended)
- 3 oz dark chocolate chips (optional, for scattering)
- 6 oz dark chocolate, chopped (for optional ganache)
- 1/2 cup heavy whipping cream (for optional ganache)
Equipment
- 8-inch square baking pan
- Parchment paper or nonstick foil
- Handheld electric mixer
- Mixing bowls (medium & large)
- Spatula
- Wire cooling rack
- (Optional) Small saucepan for ganache
Instructions
Get Ready to Bake! Preheat oven to 350°F (175°C). Prepare an 8-inch square baking pan by greasing lightly, then lining with unbleached parchment paper or nonstick aluminum foil, allowing overhang for handles. Set aside.
Gently Melt the Chocolate. In a double boiler or microwave-safe bowl, melt 10 oz chopped dark chocolate. Microwave in 30-second bursts at 70% power, stirring often. Cool slightly. (Need baking chocolate? Find some here!)
Cream Butter and Sugar. In a large bowl, beat 4 tbsp room-temperature butter until light. Add ¾ cup granulated sugar; beat on high until light, fluffy, and pale. (A handheld mixer is great for this step!)
Add Eggs. Add 3 large room-temperature eggs, one at a time, beating very well after each addition until fully incorporated.
Enhance Flavor. Add 2 tsp vanilla extract and ¼ tsp kosher salt. Beat on high for 1 minute more until mixture is lighter, thicker, and airy.
Whisk in Cocoa. Reduce mixer speed to low; add ¼ cup unsweetened cocoa powder. Beat until just absorbed. (Dutch-processed cocoa recommended. Find Dutch-processed cocoa here!)
Combine with Melted Chocolate. Pour slightly cooled melted chocolate into batter. Increase mixer speed to medium-high; beat for 2-3 minutes until smooth, thick, and glossy.
Transfer to Pan. Pour batter into prepared 8-inch pan. Spread evenly. Tap pan on counter to release air bubbles. (Don’t have an 8-inch pan? Get one here!)
Add Optional Chocolate Chips. If desired, sprinkle 3 oz optional chocolate chips over batter. Press gently.
Time to Bake! Bake in preheated oven for 22-25 minutes. Edges should look set, center puffed but soft (barely jiggles). A toothpick will NOT come out clean. Avoid overbaking.
Cool Completely. Remove pan from oven; place on a wire rack to cool completely in the pan. (A sturdy wire rack is helpful!)
Optional: Chill. Once cool, you can refrigerate the pan until brownies are firm for cleaner slicing.
Make Optional Ganache. Place 6 oz chopped dark chocolate for ganache in a medium heat-safe bowl.
Heat Cream for Ganache. In a small saucepan, heat ½ cup heavy cream (or coconut cream for Paleo) until just simmering. Do not boil. (Get a good saucepan here!)
Combine Ganache Ingredients. Pour hot cream over chocolate. Let sit 30 seconds. Stir gently from center outwards until smooth and glossy.
Finish with Ganache. Pour warm ganache over cooled brownies in pan. Spread evenly. Sprinkle with more optional chips if desired.
Set Ganache. Refrigerate brownies with ganache until ganache is firm (about 1 hour).
Slice and Enjoy! Lift brownies from pan using parchment overhang. Place on cutting board; slice into 9 or 12 squares with a sharp knife (clean knife between cuts).
Recipe Notes
- Do not overbake for the fudgiest texture.
- Use good quality chocolate and cocoa powder for the best flavor. (Find quality dark chocolate for baking here and Dutch-processed cocoa here.)
- Brownies (without ganache) freeze beautifully.
- Dairy-Free Variation: Use virgin coconut oil for butter, ensure dairy-free dark chocolate (like these dairy-free chips), and use full-fat canned coconut milk (3 fl oz, not ½ cup) for the ganache cream.
- Paleo Variation: Use virgin coconut oil for butter, coconut palm sugar (ground finer if possible) for granulated sugar, and full-fat coconut cream for the ganache cream.
- Egg substitutions are very difficult in this flourless recipe and not recommended for best results.
Nutrition (per serving, approx. 9 servings, no ganache)

My #1 Recommendation
Hamilton Beach 6-Speed Electric Hand Mixer with Whisk, Traditional Beaters, Snap-On Storage Case, 250 Watts, White
(62904 reviews)
This Hamilton Beach hand mixer offers 6 versatile speeds and 250 watts of power, perfect for all your mixing, whipping, and folding needs. It comes complete with traditional beaters, a whisk, and a convenient snap-on storage case to keep attachments organized and easily accessible.
- Powerful 6-Speed Control with 250 Watts
- Includes Whisk & Traditional Beaters for various tasks
- Convenient Snap-On Storage Case for attachments
As an Amazon Associate, I earn from qualifying purchases. This helps support the blog at no extra cost to you.
Loved These Flourless Brownies? Get More Deliciousness!
Download our FREE guide: ‘Top 5 Flourless Dessert Recipes You Can’t Live Without!’ – quick, easy, and unbelievably tasty.

Inside Your FREE Recipe Guide:
-
Five Exclusive Flourless Dessert Recipes – from rich chocolate lava cakes to chewy cookies! -
Simple & Quick to Make: Enjoy gourmet gluten-free treats without the fuss. -
Uses Everyday Ingredients: No hard-to-find specialty flours needed here! -
100% FREE Download – your tastebuds (and family) will thank you!
Get My FREE Flourless Recipes!
Instant access to your next favorite dessert. It’s FREE!