.
Sunday Morning Sunshine: The Easiest, Most Delicious Coconut Flour Waffles (Gluten-Free Bliss!)
Raise your hand if Sunday mornings are your favorite! For me, they're all about sleeping in (slightly!), cozy pajamas, and, of course, a ridiculously delicious breakfast. And while I love a good stack of pancakes, I've been on a waffle kick lately, especially these Coconut Flour Waffles.
Now, I know what you might be thinking: "Coconut flour? Waffles? Sounds complicated." But trust me, these waffles are anything but! They're so incredibly easy to make, even on a bleary-eyed Sunday morning. In fact, I perfected this recipe one particularly disastrous attempt at sourdough (let's just say, gluten and I aren't always friends). I was craving something comforting and carby, but still wanted to keep it gluten-free. These waffles were the answer!
The beauty of these waffles is that they use coconut flour, which not only makes them gluten-free but also adds a subtle sweetness and a hint of coconut flavor that's just divine. Plus, they're surprisingly fluffy and light – not dense or dry like some gluten-free alternatives can be. My kids practically inhale them!
So, ditch the store-bought mix and let's whip up a batch of these sunshine-filled Coconut Flour Waffles. You'll be amazed at how simple and satisfying they are!
What You'll Need: Your Coconut Flour Waffle Arsenal
Here's what you need to gather to make these waffles of joy:
- 1/2 cup coconut flour: Don't substitute this! Coconut flour has a unique texture and absorbency.
- 4 large eggs: These act as the binding agent, so make sure they're fresh.
- 1/2 cup milk (dairy or non-dairy): Almond milk, coconut milk, or regular dairy milk all work perfectly.
- 1/4 cup melted coconut oil or unsalted butter: Adds richness and helps prevent sticking. I prefer coconut oil for a slightly sweeter flavor
- 2 tablespoons sweetener (maple syrup, honey, or your favorite sugar substitute): Adjust to your desired level of sweetness.
- 1 teaspoon vanilla extract: Because everything tastes better with vanilla!
- 1/2 teaspoon baking powder: This gives the waffles that lovely lift.
- 1/4 teaspoon salt: Balances the sweetness and enhances the other flavors.
Let's Get Waffling: Step-by-Step Instructions
Okay, time to turn up the heat (literally!) and get cooking. Follow these simple steps, and you'll be enjoying warm, delicious waffles in no time:
-
Preheat your waffle iron: This is crucial! Set your waffle iron to medium-high heat. If your waffle iron has adjustable settings, experiment to find the perfect temperature for your model. Using a [waffle iron with removable plates](Amazon link) makes for much easier cleaning afterwards!
-
Whisk the wet ingredients: In a large bowl, whisk together the eggs, milk, melted coconut oil (or butter), sweetener, and vanilla extract until well combined. Make sure everything is smooth and homogenous – no eggy clumps allowed!
-
Incorporate the dry ingredients: In a separate bowl, whisk together the coconut flour, baking powder, and salt. This ensures that the baking powder is evenly distributed throughout the flour, preventing pockets of bitterness and maximizing the leavening effect.
-
Combine wet and dry: Gradually add the dry ingredients to the wet ingredients, whisking constantly until just combined. Be careful not to overmix, which can result in tough waffles. The batter will be fairly thick – that's perfectly normal! Coconut flour is super absorbent.
-
Let the batter rest: This is a secret weapon! Allow the batter to sit for 5-10 minutes. This gives the coconut flour a chance to fully absorb the liquid, resulting in a better textured waffle.
-
Grease the waffle iron: Lightly grease your preheated waffle iron with coconut oil. An [oil sprayer](Amazon link), will help ensure it is not over-greased.
-
Cook the waffles: Pour the batter onto the hot waffle iron, using the amount recommended by your waffle iron's instructions. Spread the batter evenly – because it's thick, it might need a little encouragement!
-
Cook until golden brown and crisp: Cook for 3-5 minutes, or until the waffles are golden brown and cooked through. The cooking time will vary depending on your waffle iron, so keep an eye on them! A good sign that they're ready is when the steam coming from the waffle iron slows significantly.
-
Serve immediately: Carefully remove the waffles from the waffle iron. Serve immediately with your favorite toppings!
Waffle Wizardry: Tips & Tricks for Coconut Flour Waffle Perfection
Want to take your coconut flour waffle game to the next level? Here are a few tips and tricks to try.
- Spice it up: Add a dash of cinnamon, nutmeg, or cardamom to the dry ingredients for a warm and cozy flavor.
- Chocolate chips: A handful of dark chocolate chips adds a decadent touch – perfect for a special occasion!
- Berries: Fold in some fresh or frozen berries for a burst of flavor and antioxidants.
- Make them savory: Omit the sweetener and add some shredded cheese, chopped herbs, and bacon bits for a savory waffle twist.
- Dairy-free option: Substitute the milk with your favorite non-dairy milk, like almond, coconut, or oat milk. Use coconut oil instead of butter.
- Freeze for later: Cooked waffles can be frozen for up to 2 months. Let them cool completely, then wrap them individually in plastic wrap and store them in a freezer bag. Reheat in the toaster or oven.
- Adjust sweetner to your liking: Don't afraid to add more of less sweetner, depending on your personal prefrence.
Recipe Card: Coconut Flour Waffles (Gluten-Free)
Description: Deliciously fluffy and easy-to-make coconut flour waffles that are gluten-free and perfect for a weekend breakfast.
Prep Time: 5 minutes
Cook Time: 3-5 minutes
Yields: 4-6 waffles
Ingredients:
- 1/2 cup coconut flour
- 4 large eggs
- 1/2 cup milk (dairy or non-dairy)
- 1/4 cup melted coconut oil or unsalted butter
- 2 tablespoons sweetener (maple syrup, honey, or sugar substitute)
- 1 teaspoon vanilla extract
- 1/2 teaspoon baking powder
- 1/4 teaspoon salt
Instructions:
- Preheat waffle iron to medium-high heat.
- In a large bowl, whisk together eggs, milk, melted coconut oil (or butter), sweetener, and vanilla extract.
- In a separate bowl, whisk together coconut flour, baking powder, and salt.
- Gradually add dry ingredients to wet ingredients, whisking until just combined.
- Let batter rest for 5-10 minutes.
- Lightly grease waffle iron.
- Pour batter onto hot waffle iron and spread evenly.
- Cook for 3-5 minutes, or until golden brown and crisp.
- Serve immediately with your favorite toppings.
Let's Talk Toppings!
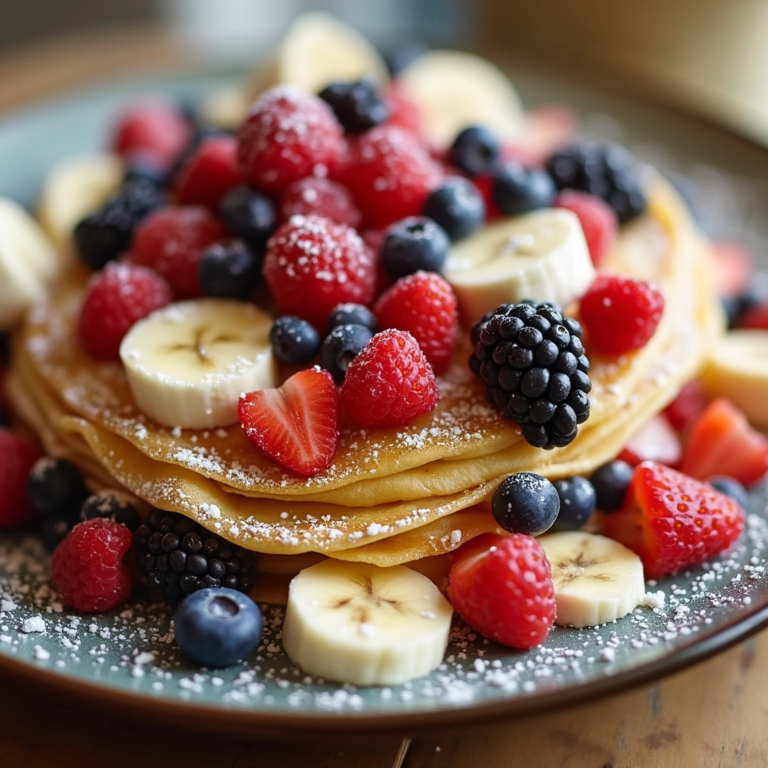
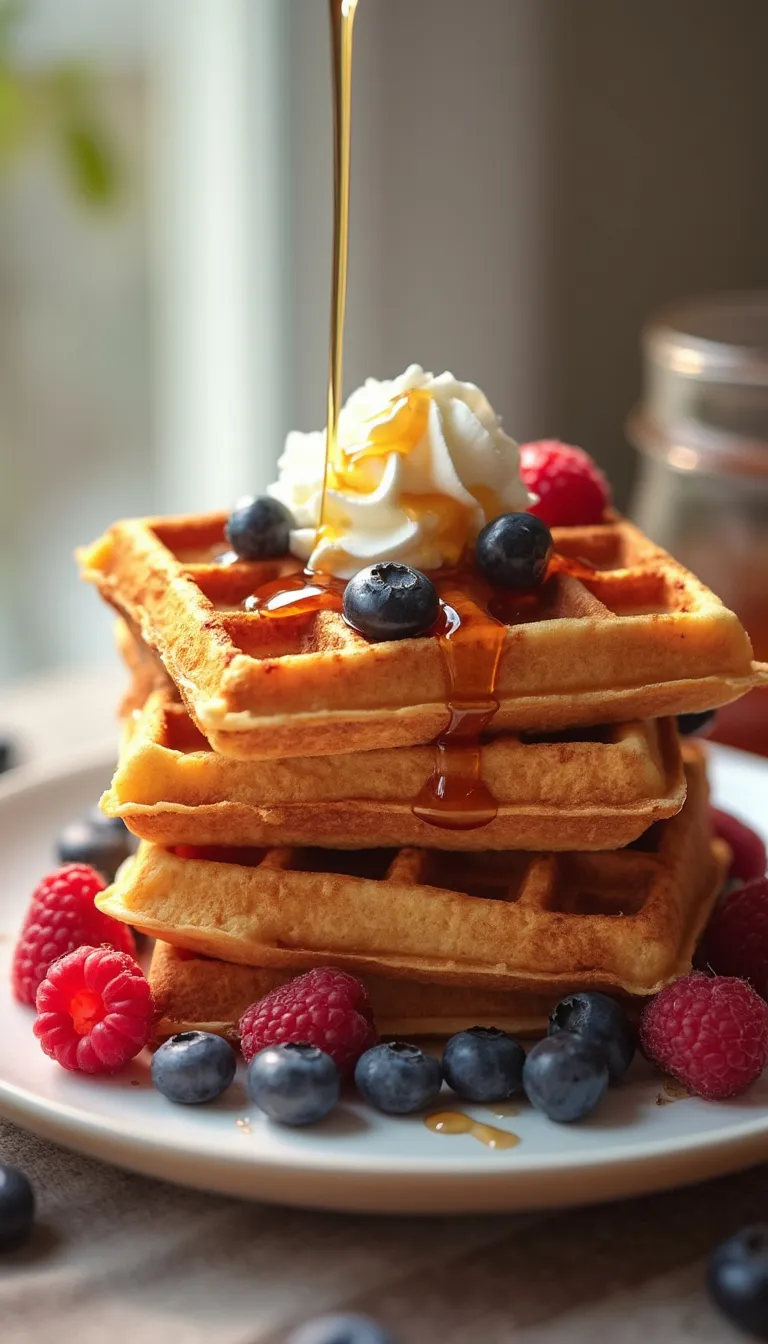
Okay, let's get down to the best part! How do you top YOUR waffles? I'm a sucker for fresh berries, a dollop of whipped cream, and a drizzle of maple syrup. But the possibilities are endless!
- Berries are the classics: strawberries, blueberries, raspberries.
- Add a pinch of powdered sugar!
- Go nuts with nutella.
- Or, simply the old trusted whipped cream and maple syrup.
- Chocolate chips if you are craving something chocolate-filled.
No matter how you top them, these Coconut Flour Waffles are guaranteed to bring a smile to your face. So, gather your ingredients, crank up that waffle iron, and get ready to enjoy a truly delicious and gluten-free breakfast! Happy Waffling!