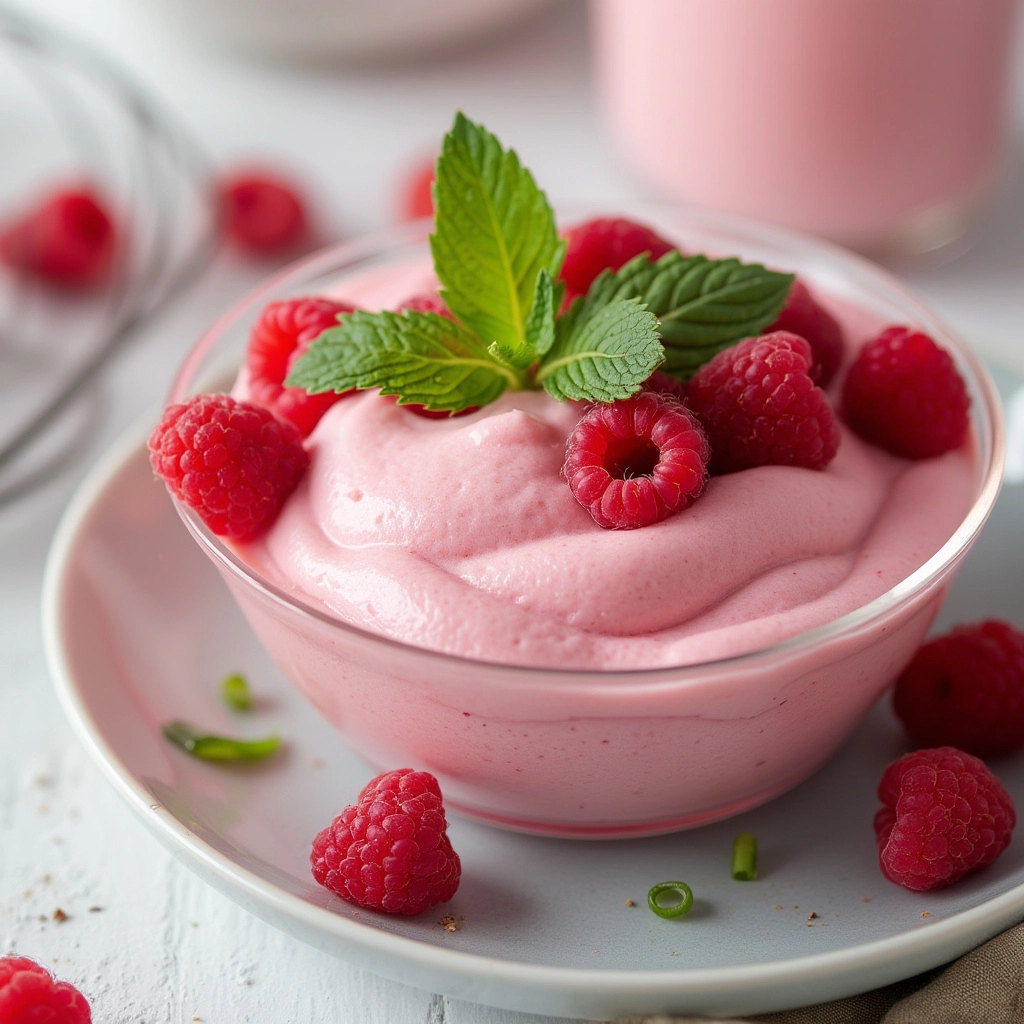
Decadent Raspberry Mousse: A Guilt-Free Gluten-Free Delight
Indulge in the lusciousness of this raspberry mousse, a treat that proves gluten-free and vegan desserts can be both incredibly delicious and surprisingly healthy. Perfect for a light dessert or a mid-afternoon pick-me-up, this mousse is packed with flavor and free from gluten, dairy, and refined sugars. If you’re looking for other ways to satisfy your sweet tooth without compromising your dietary needs, you might also enjoy our recipe for Gluten-Free Chia Seed Pudding, another simple and nutritious dessert option.
The Magic of Simple, Wholesome Ingredients
Creating amazing gluten-free desserts doesn’t require a laundry list of complicated ingredients. This recipe relies on the natural sweetness and vibrant flavor of raspberries, combined with a few key ingredients to achieve that perfect mousse-like texture. For those who are new to gluten-free baking or cooking, remember that embracing whole, unprocessed foods is key. And if you are looking for more ways to enjoy raspberries, check out these Gluten-Free Raspberry Oatmeal. It’s a nutritious and delicious treat to start your day!
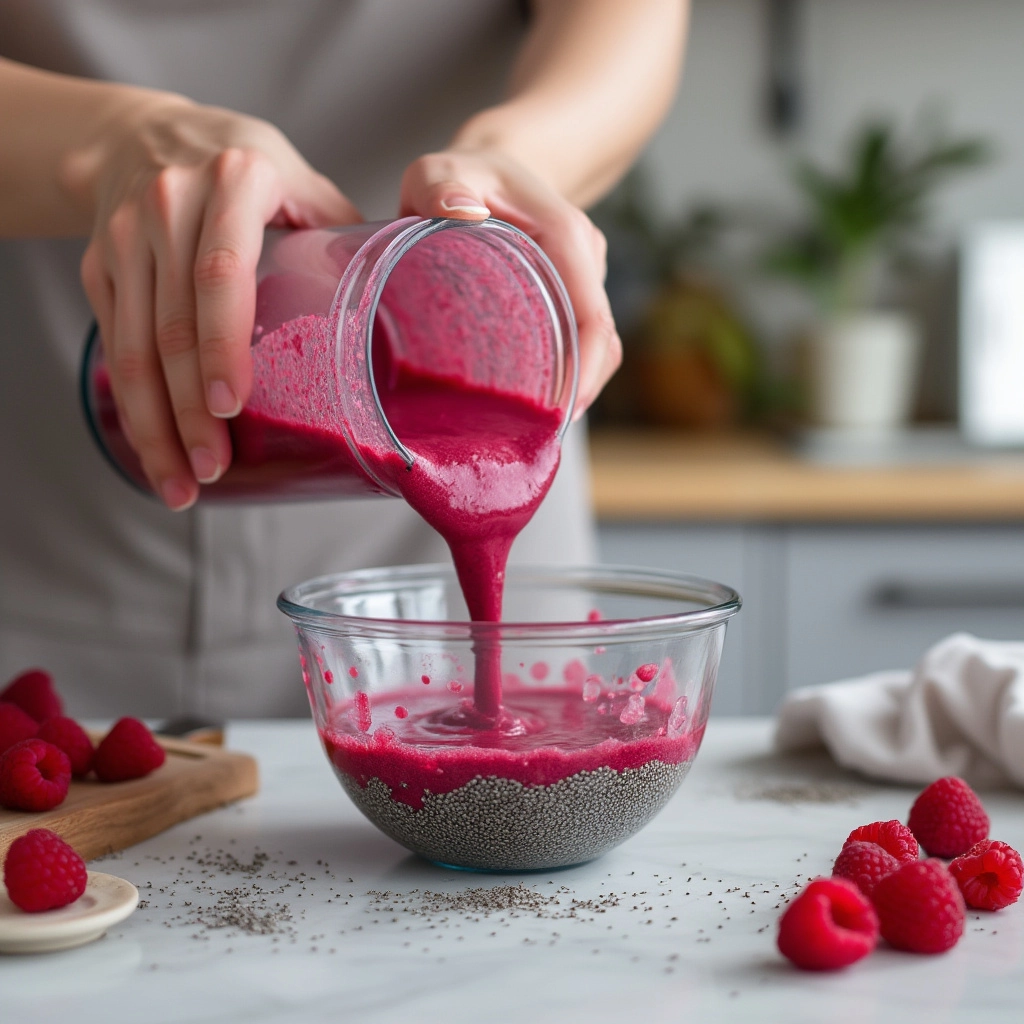
Making Your Gluten-Free Raspberry Mousse
Step 1: Prepare the Chia Seed Base
Begin by combining chia seeds and water in a bowl. Ensure the chia seeds are well submerged to prevent clumping. Let this mixture sit for at least 15 minutes, or ideally longer, until it forms a thick, gel-like consistency. This step is crucial for achieving the right texture for your mousse, acting as a natural, gluten-free thickening agent.
Step 2: Blend the Raspberry Mixture
In a high-speed blender, combine fresh or frozen raspberries, your choice of sweetener (such as maple syrup or agave), and lemon juice. Blend until the mixture is completely smooth. If using frozen raspberries, you may need to blend a bit longer to ensure there are no remaining chunks.
Step 3: Combine and Blend Again
Add the thickened chia seed mixture to the raspberry blend in the blender. Blend again until everything is thoroughly combined and the texture is perfectly smooth and creamy. This step integrates the chia seed base with the raspberry mixture, creating a consistent and luscious mousse.
Step 4: Chill the Mousse
Pour the raspberry mousse into individual serving glasses or a single larger bowl. Cover each serving with plastic wrap, pressing it gently onto the surface of the mousse to prevent a skin from forming. Refrigerate for at least 2 hours, or preferably longer, to allow the mousse to fully set. This chilling time is essential for the mousse to achieve its final, firm texture.
Step 5: Serve and Enjoy
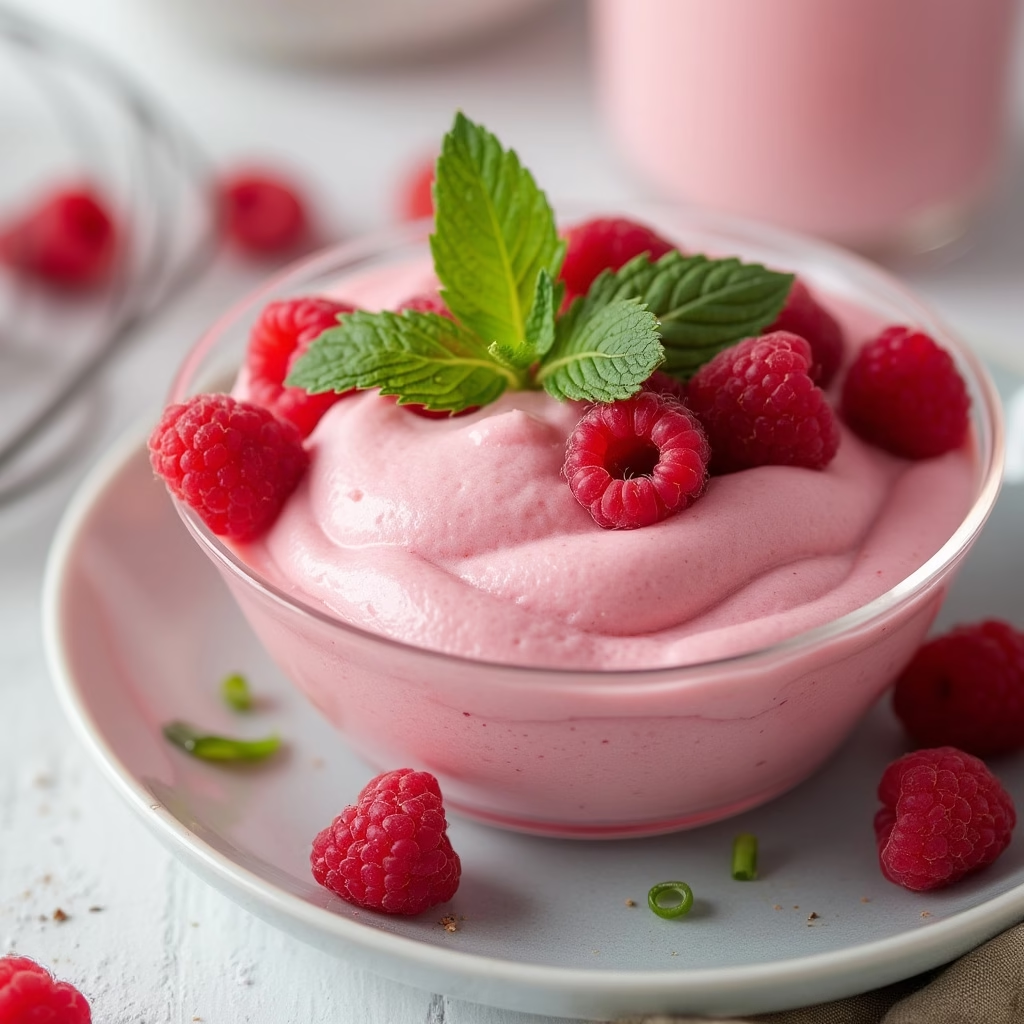
Once the mousse has fully set, remove it from the refrigerator. If desired, garnish with fresh raspberries, a sprinkle of shredded coconut, or a drizzle of dairy-free chocolate sauce for an extra touch of elegance. Serve immediately and enjoy this delightful, gluten-free raspberry mousse!
Ingredients
- 1 can (13.5 oz) full-fat coconut milk, refrigerated overnight
- 1 cup fresh or frozen raspberries
- 1/4 cup maple syrup (or other sweetener to taste)
- 1 teaspoon vanilla extract
- 1 tablespoon lemon juice
- Pinch of sea salt
Nutrition Information: A Gluten-Free Delight
Indulge in this raspberry mousse knowing it’s naturally gluten-free and packed with wholesome goodness! This recipe is designed to be inclusive, catering to various dietary needs.
- Naturally Gluten-Free: This recipe contains no gluten-containing ingredients, making it a safe and delicious option for those with celiac disease or gluten sensitivity.
- Rich in Antioxidants: Raspberries are bursting with antioxidants, which help protect your body against free radicals and support overall health.
- Healthy Fats: Coconut milk provides healthy fats that can contribute to satiety and support brain function.
- Lower in Sugar: Using maple syrup as a sweetener provides a more natural alternative to refined sugars. Adjust the quantity to match your sweetness preference.
Per Serving (approximate):
- Calories: Varies depending on sweetener used
- Fat: Primarily from coconut milk (healthy fats)
- Carbohydrates: From raspberries and maple syrup
- Fiber: Raspberries contribute a good source of fiber
Tips & Variations for the Perfect Mousse
Here are some tips and tricks to ensure your raspberry mousse turns out perfectly every time, along with variations to suit different dietary preferences:
- Chill the Coconut Milk: Chilling the coconut milk overnight is crucial. This allows the cream to separate from the watery liquid, ensuring a thick and creamy mousse. Only scoop out the thick cream from the top of the can.
- Sweetness Adjustment: Maple syrup provides a lovely flavor, but feel free to substitute with other gluten-free sweeteners like agave nectar, honey (if not vegan), or stevia. Adjust the amount to your preferred level of sweetness.
- Berry Variations: While this recipe calls for raspberries, feel free to experiment with other berries like strawberries, blueberries, or mixed berries.
- Vegan Options: This recipe is naturally vegan! Ensure your maple syrup is plant-based (some may be processed with bone char).
- Paleo-Friendly: This recipe aligns with paleo guidelines, using natural sweeteners and avoiding processed ingredients.
- For a richer flavor: Add a tablespoon of cocoa powder for a chocolate-raspberry mousse. Ensure the cocoa powder is gluten-free.
- Make it ahead: This mousse can be made a day in advance. Store it in the refrigerator until ready to serve.
- Serving Suggestions: Garnish with fresh raspberries, a sprinkle of shredded coconut, or a drizzle of maple syrup for an elegant presentation.
Enjoy your delightful and guilt-free gluten-free raspberry mousse!
Essential Equipment for This Recipe
To prepare this delicious recipe, you’ll need the following kitchen tools:
- Mixing Bowls – A set of sturdy mixing bowls in various sizes is essential for prepping ingredients.
Find Mixing Bowls on Amazon - Measuring Cups and Spoons – Accurate measurements are key to successful baking and cooking.
Find Measuring Cups and Spoons on Amazon - Baking Sheets – Perfect for baking cookies, roasting vegetables, and more.
Find Baking Sheets on Amazon - Whisks – Essential for incorporating air into mixtures and blending ingredients smoothly.
Find Whisks on Amazon - Spatulas – Use for stirring, folding, and scraping bowls clean.
Find Spatulas on Amazon - Food Processors – Great for quickly chopping vegetables and making purees
Find Food Processors on Amazon - Saucepans – Useful for heating liquids and making sauces.
Find Saucepans on Amazon - Chef’s Knives – A sharp chef’s knife is essential for chopping and dicing ingredients.
Find Chef’s Knives on Amazon - Cutting Boards – Protect your countertops while prepping your ingredients.
Find Cutting Boards on Amazon

2 Comments