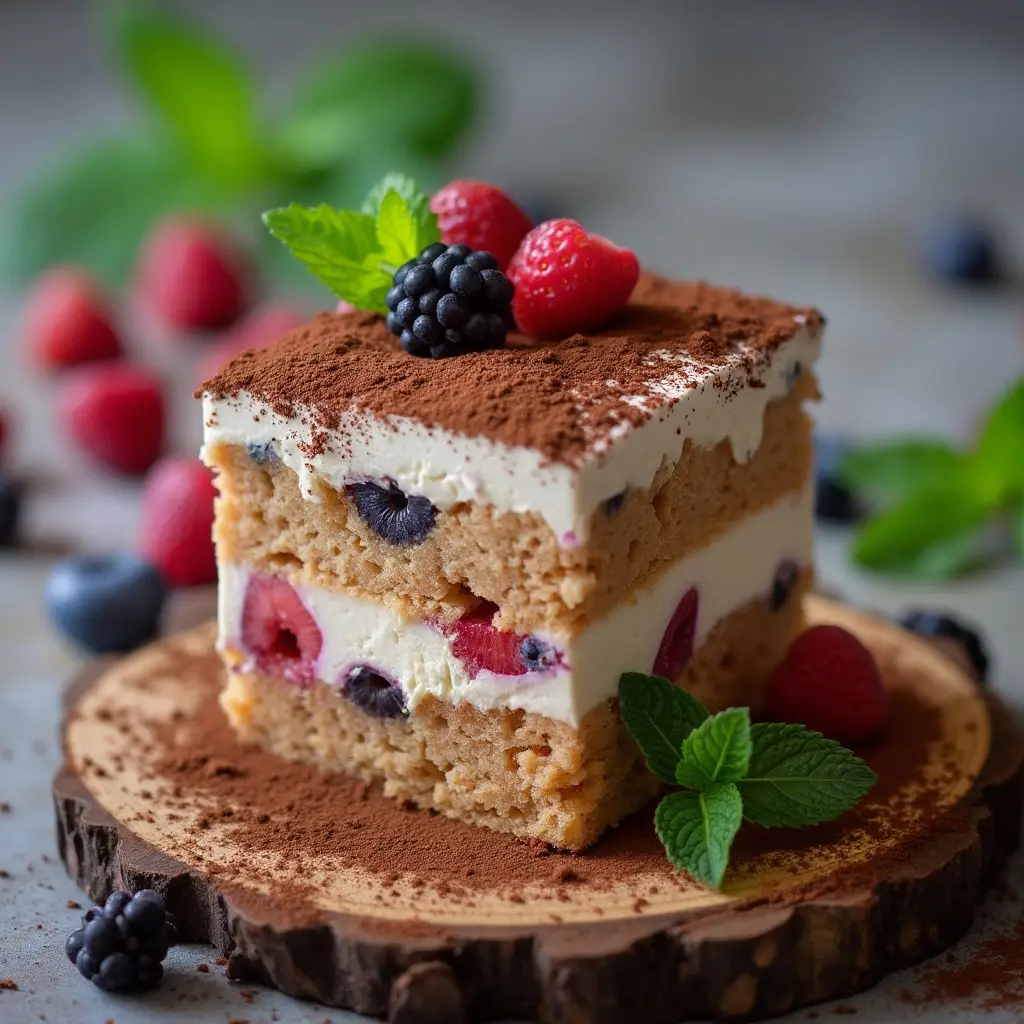
Easy Homemade Gluten-Free Ladyfingers
Tired of searching high and low for gluten-free ladyfingers in stores? What if you could effortlessly create your own at home? These delightful sponge cookies are surprisingly easy to make, and you’ll be amazed at the results!
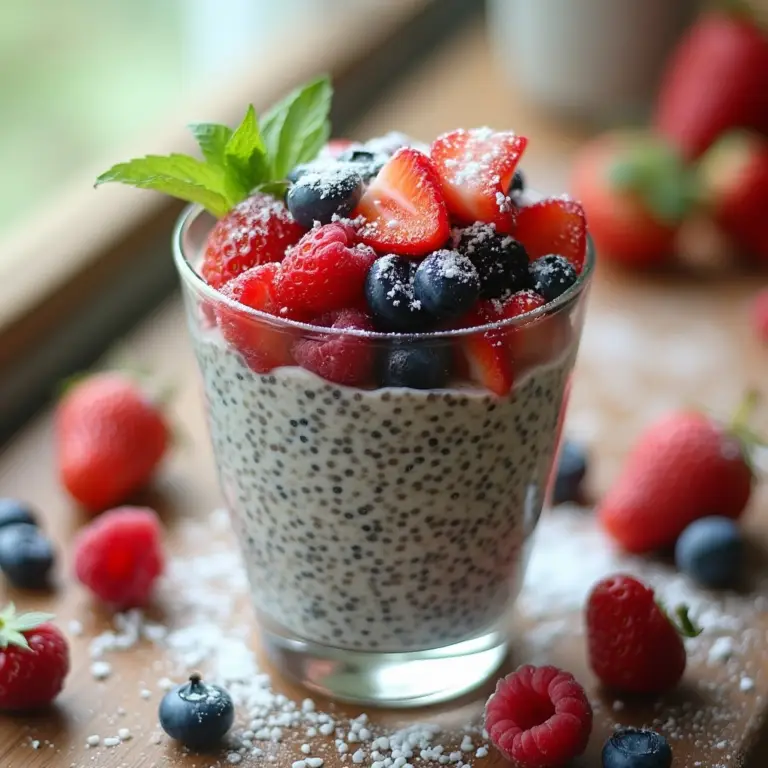
If you’re on a gluten-free journey, you know the joy of recreating classic desserts. Just like our Gluten-Free Cheesecake, these ladyfingers open up a world of possibilities. Imagine using them in a show-stopping tiramisu or a beautiful trifle! And for a lighter treat, why not try our Vanilla Chia Pudding with Fresh Berries as a delightful alternative?
What are Ladyfingers?
Ladyfingers, also known as Savoiardi, are light and airy sponge cookies shaped like fingers. Their absorbent texture makes them perfect for soaking up flavors in layered desserts. While some store-bought versions are soft, this recipe creates a delightfully crisp ladyfinger, ideal for dunking or layering.
These gluten-free ladyfingers are incredibly versatile. Like the crust in our Zesty Gluten-Free Lemon Bars with Almond Crust, they provide a fantastic base for desserts that require a sturdy yet tender element. Plus, their subtle sweetness complements a wide range of flavors.
How to Make Homemade Gluten-Free Ladyfingers
The process is surprisingly simple. Here’s a quick overview:
- Whisk together egg yolks, sugar, and vanilla.
- Whip egg whites with sugar until stiff peaks form.
- Gently fold the egg whites into the egg yolk mixture.
- Sift in the gluten-free flour and salt.
- Pipe the batter onto a baking sheet.
- Sprinkle with sugar.
- Bake until golden brown.
What Can I Use My Ladyfingers For?
Beyond tiramisu, the possibilities are endless:
- Dunk them in coffee or tea for a delightful treat.
- Create a stunning Charlotte with layers of cream and fruit.
- Build a beautiful trifle with visible layers of flavor.
- Use them as crumbs for a unique pie or cheesecake crust, just imagine a Gluten-Free Cheesecake with a ladyfinger crust!
These from-scratch gluten-free ladyfingers are not only tasty but also incredibly easy to make. Enjoy!
Easy Homemade Gluten-Free Ladyfingers
Forget searching high and low for gluten-free ladyfingers in stores! You can easily create your own at home. This recipe is so simple, you won’t believe how delicious these turn out.
How to Make Gluten-Free Ladyfingers: Step-by-Step
- Get Ready: Preheat your oven to 350°F (175°C). Line two baking sheets with parchment paper and set them aside.
- Separate Eggs: Separate 3 large eggs, placing the whites and yolks into separate bowls.
- Mix Yolks: In the bowl with the yolks, add ¼ cup (50g) of granulated sugar and 1 teaspoon of vanilla extract. Whisk until the mixture is smooth, thick, and slightly lighter in color.
- Whip Egg Whites: Using a whisk attachment on your mixer, whip the egg whites until they become frothy and soft peaks begin to form. Gradually add ¼ cup (50g) of granulated sugar while continuously whipping. Continue whipping until stiff peaks form. Stiff peaks are crucial for the structure of your ladyfingers!
- Combine Mixtures: Gently fold a large spoonful of the whipped egg whites into the egg yolk mixture. This helps to lighten the yolk mixture, making it easier to combine the rest of the egg whites. Then, carefully fold in the remaining egg whites until just combined. Be gentle to avoid deflating the mixture.
- Add Gluten-Free Flour: Place a sieve over the bowl and sift in 1 cup (140g) of Kim’s gluten-free flour blend (or your preferred store-bought gluten-free blend that contains xanthan gum) and ¼ teaspoon of fine sea salt. Gently fold the flour into the egg mixture until just combined and no lumps of flour are visible. Ensure your flour blend contains xanthan gum for the best texture.
- Pipe the Ladyfingers: Fill a large pastry bag fitted with a ½-inch round tip (or use a gallon-sized zip-top bag with one corner snipped off) with the batter. Pipe 3½-4 inch long strips onto the prepared baking sheets, leaving a little space between each.
- Sweeten the Tops: In a small bowl, mix together the remaining ¼ cup of granulated sugar and ¼ cup (32g) of powdered sugar. Sift this mixture evenly over the piped ladyfingers. Don’t worry if some of the mixture falls between the cookies on the baking sheet.
- Bake: Bake one sheet at a time for 14-15 minutes, or until the ladyfingers are slightly risen, lightly golden brown, and firm to the touch. They may have some cracks on the surface – that’s perfectly fine!
- Cool: Allow the ladyfingers to cool on the baking sheet for 5 minutes before transferring them to a wire rack to cool completely. The cookies will be slightly soft when they first come out of the oven but will crisp up as they cool. For the best texture, let them sit at room temperature overnight or for a few days before using in your favorite recipes.
Ingredients
- 3 large eggs, plus 1 egg white, at room temperature
- ¾ cup (150 g) granulated sugar, divided into thirds
- 1 teaspoon vanilla extract
- 1 cup (140 g) Kim’s gluten free flour blend (or a store bought blend containing xanthan gum)
- ¼ teaspoon fine sea salt
- ¼ cup (32 g) powdered sugar
Nutritional Information: A Gluten-Free Delight
These homemade ladyfingers aren’t just delicious; they can also be part of a balanced, gluten-free diet. Here’s a breakdown of what makes them special:
- Gluten-Free Flour Blend: Using a gluten-free flour blend ensures that these ladyfingers are safe for those with celiac disease or gluten intolerance. Many commercial blends include a mix of rice flour, tapioca starch, and potato starch, offering a texture similar to traditional wheat flour.
- Egg Power: Eggs provide a good source of protein and essential amino acids. They also contribute to the structure and richness of the ladyfingers.
- Vanilla Extract: A touch of vanilla not only enhances the flavor but also adds antioxidants, making these treats a bit healthier.
- Lower Sodium: With just a pinch of sea salt, these ladyfingers are relatively low in sodium, making them a heart-friendlier option compared to many store-bought cookies.
Tips and Variations for the Perfect Gluten-Free Ladyfingers
Creating the perfect gluten-free ladyfingers is all about understanding the nuances of gluten-free baking. Here are some tips and variations to help you succeed:
Essential Tips for Success
- Room Temperature Eggs: Ensure your eggs are at room temperature. This helps them whip to a greater volume, creating a lighter, airier batter.
- Whipping Egg Whites: Achieving stiff peaks when whipping the egg whites is crucial. This provides the structure for the ladyfingers, helping them rise and maintain their shape.
- Gentle Folding: When combining the egg whites and flour with the yolk mixture, fold gently to avoid deflating the batter. This ensures a light and airy final product.
- Piping Technique: Use a pastry bag with a round tip to pipe even strips of batter onto the baking sheet. Consistent size ensures even baking.
- Sugar Coating: Don’t skip the dusting of granulated and powdered sugar! This adds a delicate sweetness and helps the ladyfingers crisp up in the oven.
Dietary Variations
- Dairy-Free: While this recipe contains eggs, it’s naturally dairy-free. Ensure your gluten-free flour blend doesn’t contain any hidden dairy ingredients.
- Lower Sugar: Reduce the amount of granulated sugar slightly. You can also use a sugar substitute that is baking-friendly, but be aware this could change the final texture.
- Vegan Option: Replace the eggs with a commercial egg replacer suitable for baking. Keep in mind that the texture may be slightly different, and you may need to experiment with the amount of liquid to achieve the right consistency.
Flour Blend Substitutions
- DIY Gluten-Free Blend: If you don’t have Kim’s gluten-free flour blend, you can create your own by combining rice flour, tapioca starch, and potato starch. Add xanthan gum for binding.
- Store-Bought Blends: Experiment with different store-bought gluten-free flour blends to find one that suits your taste. Some blends may yield a slightly different texture, so adjust accordingly.
Flavor Enhancements
- Lemon Zest: Add lemon zest to the batter for a bright, citrusy flavor.
- Almond Extract: Substitute almond extract for vanilla extract for a nutty flavor.
- Espresso Powder: Incorporate a teaspoon of espresso powder for a subtle coffee flavor that complements desserts like tiramisu.
With these tips and variations, you can create gluten-free ladyfingers that are perfect for any occasion. Enjoy the process and happy baking!
Essential Equipment for This Recipe
To prepare this delicious recipe, you’ll need the following kitchen tools:
- Mixing Bowls – A set of sturdy mixing bowls is essential for combining wet and dry ingredients.
Find Mixing Bowls on Amazon - Measuring Cups and Spoons – Accurate measurements are key for baking success.
Find Measuring Cups and Spoons on Amazon - Baking Sheets – For baking cookies, roasting vegetables, and more.
Find Baking Sheets on Amazon - Whisks – Perfect for whipping cream and egg whites.
Find Whisks on Amazon - Spatulas – Use it for folding ingredients together.
Find Spatulas on Amazon - Food Processors – To help chop and blend items together.
Find Food Processors on Amazon - Saucepans – A good saucepan is a kitchen essential.
Find Saucepans on Amazon - Chef’s Knives – For chopping and dicing ingredients.
Find Chef’s Knives on Amazon - Cutting Boards – To protect your countertops.
Find Cutting Boards on Amazon

One Comment