
Easy Gluten-Free Crème Brûlée: A Decadent Delight
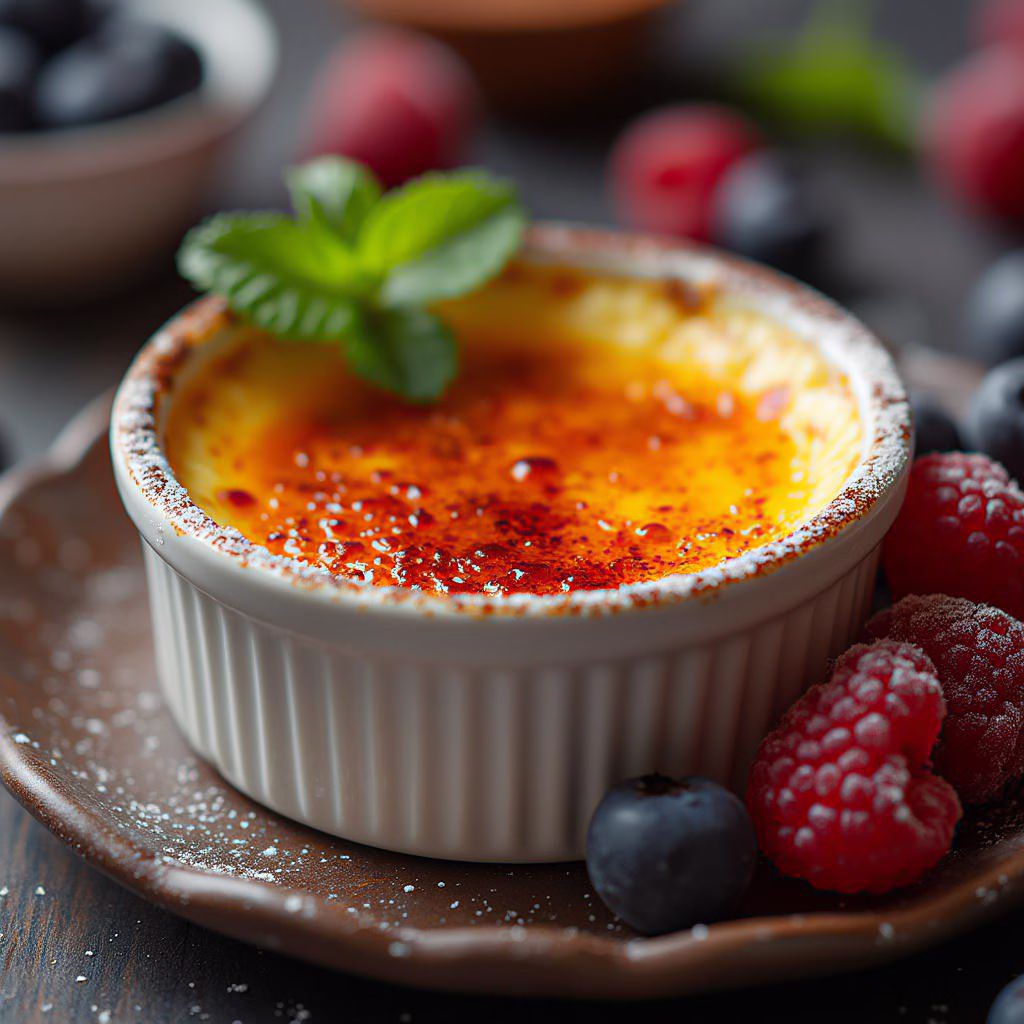
Craving a sophisticated dessert that fits your gluten-free lifestyle? This easy gluten-free crème brûlée recipe delivers a rich, velvety, and intensely satisfying experience. Imagine a smooth, vanilla-infused custard base with a perfectly crisp, caramelized sugar topping. It’s simpler to create than you might think!
This crème brûlée is perfect for special occasions or whenever you want to elevate your dessert game. If you’re looking for other elegant gluten-free desserts, why not try our Silky Smooth Gluten-Free Panna Cotta? Both are sure to impress!
One of the best things about this dessert? It’s naturally gluten-free! Like our Decadent Gluten-Free Chocolate Mousse, it relies on simple, high-quality ingredients to create an unforgettable treat. Read on for tips and tricks to achieve crème brûlée perfection in your own kitchen.
What is Crème Brûlée Custard Made Of?
Crème brûlée custard is a classic combination of heavy cream, egg yolks, sugar, and vanilla. These ingredients create a luxurious custard base. The magic happens when a layer of granulated sugar is caramelized on top, providing a delightful textural contrast.
Crème Brûlée Without a Kitchen Torch
No kitchen torch? No problem! You can still achieve that signature caramelized crust using your oven’s broiler. We’ll walk you through the simple steps to create a perfectly brûléed topping without any special equipment.
How to Make Gluten-Free Crème Brûlée
Follow these simple steps to create a stunning gluten-free crème brûlée that’s sure to impress!
-
Prepare the Oven and Ramekins
Preheat your oven to 375°F (190°C). Place four 6-ounce ramekins inside an 18x12x3 inch cake pan. This pan will serve as your water bath, so make sure the ramekins fit comfortably. Set aside.
-
Infuse the Cream
In a large saucepan, combine the heavy cream and vanilla extract. Heat over medium heat until the mixture comes to a gentle, rolling boil. Do not stir. Once boiling, remove from heat and let it sit for 10-12 minutes to allow the vanilla to fully infuse into the cream.
-
Whisk Egg Yolks and Sugar
In a medium mixing bowl, whisk together ⅔ cup of granulated sugar and the egg yolks until well combined and slightly pale. A whisk works best to achieve a smooth mixture.
-
Temper the Egg Yolks
This step is crucial to prevent the eggs from scrambling. Strain the warm cream mixture through a fine-mesh sieve into the egg yolk mixture, discarding any solids. While slowly pouring the cream, continuously stir the egg yolk mixture to gently temper the eggs. The mixture will be thin and runny – this is expected.
-
Fill the Ramekins
Carefully pour the custard mixture evenly into the four ramekins, ensuring they remain inside the cake pan.
-
Create the Water Bath
Gently pour hot water into the cake pan, being cautious not to splash any water into the ramekins. Fill the pan until the water level reaches about two inches up the sides of the ramekins. This water bath helps the custards cook evenly and prevents them from curdling.
-
Bake the Custards
Carefully transfer the cake pan with the ramekins into the preheated oven. Bake for 40 minutes, or until the custards are set around the edges but still slightly jiggly in the center. The internal temperature should reach about 170-175°F.
-
Cool and Chill
Remove the cake pan from the oven and let the ramekins sit in the water bath for 15 minutes to gradually cool. After 15 minutes, carefully remove the ramekins from the water bath and place them on a baking sheet. Cover each ramekin with plastic wrap, gently pressing it onto the surface of the custard to prevent a skin from forming. Chill in the refrigerator for a minimum of 3 to 6 hours, or preferably overnight.
-
Caramelize the Sugar
Once the custards are thoroughly chilled, it’s time for the fun part! Sprinkle the top of each ramekin evenly with the remaining ⅓ cup of granulated sugar.
- Blow Torch Method: Use a kitchen torch to caramelize the sugar, moving the flame evenly across the surface until it’s melted and golden brown.
- Broiling Method: If you don’t have a torch, place the ramekins on a baking sheet and broil in the oven on the top rack for about 3-5 minutes, or until the sugar is melted and caramelized. Watch closely to prevent burning!
Hint: After baking, the crème brûlée custard will still be a little soft in the middle. That is normal and totally fine; it will firm up as it chills.
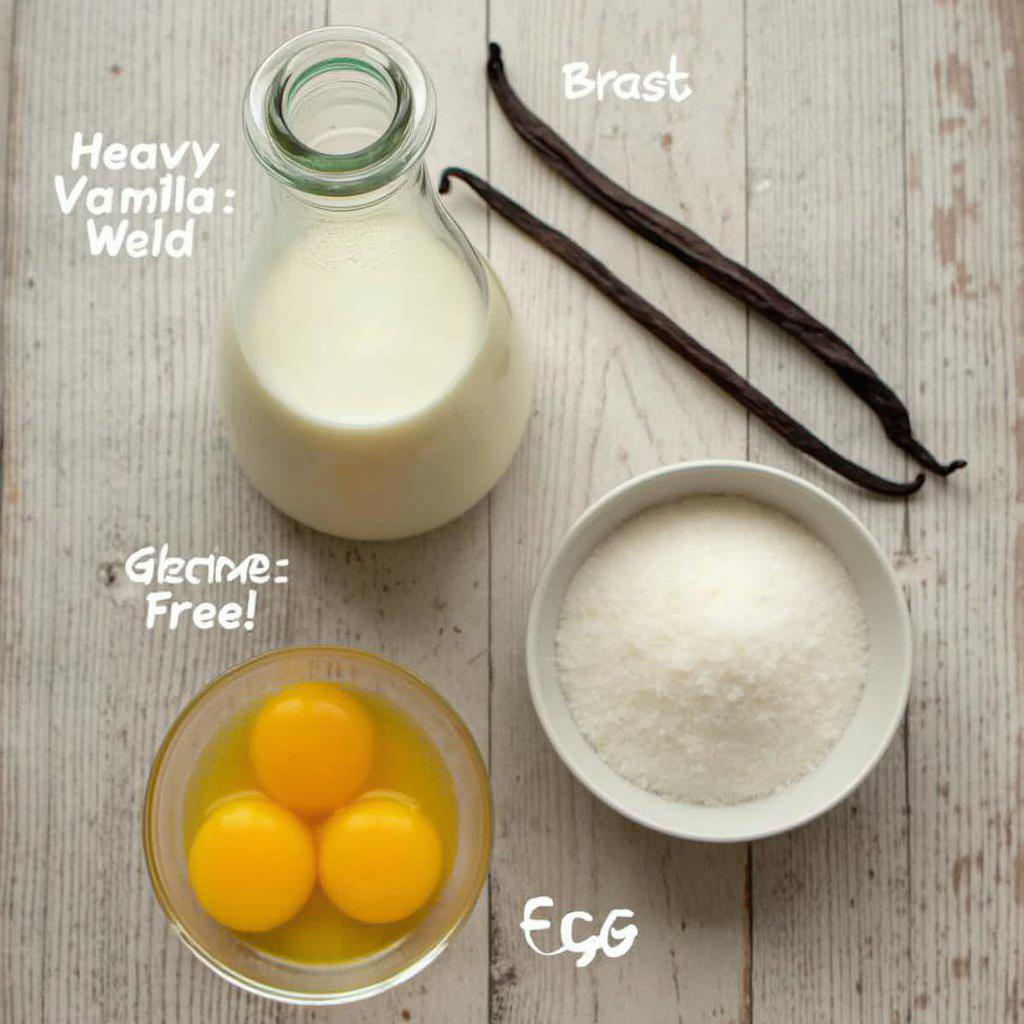
Ingredients
- 2 cups heavy cream
- 1 teaspoon vanilla extract
- ¾ cup granulated sugar
- 3 egg yolks
- Hot water
Gluten-Free Nutritional Benefits
This Crème Brûlée recipe is naturally gluten-free, making it a safe and delicious option for those with celiac disease or gluten sensitivities. It relies on simple, whole ingredients like cream, eggs, and sugar, without any gluten-containing additives. This classic dessert allows you to indulge without worrying about hidden gluten sources often found in processed desserts.
Key nutritional highlights:
- Naturally Gluten-Free: Contains no wheat, barley, or rye-derived ingredients.
- Rich in Healthy Fats: The heavy cream provides essential fats that support overall health.
- Moderate Sugar Content: Enjoyable in moderation as part of a balanced diet.
Substitutions and Variations
Customize your Crème Brûlée to fit various dietary needs and preferences with these simple substitutions and variations:
- Dairy-Free Option: Substitute heavy cream with full-fat coconut cream for a dairy-free version. Note that this may slightly alter the flavor and texture.
- Sugar Alternatives: Use coconut sugar or maple syrup as a refined sugar alternative. Adjust the quantity to taste, as these sweeteners can be sweeter than granulated sugar.
- Flavor Variations:
- Citrus Zest: Add lemon, orange, or lime zest to the cream mixture for a refreshing twist.
- Spiced: Incorporate spices like cinnamon, nutmeg, or cardamom for a warm, comforting flavor.
- Chocolate: Add a tablespoon of cocoa powder to the cream mixture for a chocolatey delight.
Tips for the Perfect Gluten-Free Crème Brûlée
- Tempering the Eggs: Slowly pour the hot cream mixture into the egg yolks while whisking constantly to prevent the eggs from curdling.
- Water Bath: Ensure the water level in the baking pan reaches about halfway up the sides of the ramekins for even cooking and a creamy texture.
- Chilling Time: Allow the custards to chill for at least 3-6 hours, or preferably overnight, to fully set and develop their rich flavor.
- Caramelizing the Sugar: For the best results, use a kitchen torch to caramelize the sugar evenly. If using the broiler, watch carefully to prevent burning.
- Even Sugar Distribution: Ensure an even layer of sugar on top of each custard before caramelizing for a consistent brûlée.
- Straining the Cream Mixture: Strain the cream and vanilla mixture to remove any clumps. This ensures a smooth and silky custard base.
Essential Equipment for This Recipe
To prepare this delicious recipe, you’ll need the following kitchen tools:
- Mixing Bowls – A set of various sizes is crucial for prepping and combining ingredients.
Find Mixing Bowls on Amazon - Measuring Cups and Spoons – Accuracy is key in baking!
Find Measuring Cups and Spoons on Amazon - Baking Sheets – For even baking and golden-brown results.
Find Baking Sheets on Amazon - Whisks – Perfect for beating eggs and combining ingredients.
Find Whisks on Amazon - Spatulas – Essential for scraping bowls and spreading batter.
Find Spatulas on Amazon - Food Processors – For chopping and pureeing ingredients quickly.
Find Food Processors on Amazon - Saucepans – Need for heating up liquids and making sauces.
Find Saucepans on Amazon - Chef’s Knives – A good knife will make chopping vegetables much easier.
Find Chef’s Knives on Amazon - Cutting Boards – Protect your counter when you are chopping.
Find Cutting Boards on Amazon
One Comment