
“`html
Delightful Gluten-Free Sunny Side Up Meringues
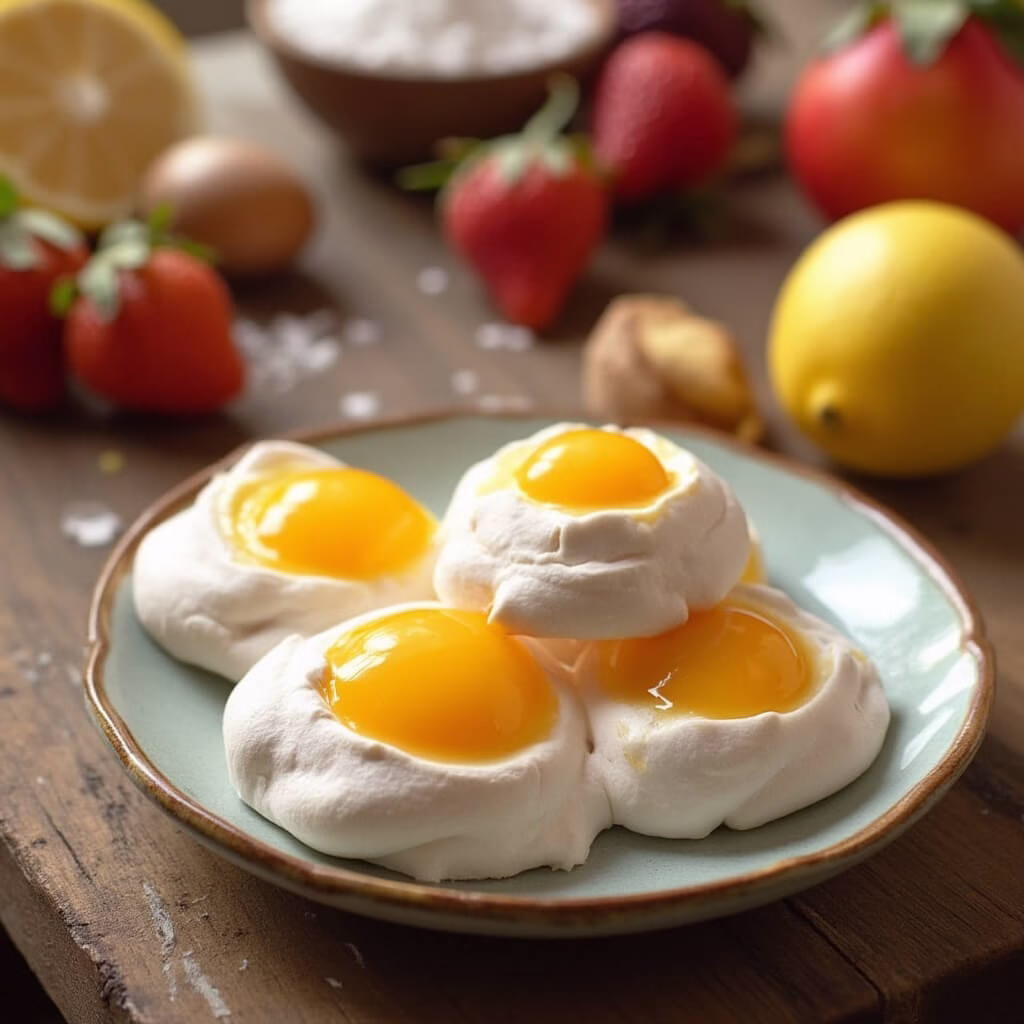
Looking for a fun and elegant gluten-free dessert? These Sunny Side Up Meringues are a delightful treat, perfect for Easter or any special occasion. These aren’t quite cookies and not exactly pavlovas, but a wonderful hybrid that will impress your guests. If you love light and airy desserts, you might also enjoy our recipe for Light Crispy Peppermint Meringues.
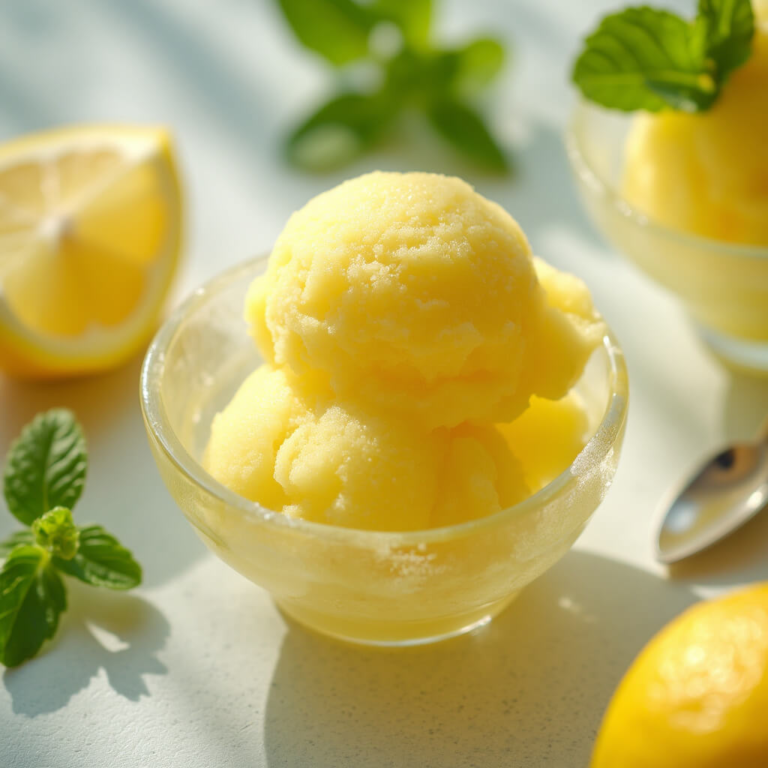
These meringues are slightly hollowed before baking and then filled with a luscious lemon curd, creating a charming “trompe l’oeil” effect. They have a unique texture – stickier and chewier than traditional meringues, making them an intriguing and satisfying dessert. For another lemony treat, check out our Gluten-Free Lemon Poppyseed Muffins – they’re a zesty and delicious way to brighten your day!
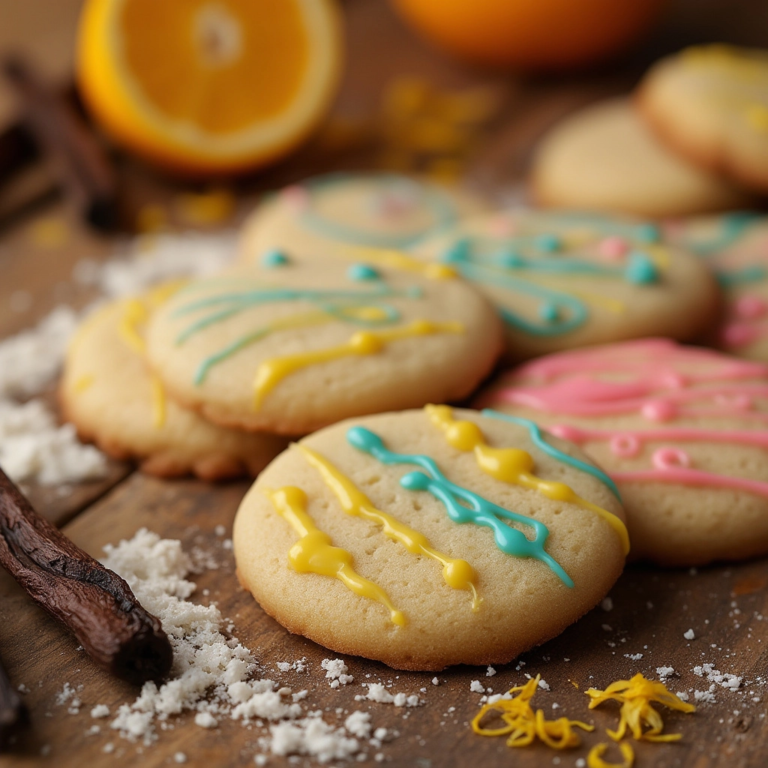
For easy decorating, try our Easy Gluten-Free Sugar Cookies.
These Sunny Side Up Meringues are surprisingly easy to make and are sure to be a hit!
“`
“`html
How to Make Gluten-Free Sunny Side Up Meringues
These delightful meringues are a treat that everyone can enjoy! Follow these simple, step-by-step instructions to create these stunning desserts. Perfect for parties, holidays, or any occasion that calls for a touch of elegance.
Step-by-Step Instructions
- Prepare the Oven and Baking Sheet: Preheat your oven to 200°F (95°C). Line a baking sheet with parchment paper or a silicone baking mat. This prevents the meringues from sticking.
- Whisk Egg Whites: In a clean, grease-free bowl, whisk 4 large egg whites until soft peaks form. Use an electric mixer for best results.
- Gradually Add Sugar: Gradually add 1 cup (200g) of granulated sugar, a little at a time, while continuing to whisk the egg whites. Whisk until the meringue is stiff, glossy, and holds firm peaks. This may take several minutes.
- Add Vanilla: Beat in 1/2 teaspoon of pure vanilla extract. This enhances the flavor of the meringues.
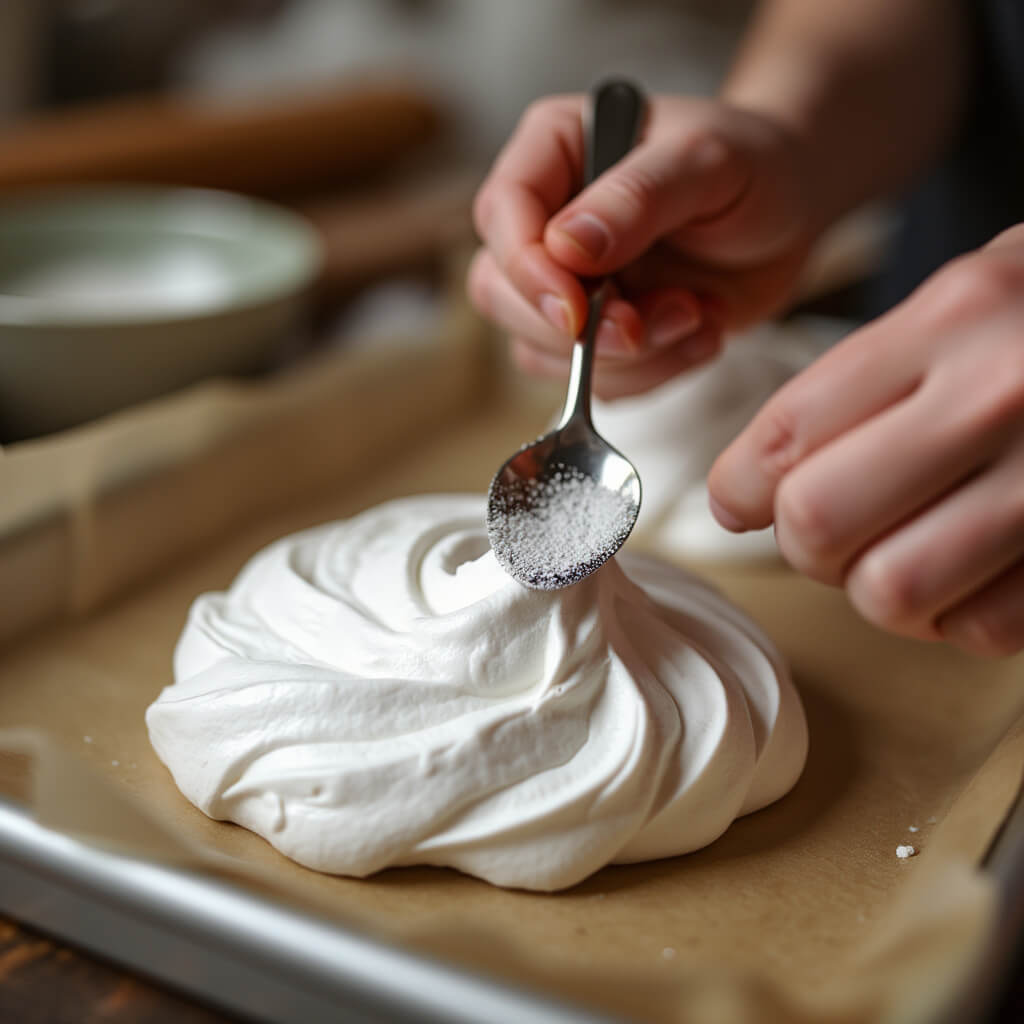
- Shape the Meringues: Use a large spoon or cookie scoop (about 3 tablespoons) to drop mounds of meringue onto the prepared baking sheet, leaving some space between each one.
- Create Indentations: Gently press the back of a spoon into the center of each meringue to create a shallow indentation. This is where the lemon curd will go after baking.
- Bake the Meringues: Bake for 1 hour and 30 minutes, or until the meringues are dry and crisp. The baking time may vary depending on your oven, so keep an eye on them.
- Cool Completely: Turn off the oven and let the meringues cool completely inside with the door slightly ajar. This prevents cracking. Allow at least 1-2 hours for cooling.
- Prepare Gluten-Free Lemon Curd (if making from scratch): If you’re making your own lemon curd, ensure all ingredients are gluten-free. Many store-bought lemon curds are naturally gluten-free, but always double-check the label.
- Fill with Lemon Curd: Once the meringues are completely cool, carefully fill the indentations with lemon curd.
- Serve and Enjoy: Serve the Sunny Side Up Meringues immediately or store them in an airtight container in a cool, dry place for up to 2 days. Be aware that they may soften over time due to the moisture in the lemon curd.
Tips for Gluten-Free Success:
- Always check labels to ensure all ingredients are gluten-free, especially if you are using pre-made components like lemon curd.
- A clean, grease-free bowl is essential for achieving stiff meringue peaks. Wipe the bowl with lemon juice or vinegar before starting.
- Do not open the oven door frequently during baking, as this can cause the meringues to collapse.
“`
“`html
Sunny Side Up Meringues: A Gluten-Free Delight
Welcome to Be Gluten Free, where we transform classic recipes into delightful gluten-free experiences. Today, we’re diving into Sunny Side Up Meringues – a charming treat perfect for any occasion. These aren’t your typical cookies; they’re a delightful hybrid with a unique texture. Let’s explore how to make these irresistible meringues gluten-free!
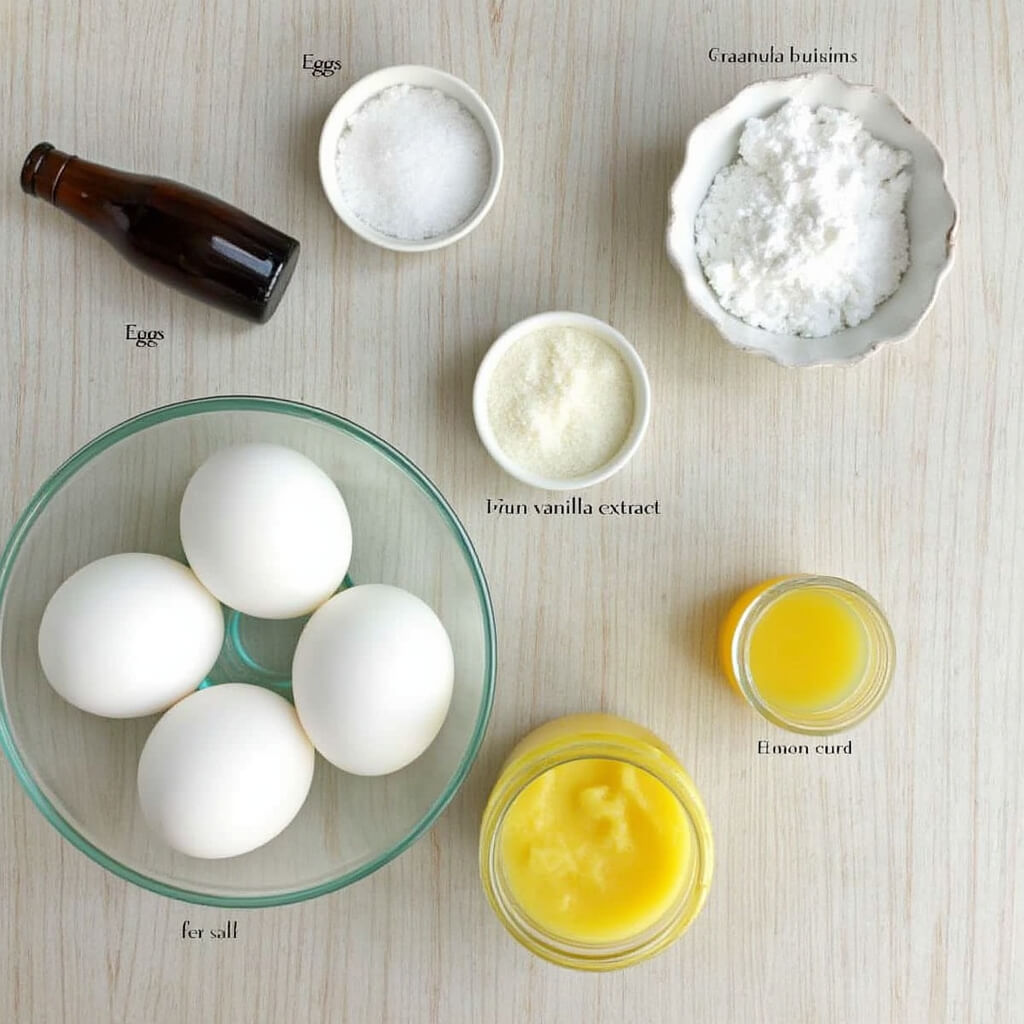
Ingredients
- 4 large egg whites, at room temperature
- ⅛ teaspoon salt
- 1 cup granulated sugar
- 1 teaspoon pure vanilla extract
- ½ teaspoon lemon juice
- Lemon curd, for filling
Nutritional Information
These Sunny Side Up Meringues, when made with gluten-free ingredients, are naturally gluten-free. Here’s a breakdown of their nutritional benefits:
- Gluten-Free: Perfect for those with celiac disease or gluten sensitivity.
- Egg Whites: A great source of protein, contributing to muscle repair and overall health.
- Low-Fat: Meringues are primarily made of egg whites and sugar, resulting in a low-fat treat.
- Vanilla Extract: Adds flavor without adding fat or gluten.
Note: Nutritional values may vary based on the specific ingredients used and portion sizes.
Tips and Variations for Gluten-Free Meringues
Here are some helpful tips and variations to ensure your Sunny Side Up Meringues are a success:
- Achieving Perfect Meringue: Ensure your mixing bowl and whisk are completely clean and free of grease. Any trace of fat can prevent the egg whites from whipping properly.
- Sugar Incorporation: Add the sugar gradually while whipping the egg whites to ensure it dissolves properly and creates a stable meringue.
- Gluten-Free Lemon Curd: Always check the label of your lemon curd to ensure it is gluten-free. Many store-bought varieties are, but it’s always best to double-check. Alternatively, you can easily make your own using a gluten-free recipe.
- Dietary Variations:
- Dairy-Free: Use a dairy-free lemon curd made with coconut milk or another plant-based alternative.
- Vegan: While traditional meringues rely on egg whites, you can experiment with aquafaba (the liquid from canned chickpeas) as a vegan alternative. Note that this may require some adjustments to the recipe.
- Lower Sugar: Reduce the amount of sugar slightly, but be aware that this may affect the meringue’s structure. You can also use a sugar substitute suitable for baking, but test the results as they may vary.
- Flavor Enhancements:
- Citrus Zest: Add lemon, orange, or lime zest to the meringue mixture for an extra burst of flavor.
- Extracts: Experiment with almond, peppermint, or other extracts to create unique flavor profiles.
- Serving Suggestions:
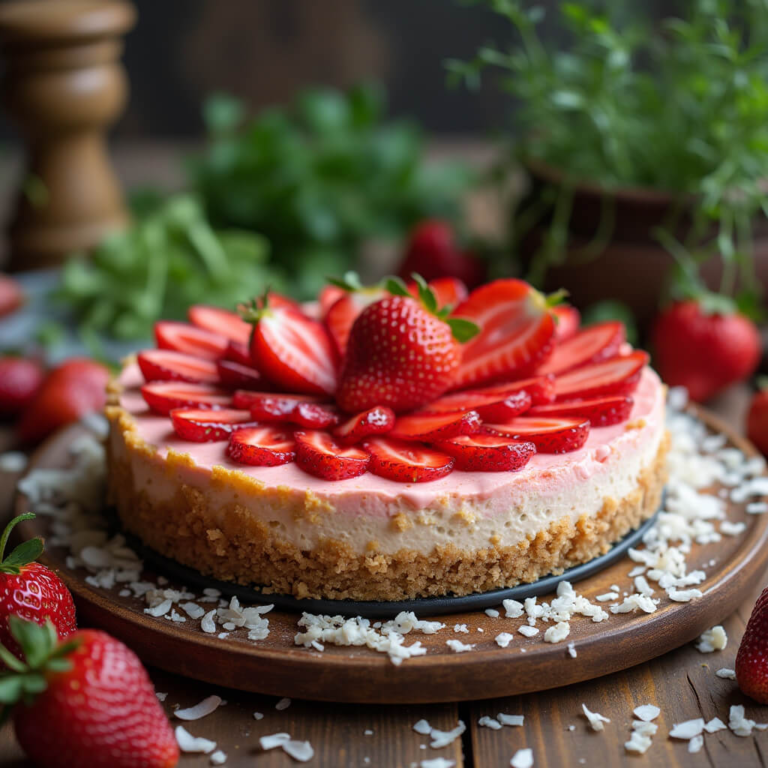
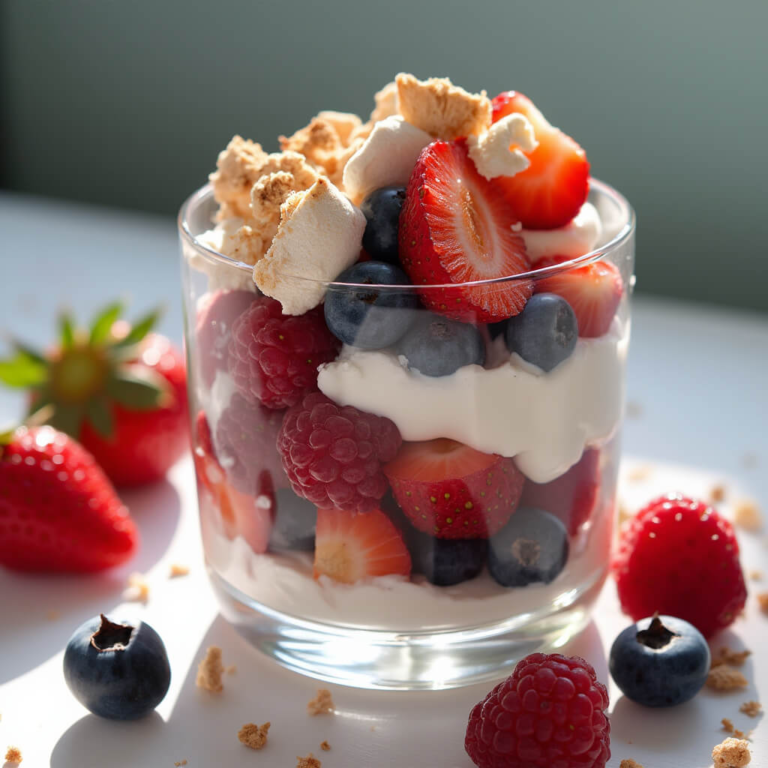
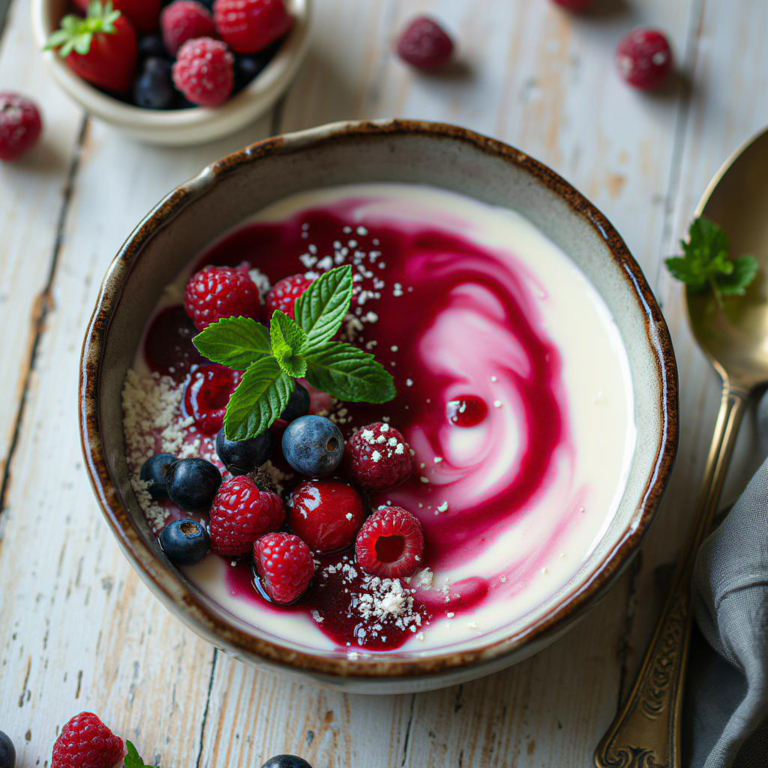
- Fresh Berries: Garnish with fresh berries like strawberries, raspberries, or blueberries for a colorful and flavorful touch.
- Chocolate Drizzle: Drizzle melted dark chocolate over the meringues for a decadent treat.
Enjoy creating these delightful gluten-free Sunny Side Up Meringues! They’re a perfect way to brighten any day.
“`
“`html
Essential Equipment for This Recipe
To prepare this delicious recipe, you’ll need the following kitchen tools:
- Mixing Bowls – A set of sturdy mixing bowls is essential for combining wet and dry ingredients.
Find Mixing Bowls on Amazon - Measuring Cups and Spoons – Accurate measurements are key to baking success.
Find Measuring Cups and Spoons on Amazon - Baking Sheets – For even baking and perfect results.
Find Baking Sheets on Amazon - Whisks – Perfect for whipping air into your batter.
Find Whisks on Amazon - Spatulas – Ideal for folding ingredients and scraping bowls clean.
Find Spatulas on Amazon - Food Processors – To mix and chop your ingredients
Find Food Processors on Amazon - Saucepans – Need to mix and cook the sauce
Find Saucepans on Amazon - Chef’s Knives – To cut all your ingredients with ease
Find Chef’s Knives on Amazon - Cutting Boards – Need a cutting board to go with your knives
Find Cutting Boards on Amazon
“`

One Comment