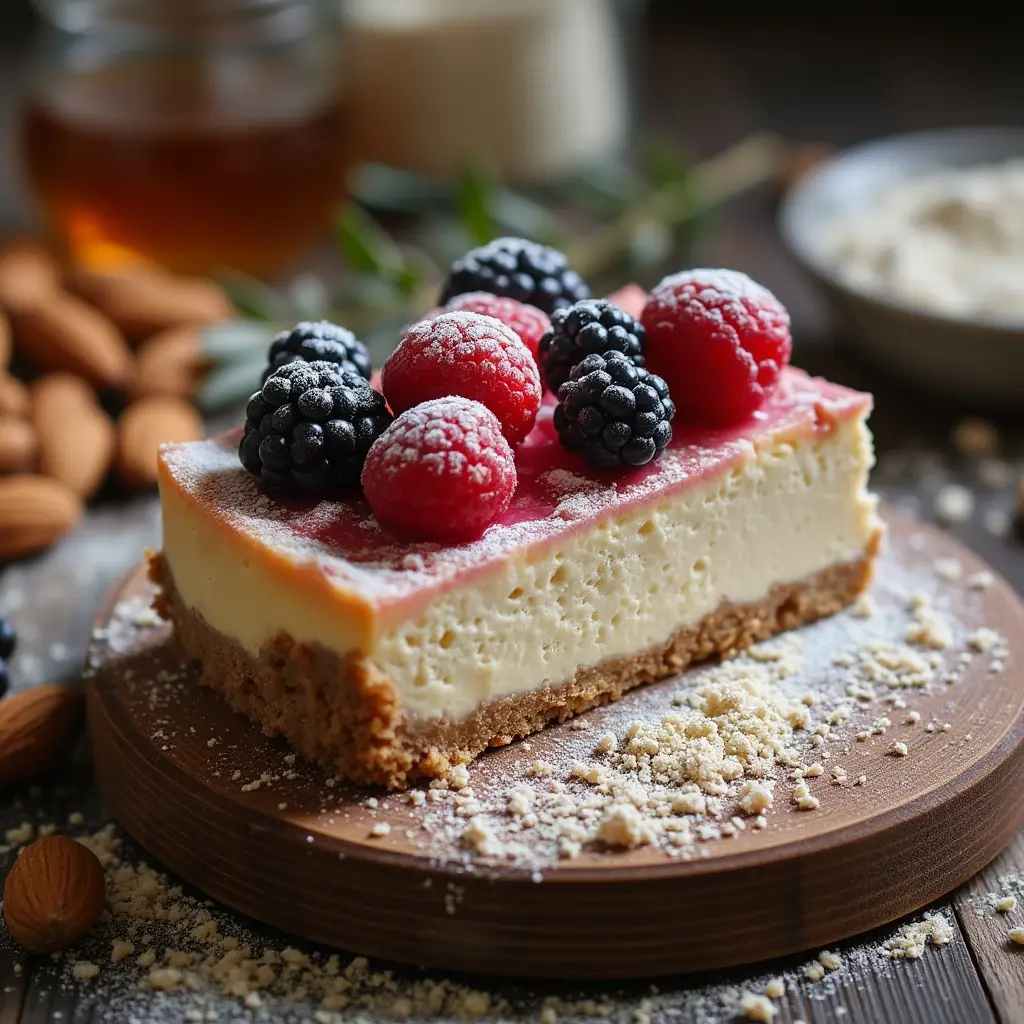
A Deliciously Safe Treat: Gluten-Free and Nut-Free Cheesecake Crust
Looking for a dessert that everyone can enjoy? This Gluten-Free Nut-Free Cheesecake Crust is the perfect solution for those with dietary restrictions, without sacrificing taste or texture. It’s a simple yet satisfying base for your favorite cheesecake fillings, ensuring a delightful experience for all.
One of the biggest challenges with gluten-free baking is achieving the same taste and texture as traditional recipes. This crust rises to the occasion, offering a wonderfully crumbly and crunchy alternative to graham cracker crusts. And if you’re in the mood for more baking, why not try our Gluten-Free Lemon Blueberry Muffins or the Zesty Gluten-Free Lemon Bars.
Why This Crust Stands Out
What sets this cheesecake crust apart is the toasting of gluten-free oats with cinnamon, brown sugar, and honey. This process creates an irresistible granola-like base that adds depth and flavor to any cheesecake. It avoids the soggy texture often associated with gluten-free crusts, ensuring a delightful crunch in every bite. It’s also incredibly versatile, as the base recipe can be used for other recipes similar to our Gluten-Free Peach Crumble
These toasted gluten-free oats aren’t just for cheesecake crusts! They can be a fantastic substitute for regular oats in many recipes. For a delightful breakfast option, try them in our Gluten-Free Banana Nut Muffins . Or, simply enjoy a slice of cheesecake for breakfast – because why not?
Versatile and Customizable
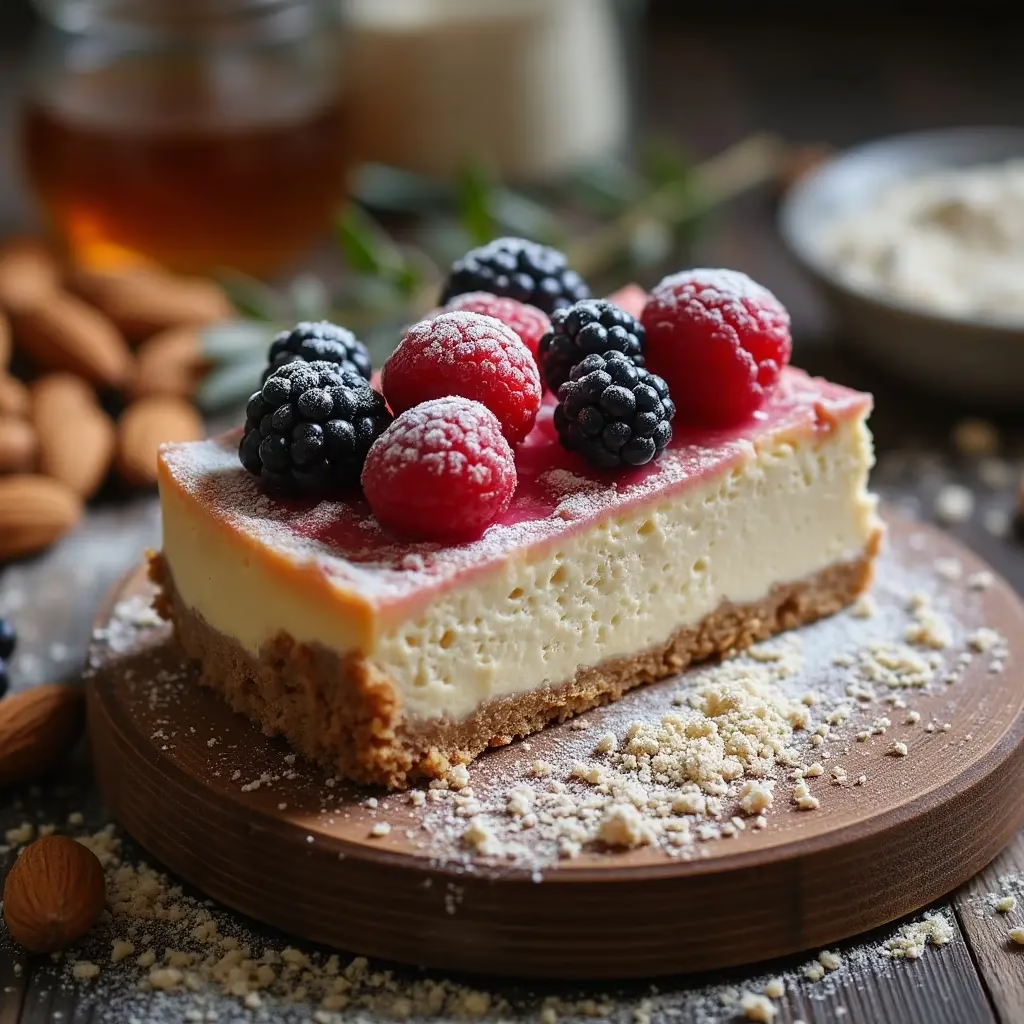
Once your crust is baked and cooled, the possibilities are endless! Whether you prefer a classic New York-style cheesecake or a dairy-free chocolate version, this crust can handle it all. If you’re looking for a refreshing summer treat, consider filling it with a lemon cheesecake. For a completely gluten-free, nut-free, and dairy-free option, try a dairy-free chocolate cheesecake filling.
Of course, you could also skip the cheesecake altogether and enjoy the toasted oat mixture as granola. Crunchy, sweet, and utterly delicious, this Gluten-Free Nut-Free Cheesecake Crust is a winner in all stages of the cooking process!
Making Your Gluten-Free, Nut-Free Cheesecake Crust: A Step-by-Step Guide
Ready to create the perfect base for your cheesecake? Follow these simple steps to a delicious, allergy-friendly crust:
Step 1: Toast the Oat Mixture
- Preheat your oven to 350°F (175°C).
- In a 13×9 inch baking pan, combine the following ingredients:
- 3 cups (255g) gluten-free oats
- ½ cup (113g) light brown sugar
- 2 tablespoons honey
- 1 teaspoon ground cinnamon
- ¼ teaspoon kosher salt
- ¼ cup + 1 tablespoon olive or coconut oil
- Using your hands, mix until all ingredients are evenly distributed. Spread the mixture into an even layer in the pan.
- Bake for 30 minutes, stirring every 10 minutes to ensure even toasting. This will give the oats a lovely granola-like texture.
Step 2: Cool and Harden
- After baking, let the oat mixture cool completely. This should take about 10 to 15 minutes.
- As the oats cool, they will harden and develop a delightful crunch. Stir occasionally to prevent sticking to the pan.
Step 3: Create the Crumb Texture
- Transfer the cooled oat mixture to a food processor.
- Pulse 2 to 3 times to break up any larger pieces.
- Process on high for 30 to 60 seconds, or until the oats resemble coarse crumbs.
Step 4: Combine with Melted Butter
- Add the coarse oat crumbs to a medium-sized bowl.
- Melt 6 tablespoons of unsalted butter (for a dairy-free option, substitute with vegan baking butter).
- While stirring the crumbs, slowly pour the melted butter over them. Ensure all crumbs are evenly coated.
Step 5: Press into the Springform Pan
- Transfer the buttered crumbs to a springform pan.
- Optional: If you plan to remove the cheesecake entirely from the pan before serving, lightly grease the bottom of the springform pan with butter and line it with a circle of parchment paper before adding the crumbs. This prevents sticking.
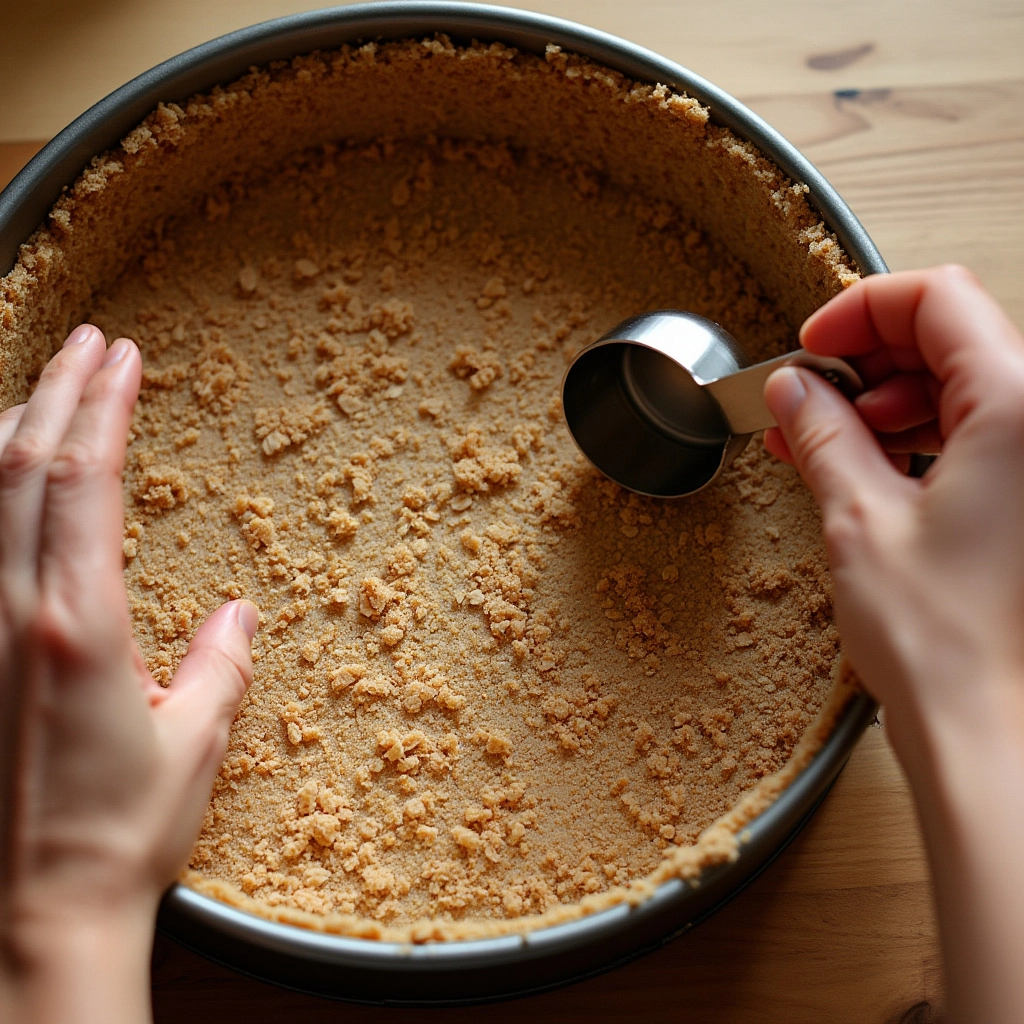
- Lightly spread the crumbs into an even layer on the bottom of the springform pan.
- Using your fingers or the bottom of a measuring cup, firmly press the crumbs into the bottom of the pan and up the sides to create a solid crust.
Step 6: Bake the Crust
- Bake the crust at 350°F (175°C) for 7 to 8 minutes, or until lightly golden.
- Let the crust cool completely before adding your cheesecake batter of choice.
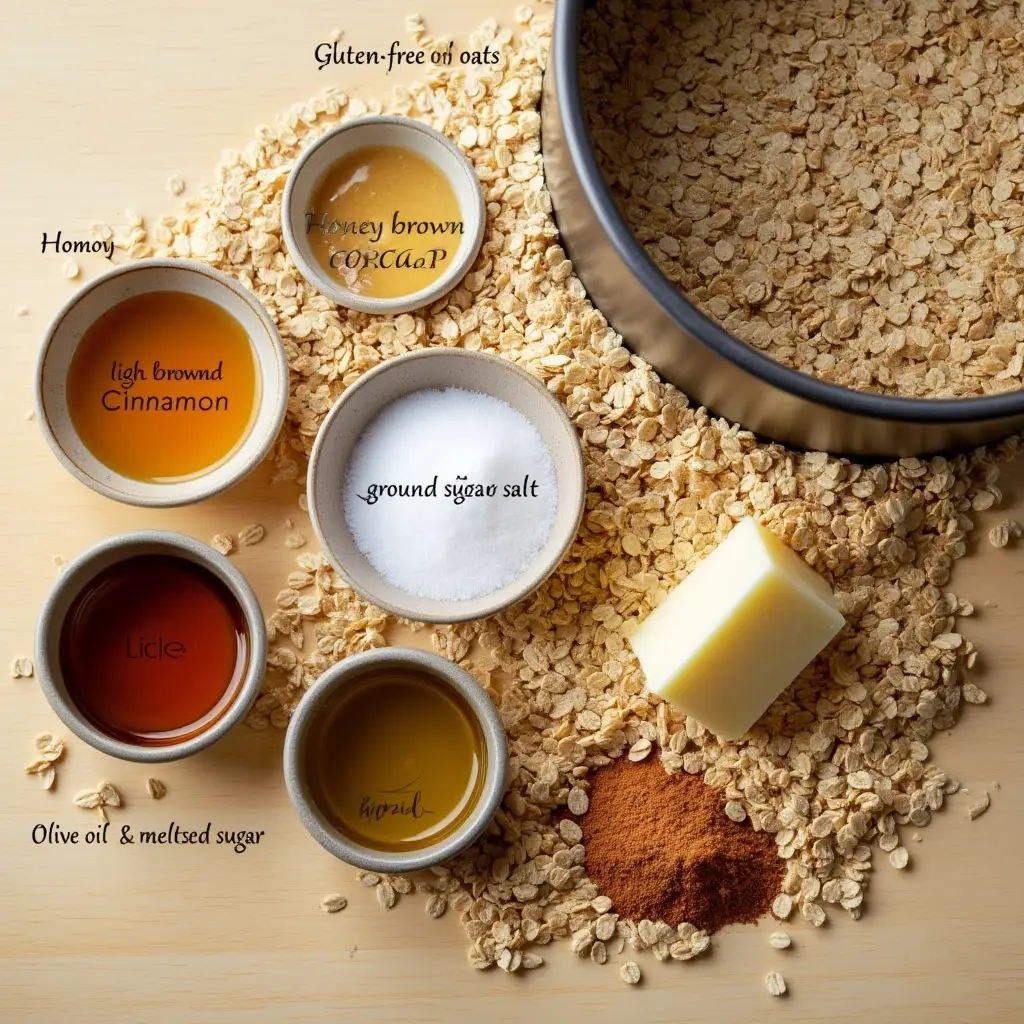
Ingredients
- ▢ 3 cups gluten free oats (255g )
- ▢ ½ cup light brown sugar (113g )
- ▢ 2 tablespoons honey
- ▢ 1 teaspoon ground cinnamon
- ▢ ¼ teaspoon kosher salt
- ▢ ¼ cup + 1 tablespoon olive or coconut oil
- ▢ 6 tablespoons unsalted butter (melted (for a dairy free option, try substituting vegan baking butter))
Nutritional Information
Serving: 1 cheesecake crust | Calories: 2544kcal | Carbohydrates: 309g | Protein: 33g | Fat: 138g | Saturated Fat: 93g | Trans Fat: 3g | Cholesterol: 181mg | Sodium: 638mg | Potassium: 1077mg | Fiber: 26g | Sugar: 144g | Vitamin A: 2105IU | Vitamin C: 1mg | Calcium: 261mg | Iron: 11mg
Gluten-Free Benefits and Insights
This Gluten-Free Nut-Free Cheesecake Crust is a delightful and safe option for those with gluten sensitivities or celiac disease. By using certified gluten-free oats, this crust eliminates the risk of gluten exposure, which can cause digestive issues and other adverse reactions in sensitive individuals.
- Gluten-Free Oats: Oats are naturally gluten-free, but can often be cross-contaminated during processing. Ensure that you are using certified gluten-free oats to avoid any potential issues.
- Fiber Rich: Gluten-free oats are an excellent source of dietary fiber, promoting healthy digestion and helping to regulate blood sugar levels.
- Nutrient Dense: Oats provide essential vitamins and minerals, including magnesium, iron, and zinc, contributing to overall health and well-being.
Tips and Variations
Dietary Adaptations
- Dairy-Free Option: Substitute vegan baking butter for unsalted butter to create a dairy-free version of this delicious crust. Coconut oil can also enhance the flavor and provide a unique twist.
- Lower Sugar: Reduce the amount of brown sugar or use a sugar alternative like stevia or erythritol to lower the sugar content without sacrificing taste.
- Vegan Option: In addition to the dairy-free butter substitute, use maple syrup or agave nectar instead of honey to make this crust entirely vegan.
Baking Tips for the Perfect Crust
- Even Baking: Stir the oat mixture every 10 minutes during baking to ensure even toasting and prevent burning.
- Texture Control: Adjust the processing time to achieve your desired crust texture. For a finer crust, process the oats for a longer duration.
- Pressing the Crust: Use the bottom of a measuring cup to firmly press the crumbs into the springform pan, ensuring a solid and even base.
Creative Uses
- Granola Alternative: Enjoy the toasted oat mixture as a gluten-free granola. Add some dried fruits and nuts (if nut-free is not a concern) for a delightful breakfast or snack.
- Dessert Topping: Sprinkle the crust mixture over yogurt, ice cream, or fruit for added texture and flavor.
- Cheesecake Variations: Experiment with different cheesecake fillings such as lemon, chocolate, or berry flavors to complement the gluten-free crust.
Storage Instructions
- Baked Crust: Store the baked crust in an airtight container at room temperature for up to 3 days or in the refrigerator for up to a week.
- Unbaked Crumbs: Store the unbaked oat crumbs in an airtight container at room temperature for up to a week.
Essential Equipment for This Recipe
To prepare this delicious recipe, you’ll need the following kitchen tools:
- Mixing Bowls – A set of sturdy mixing bowls is essential for combining wet and dry ingredients.
Find Mixing Bowls on Amazon - Measuring Cups and Spoons – Accurate measurements are key to baking success.
Find Measuring Cups and Spoons on Amazon - Baking Sheets – Perfect for evenly baking cookies, vegetables, or other treats.
Find Baking Sheets on Amazon - Whisks – Use for beating ingredients, such as eggs and cream
Find Whisks on Amazon - Spatulas – Ideal for scraping bowls and spreading batters.
Find Spatulas on Amazon - Food Processors – A great tool for quickly chopping and processing ingredients.
Find Food Processors on Amazon - Saucepans – Essential for making sauces, heating liquids, and cooking small batches.
Find Saucepans on Amazon - Chef’s Knives – An indispensable tool for all your chopping, slicing, and dicing needs.
Find Chef’s Knives on Amazon - Cutting Boards – Protect your countertops while preparing ingredients.
Find Cutting Boards on Amazon

